
You know that magical first sip when your brain boots up and the world makes sense? Let’s make a corner in your home that delivers that moment on repeat. No clutter.
No chaos. Just a dialed-in coffee station that fits your style, space, and caffeine goals. Grab your mug.
We’re upgrading your morning routine.
Pick Your Spot (And Own It)
Where should your coffee corner live? Anywhere you’ll actually use it. Kitchen counter, dining nook, office shelf, even a bar cart.
You don’t need a giant space—just a dedicated one.
- Close to water and outlets: Your machine needs both. No one wants to drag kettles across the kitchen.
- Good lighting: You’ll want to see your pour-over bloom and read the coffee bag without squinting.
- Traffic-smart: Keep it out of the main cooking zone so you’re not dodging pancakes.
Small Space Hack
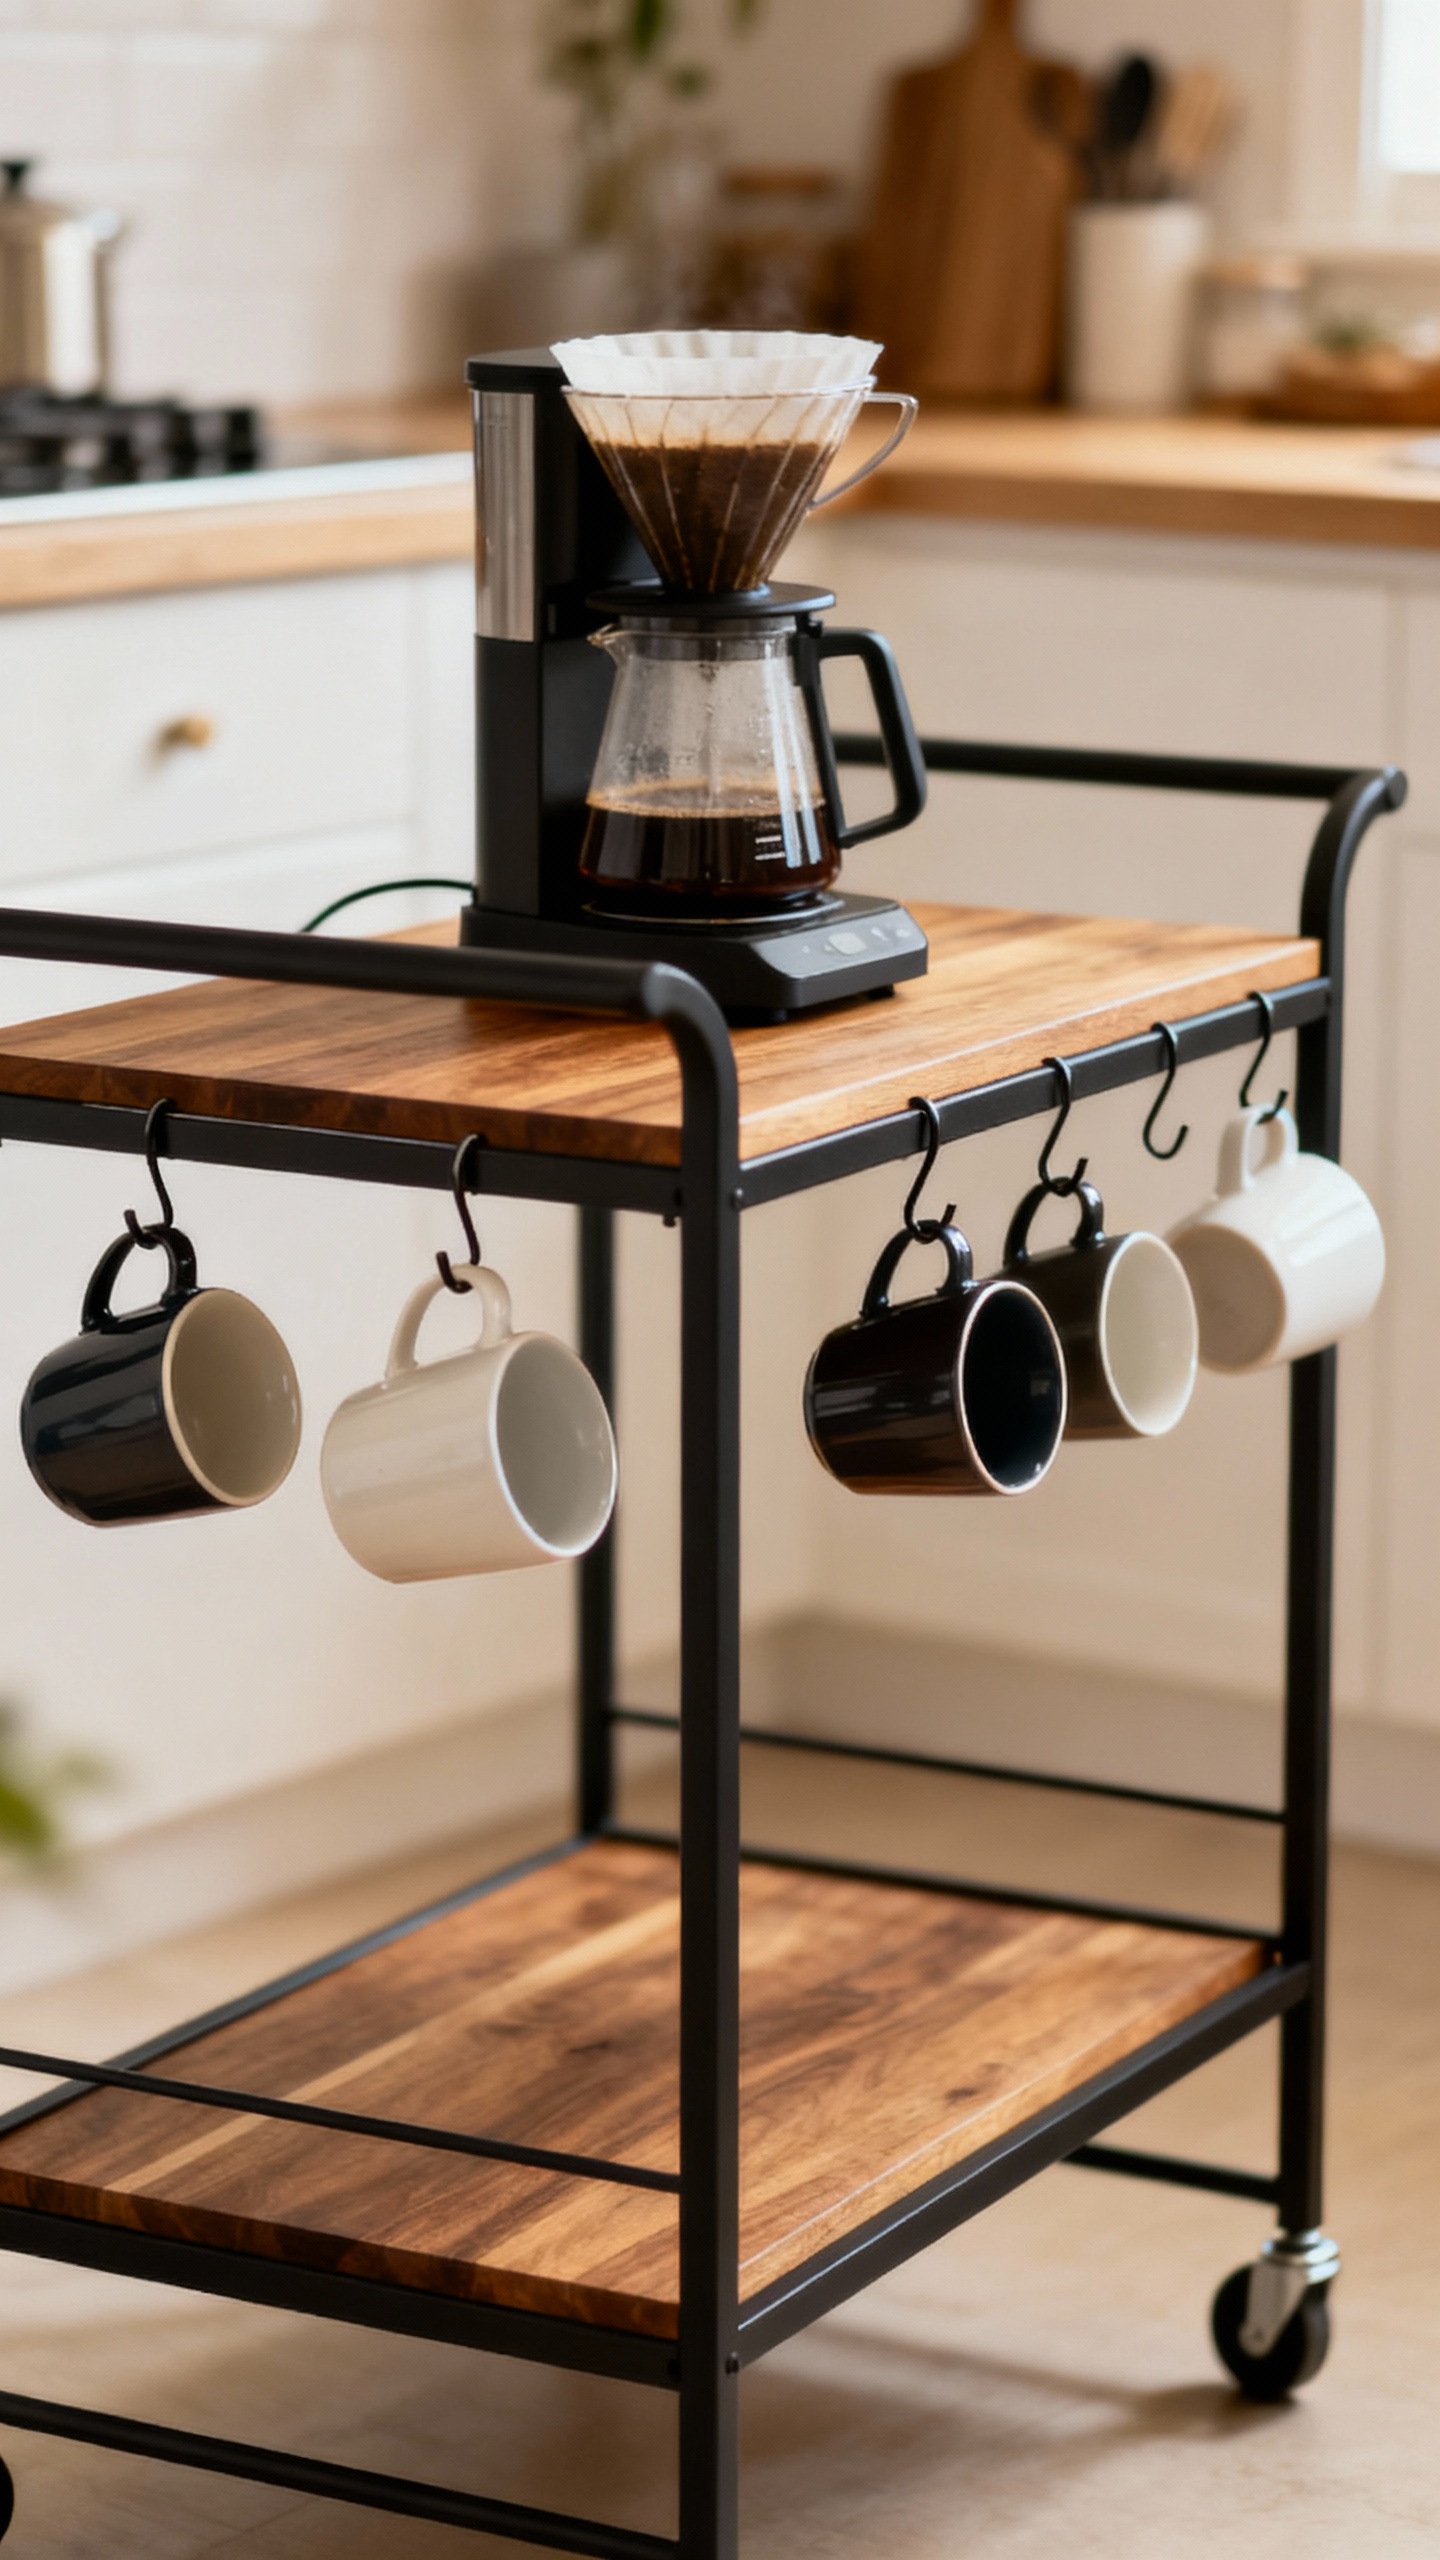
Use a rolling cart or a narrow console table. You can tuck it into a corner and roll it out when it’s showtime.
It’s basically a mobile café, minus the tip jar.
Choose Your Gear (Only What You’ll Use)
Don’t buy everything. This isn’t a coffee museum. You only need tools that match how you brew.
- Machine: Drip maker for “set it and forget it.” Espresso machine for lattes.Pour-over or AeroPress for control and portability. French press for bold and low-maintenance.
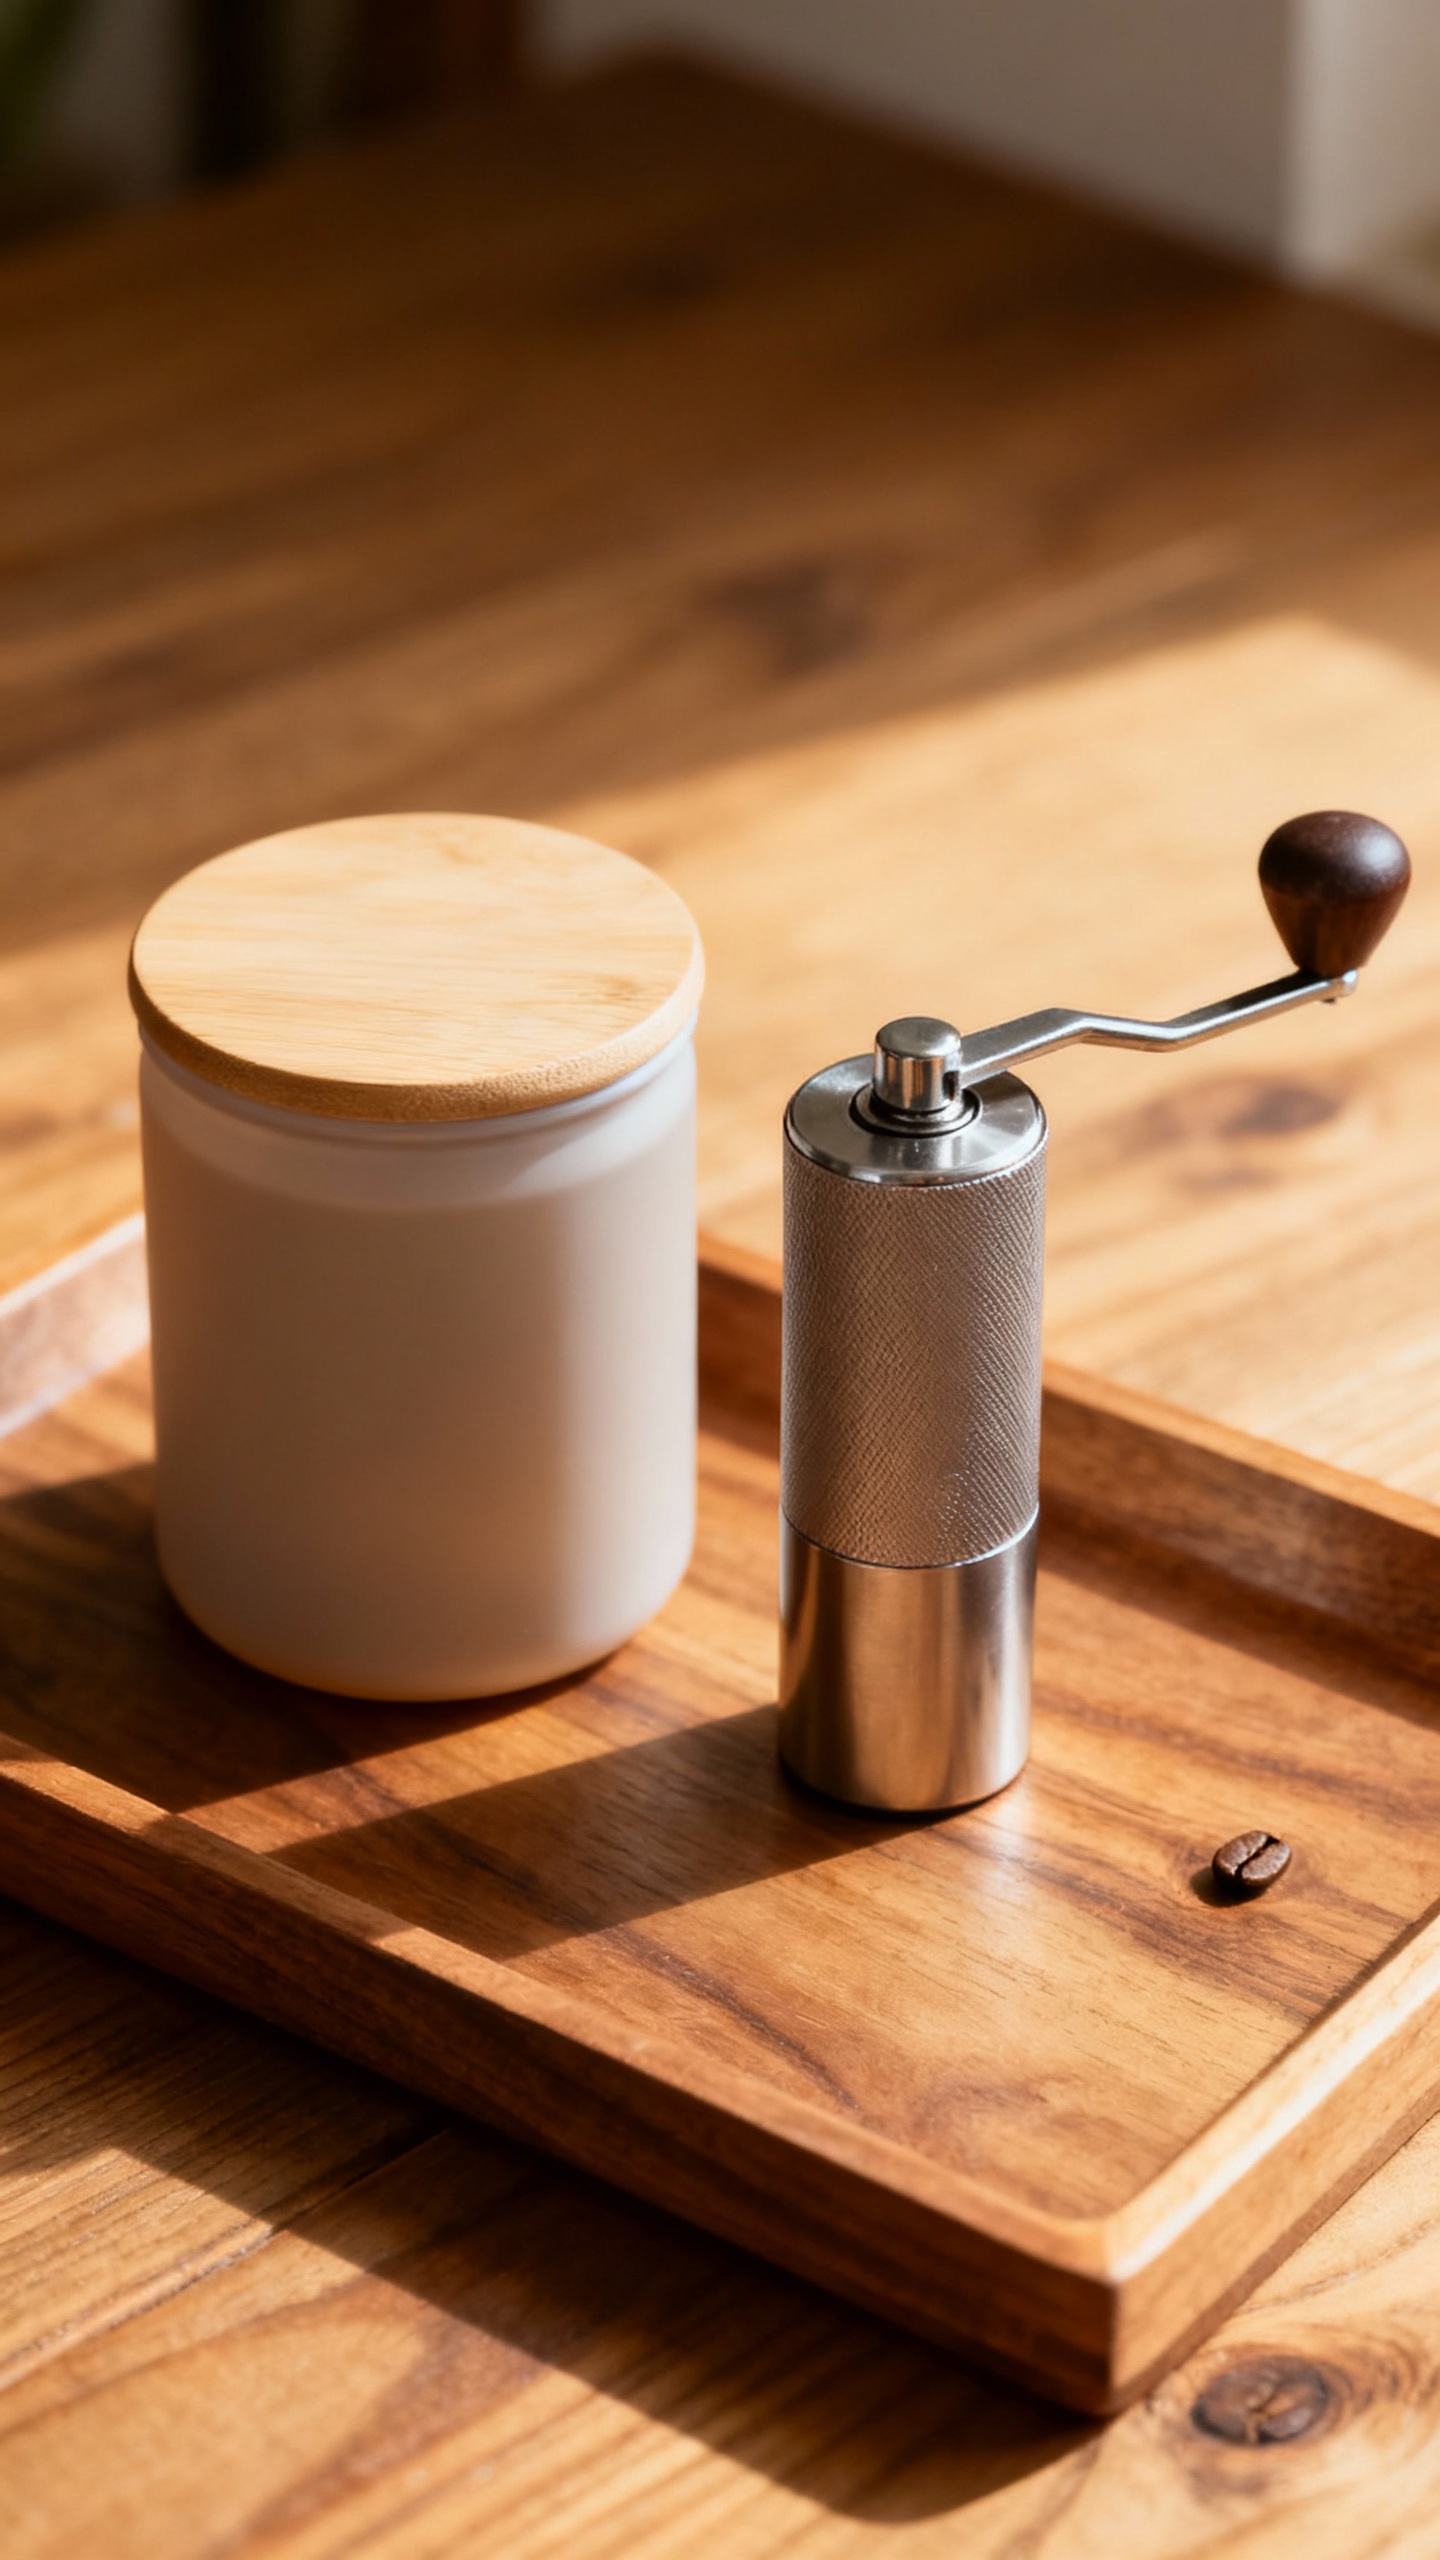
- Grinder: Burr grinder > blade grinder. Consistent grind = better flavor.Manual grinders work if you don’t mind a mini arm workout.
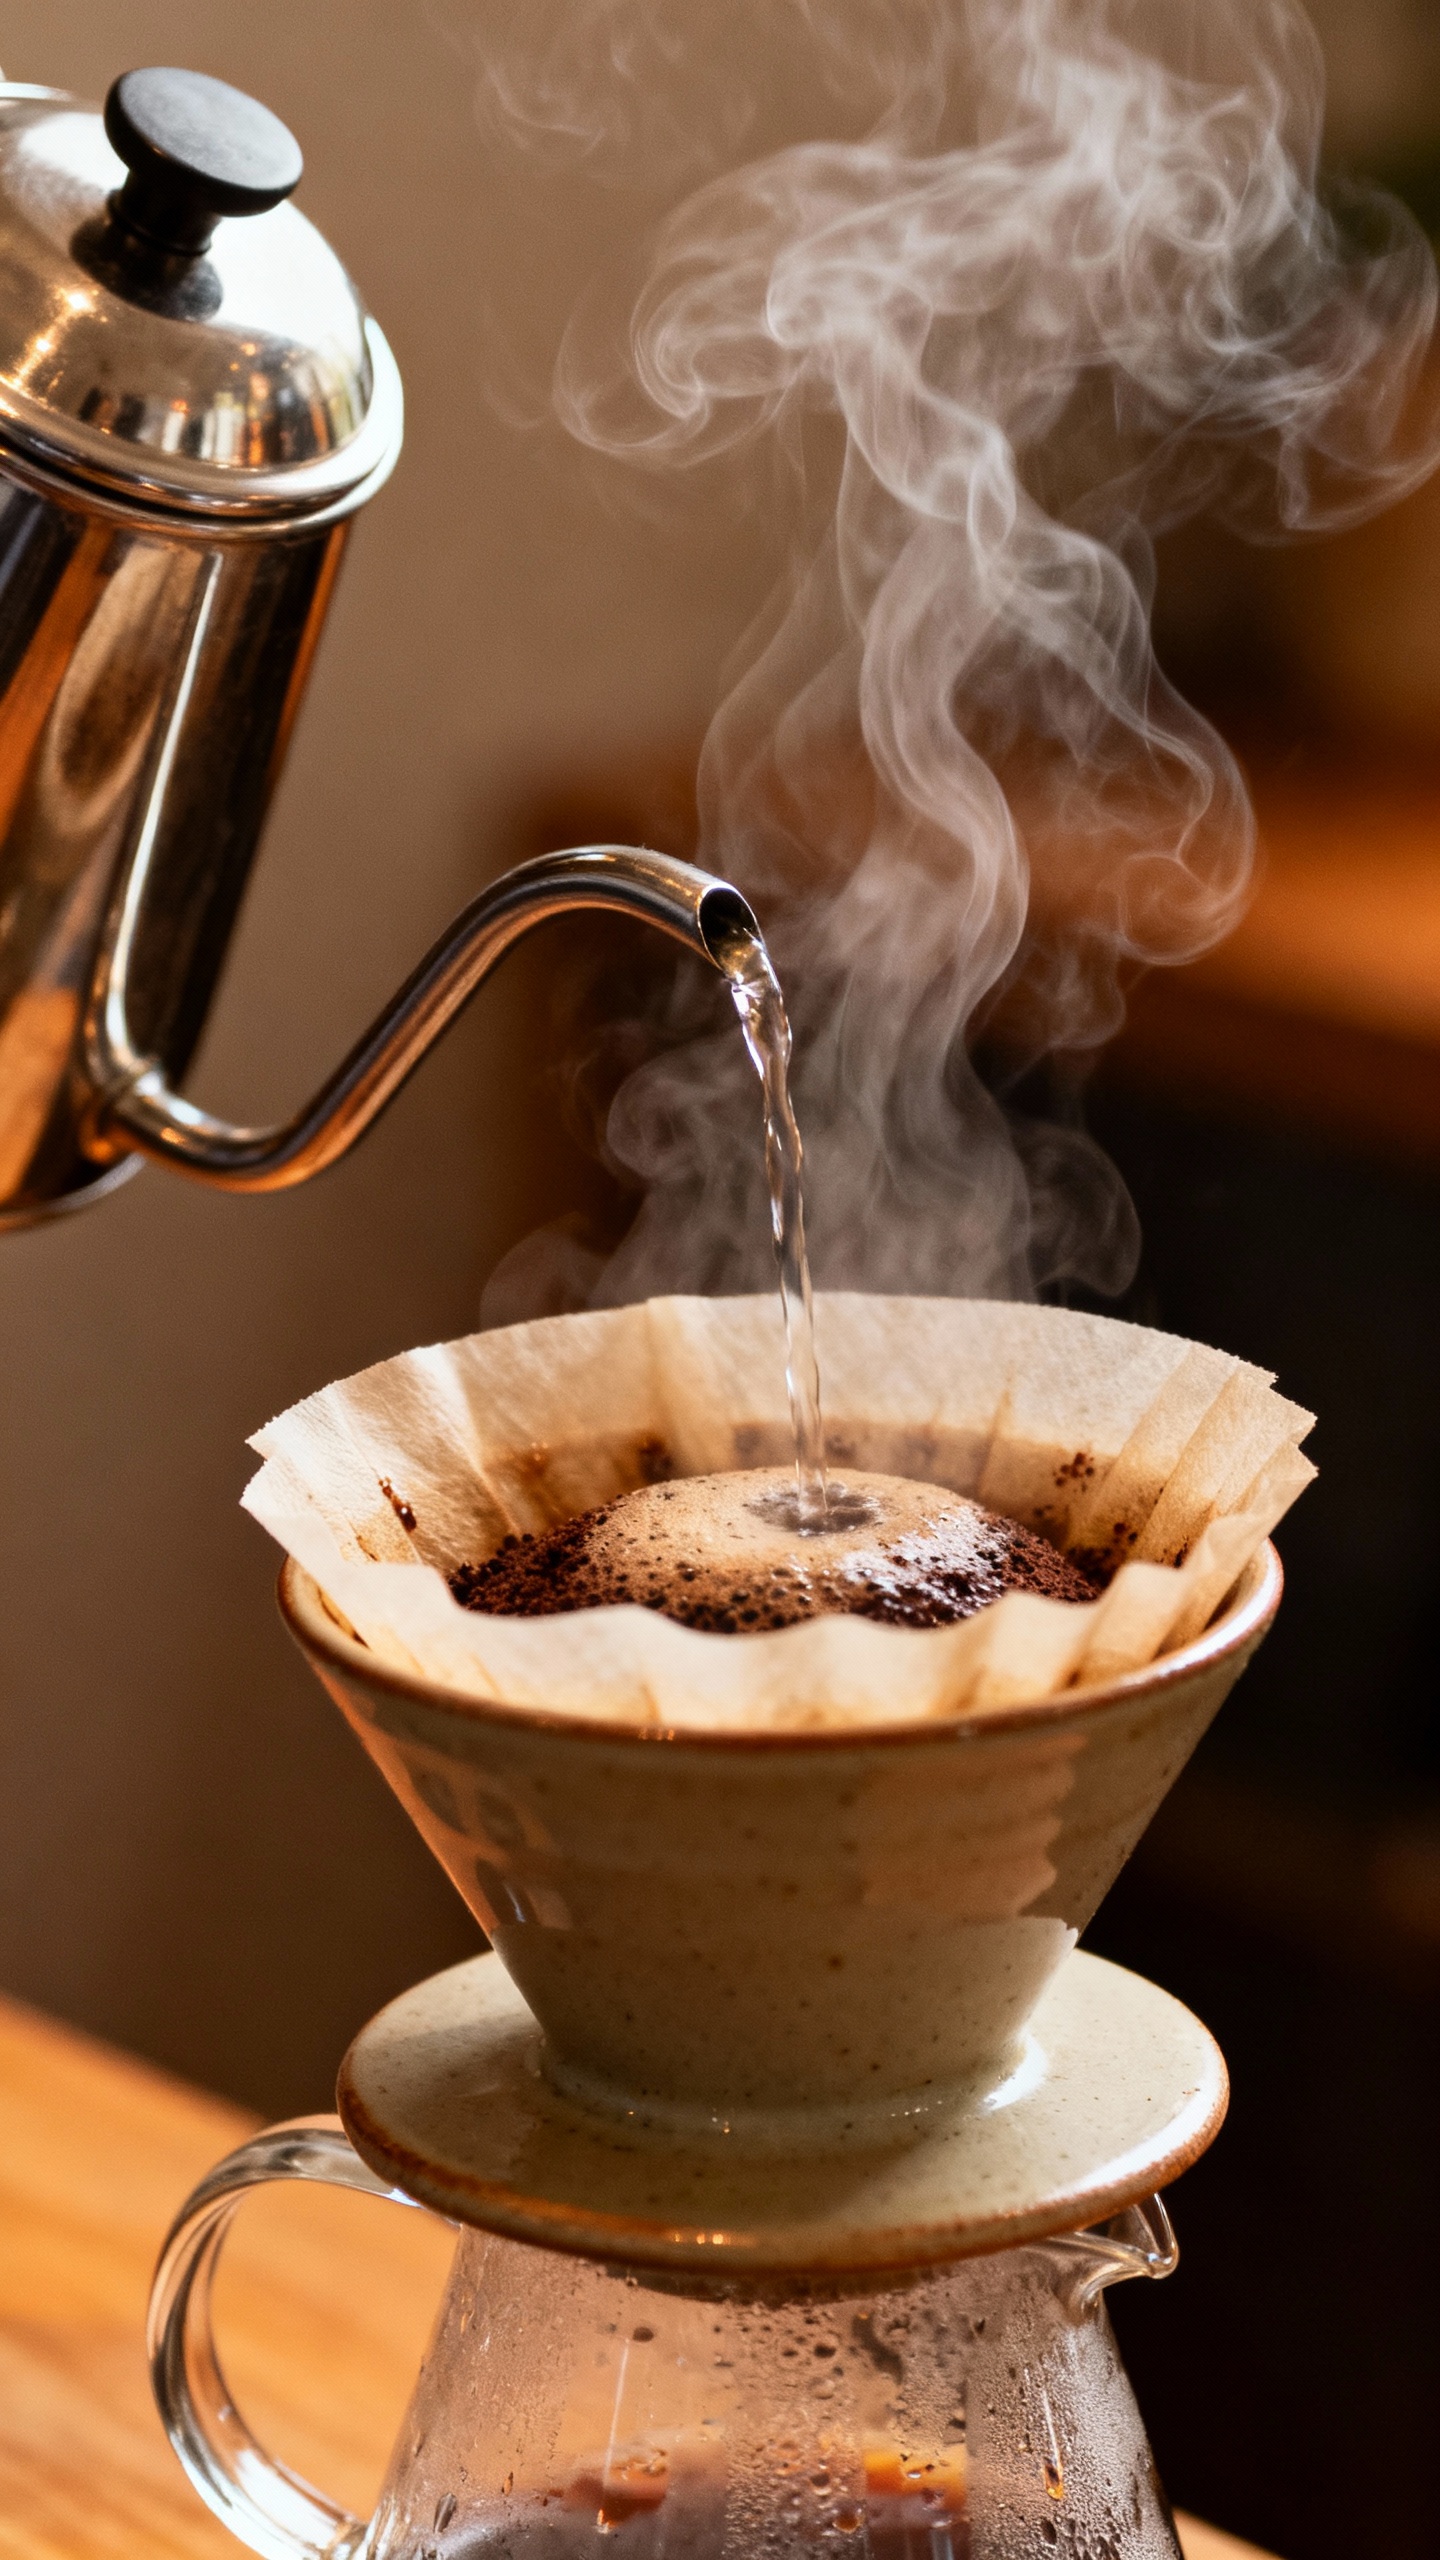
- Kettle: Gooseneck for pour-over precision. Electric kettle with temperature control if you like options (FYI: 195–205°F is the sweet spot).
- Scale and timer: Optional but awesome. Your coffee suddenly becomes repeatable instead of “hope and vibes.”
- Milk frother: Handheld whisk or a frother pitcher if you’re team latte.
IMO: Start Simple
If you’re new, grab a basic pour-over setup, a burr grinder, and a scale.
You’ll learn fast and upgrade smart.
Design the Layout Like a Barista
Think of your coffee station as a mini workflow. Everything should flow left-to-right or in a U-shape so your hands don’t hopscotch around.
- Prep zone: Beans, grinder, scale, filters.
- Brew zone: Machine or dripper, kettle, mugs.
- Finish zone: Milk, syrups, stirrers, napkins. The “ta-da” area.
Keep the Counter Clear
Use trays to contain gear.
Trays look intentional and make cleaning easy. One tray for brewing, one tray for mix-ins. Instant organization with zero effort.
Storage That Makes You Look Organized (Even If You’re Not)
You can absolutely look like you’ve got your life together with a few smart storage moves.
- Beans: Airtight, opaque containers.Label roast date and origin. Store on a shelf—not the freezer (condensation is the enemy).
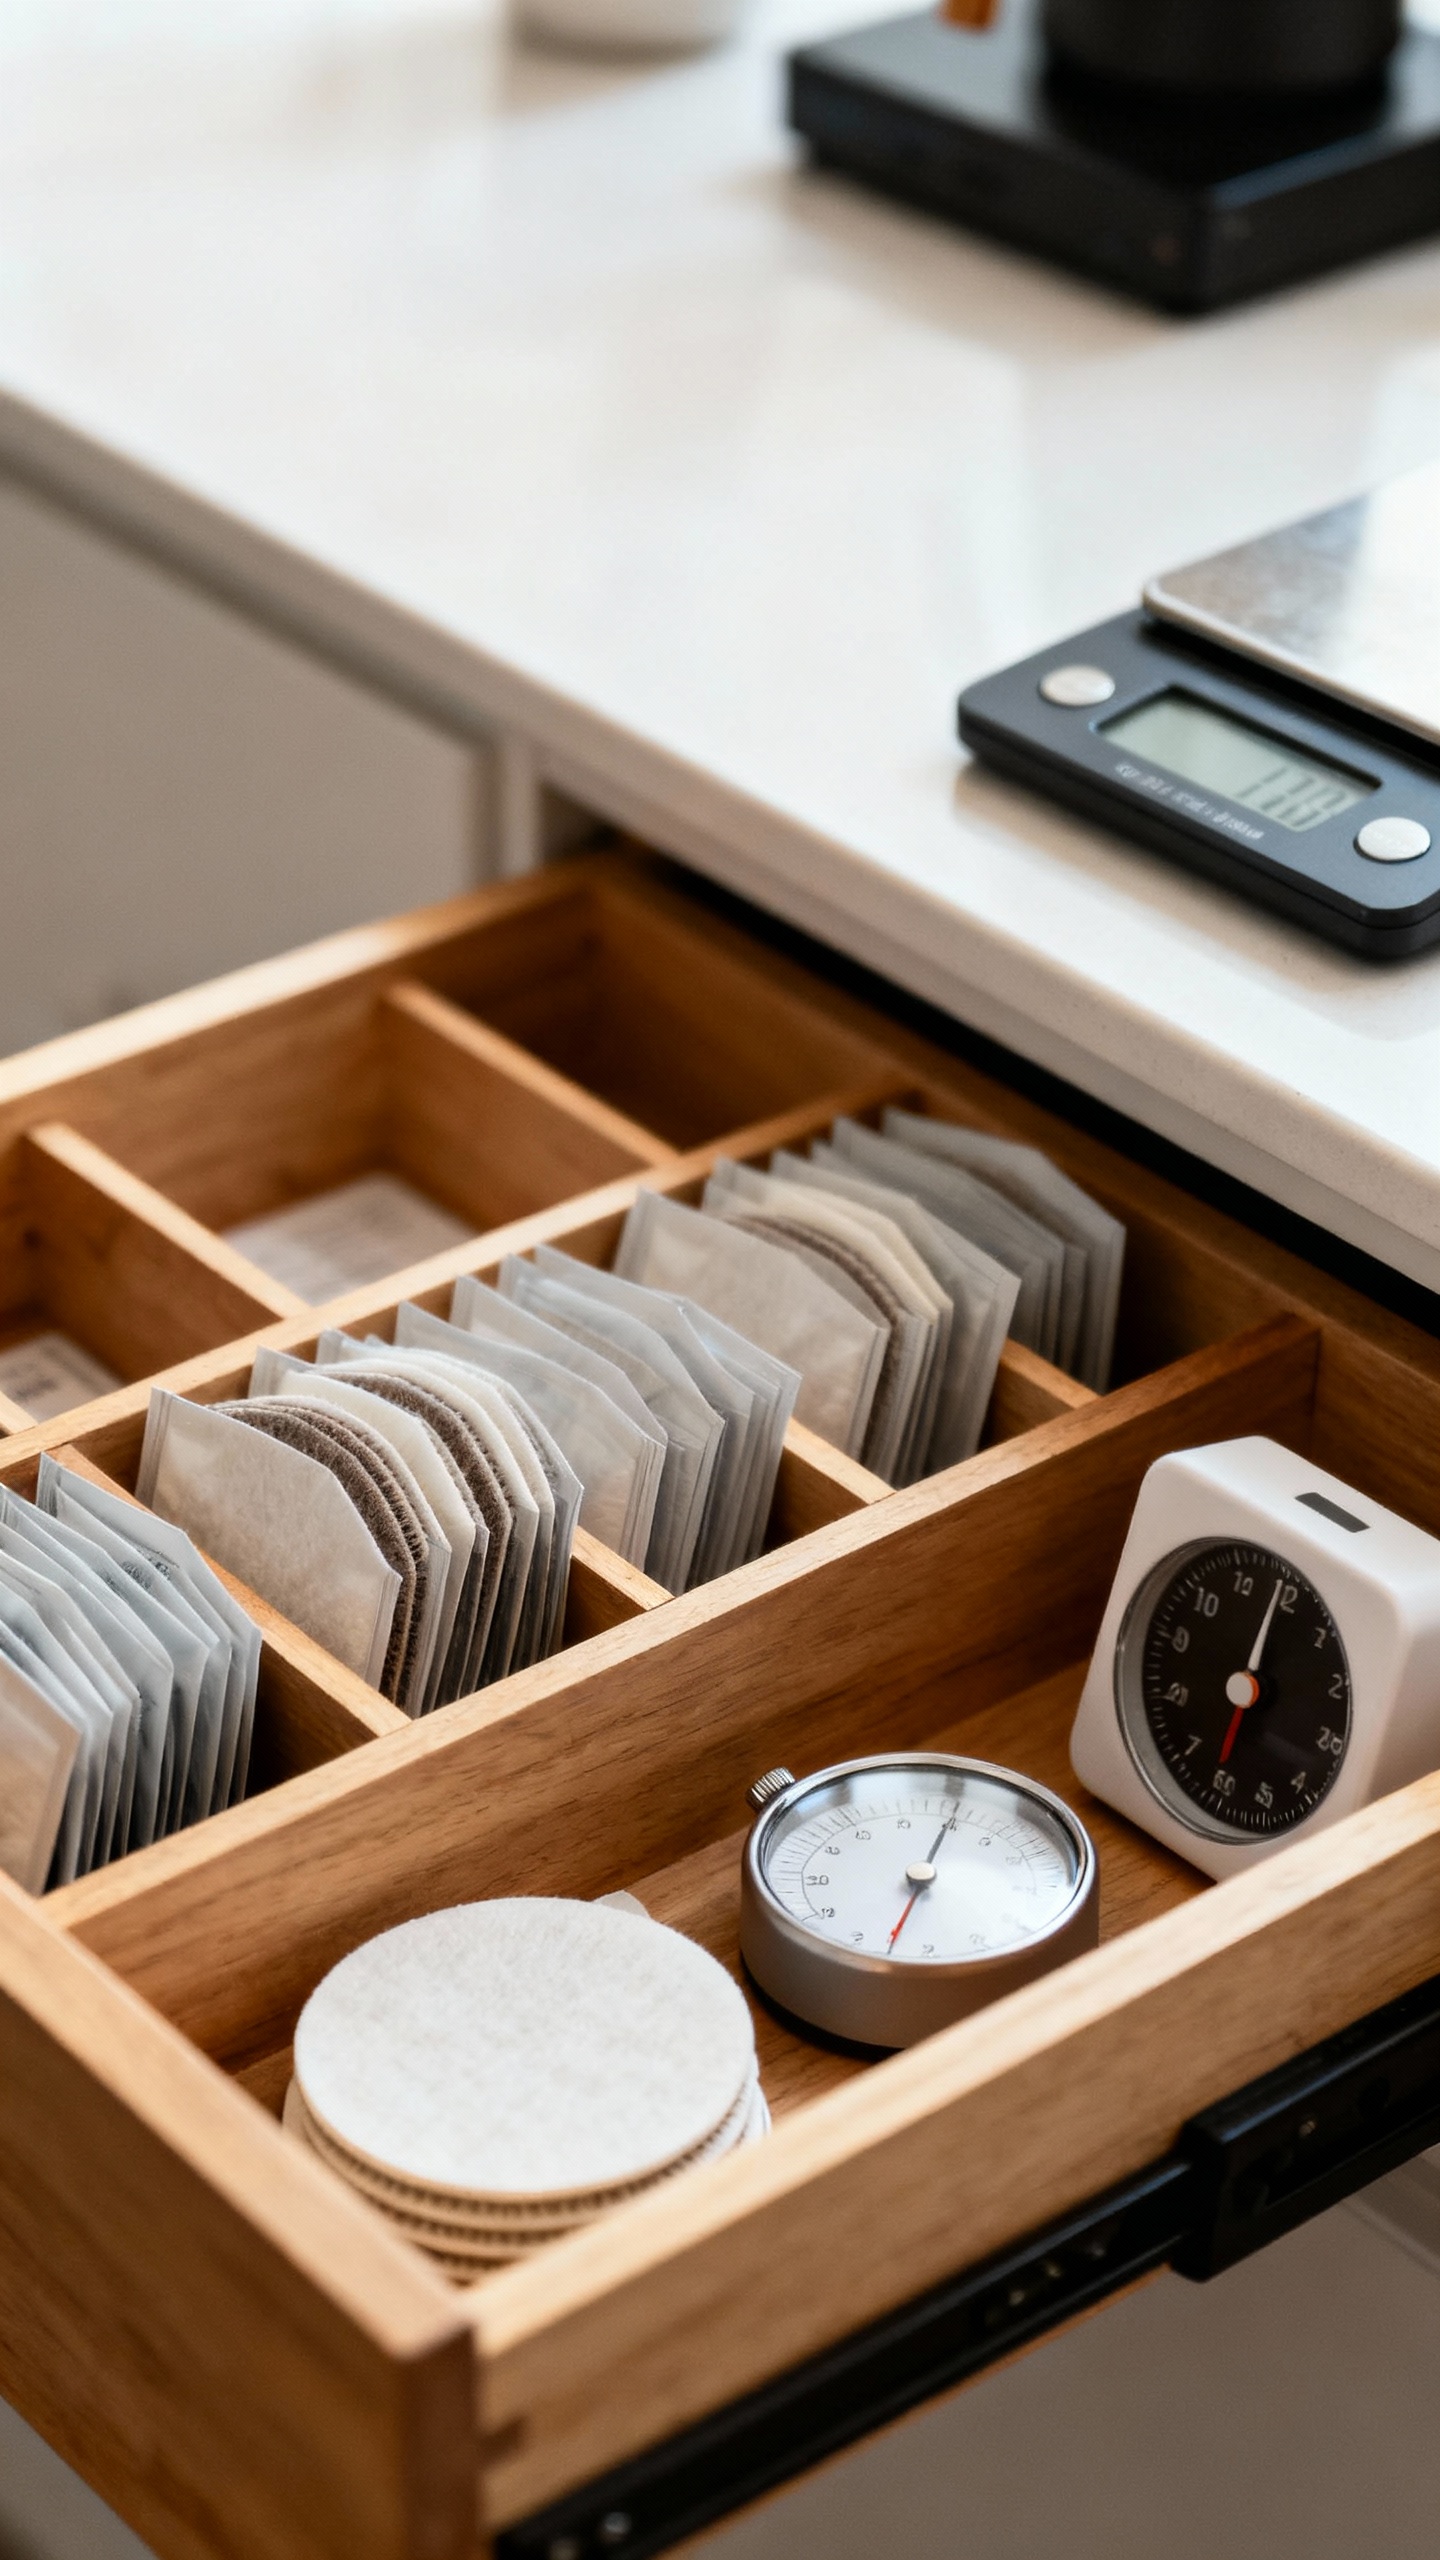
- Filters and small bits: Drawer dividers or clear bins. Bonus: stand filters upright for easy grabbing.
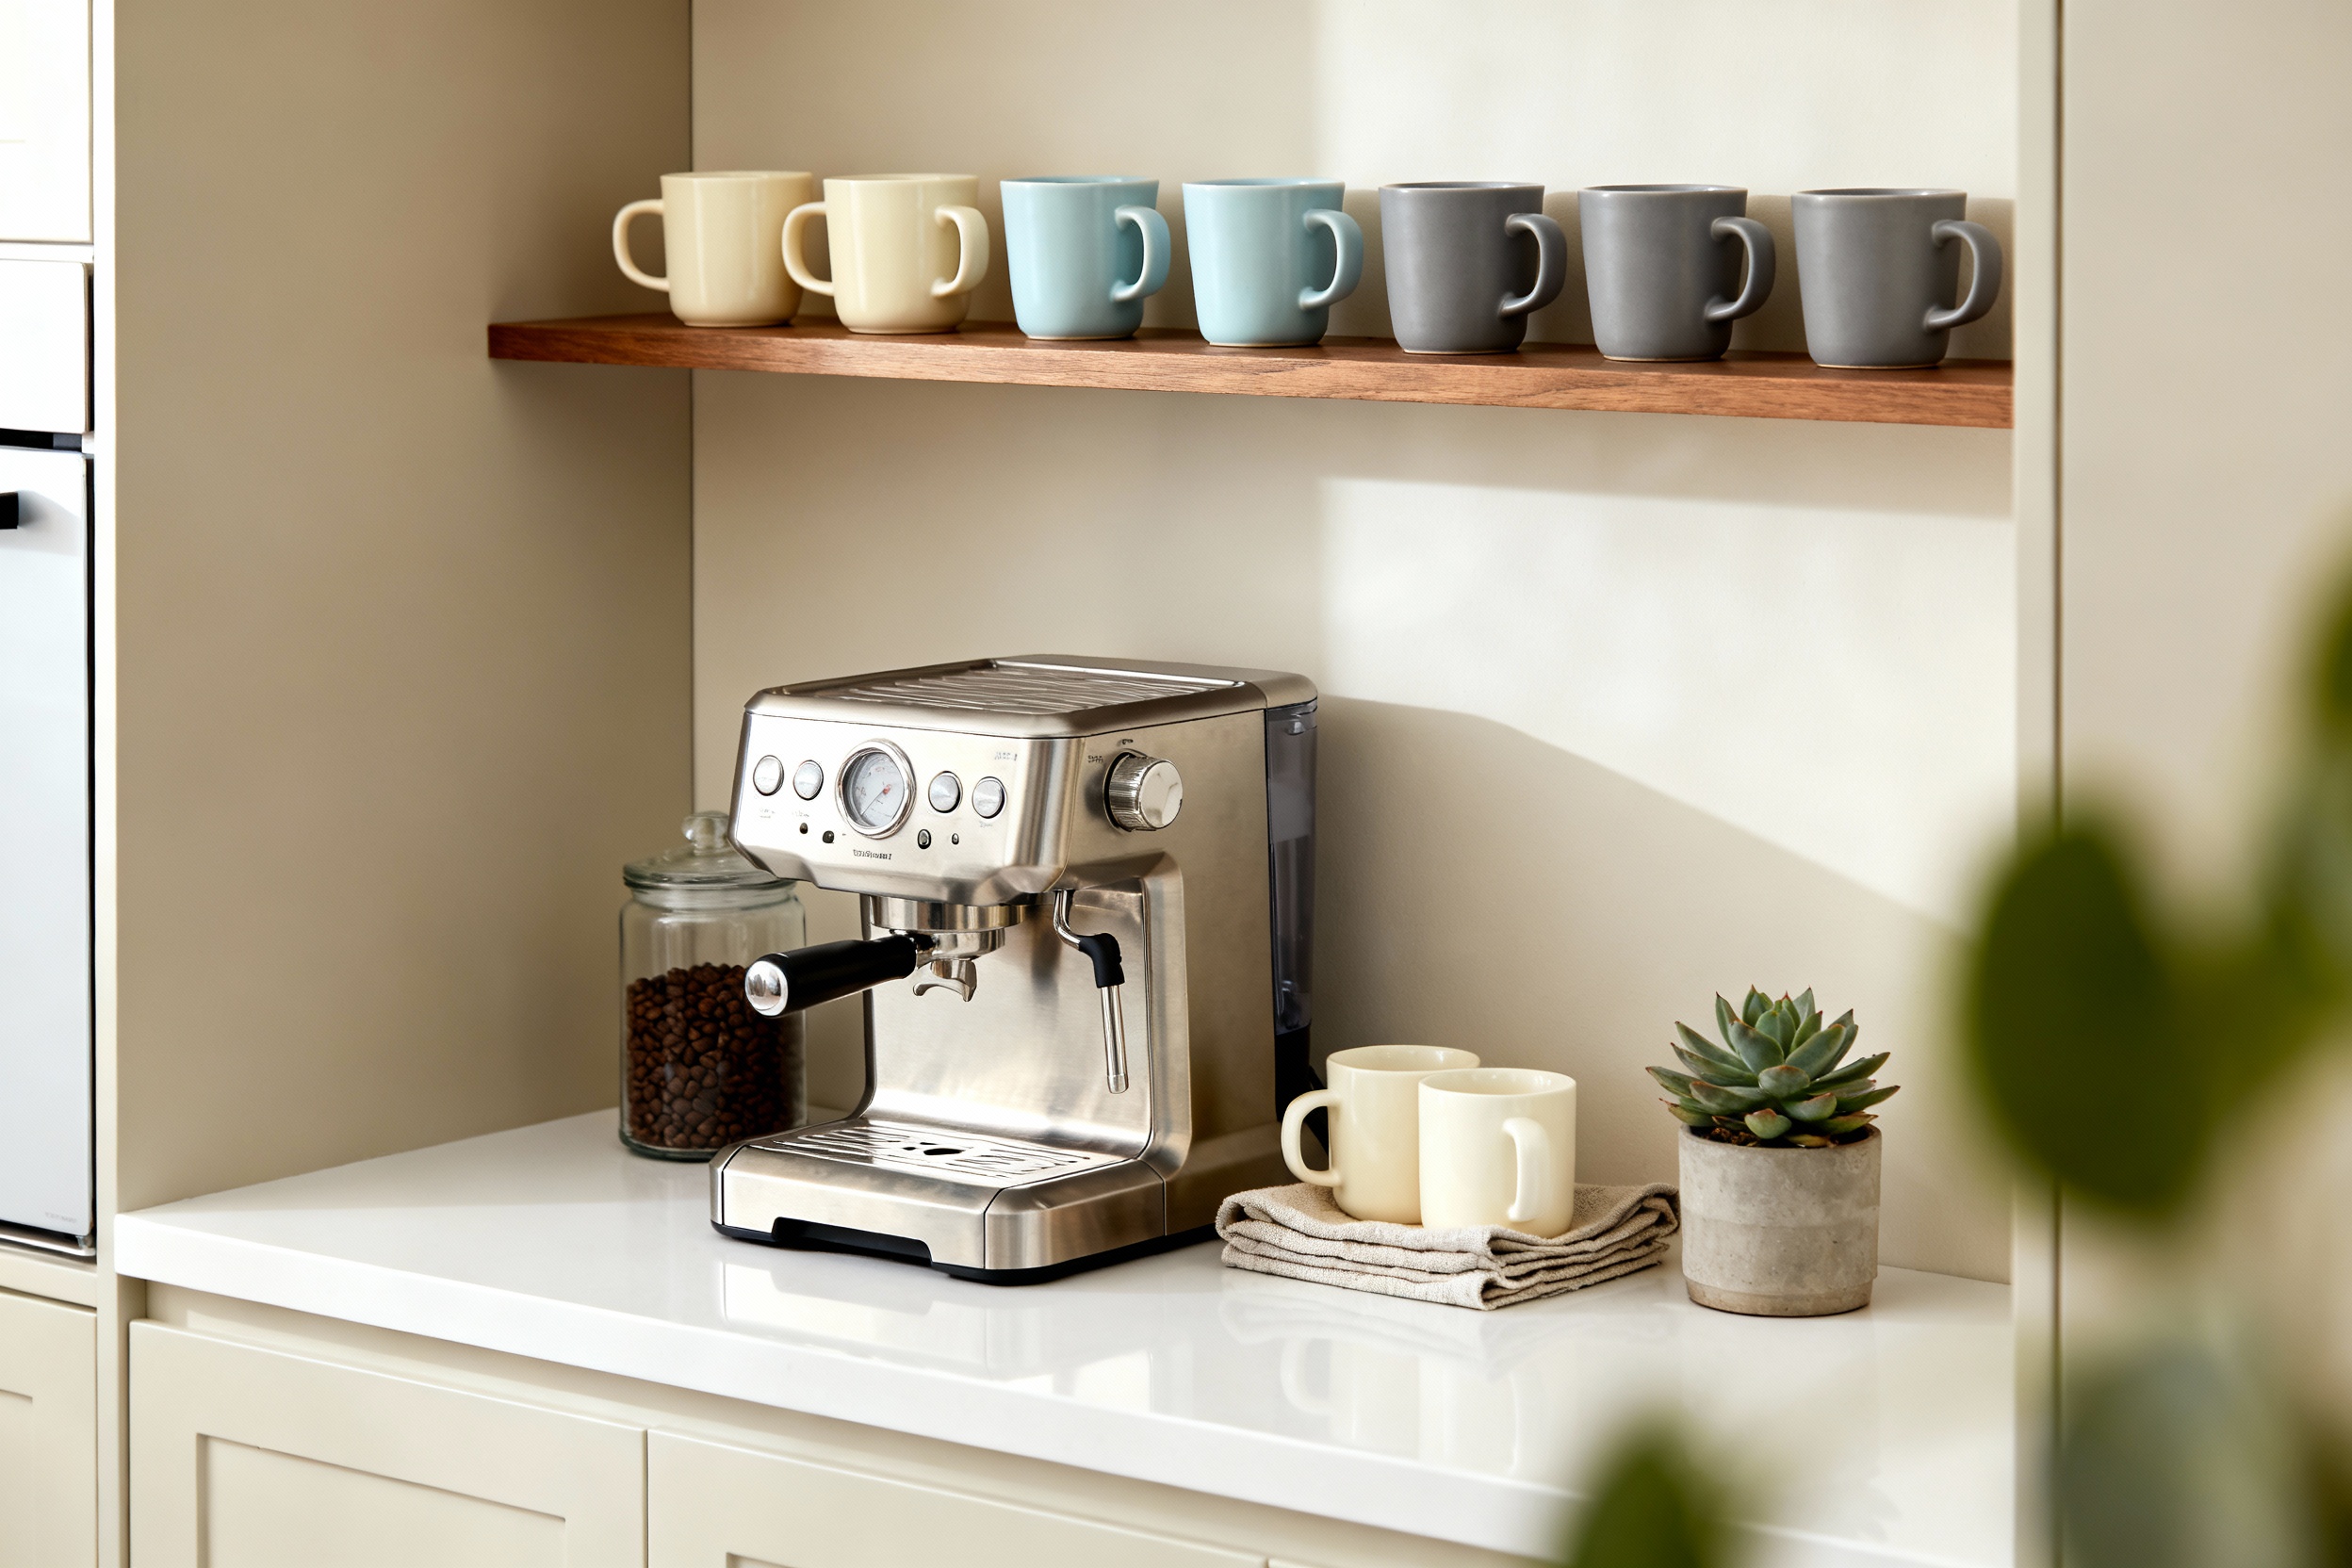
- Mugs: Floating shelves or hooks under cabinets.Display your favorites; stash the rest.
- Syrups and powders: Decant into matching bottles with pumps if you’re fancy. Or keep them grouped in a basket.
- Spoons and tools: A pen cup or small crock works perfectly. No one needs to rummage at 6 a.m.
Vertical Space = Free Real Estate
Mount a rail with S-hooks for towels, scoops, and a mini brush.
Add a narrow shelf above for jars. It’s functional and looks borderline Pinterest-y.
Dial In Your Coffee Ritual
A good station removes friction. Build a routine so you don’t think—you just brew.
- Pre-grind? Grind fresh when you can.If you must pre-grind, do it nightly and use an airtight jar.
- Set your inputs: Coffee-to-water ratios matter. Start at 1:16 for pour-over and adjust taste from there.
- Heat control: Use temperature presets or bring water to a boil then cool 30 seconds.
- Milk strategy: Keep a small pitcher ready. Rinse after every use to dodge weird milk funk.
Flavor Experiments
Keep a tiny notebook.
Track bean, grind setting, dose, and brew time. When a cup is perfect, you’ll know exactly how to repeat it. Science, but make it cozy.
Style It Without Going Overboard
You want a vibe, not a theme park.
Add personality with a few simple moves.
- Color palette: Stick to 2–3 colors. Black, wood, and white always look clean.
- Textures: Wood tray, ceramic mugs, linen towel. Boom—warm and tactile.
- Art: A small print or menu board.Keep it simple so it doesn’t feel cluttered.
- Greenery: A tiny plant softens all the hard surfaces. Try a pothos. It’s basically unkillable.
Seasonal Switch-Ups
Swap one jar for pumpkin spice in fall, add peppermint sticks in winter, iced coffee glasses in summer.
Low effort, high delight.
Clean As You Go (Future You Will Thank You)
Nobody wants a sticky coffee corner. Build these into your routine:
- Daily: Wipe the tray and counter. Empty the grounds.Rinse the dripper and frother.
- Weekly: Wash the carafe with baking soda and hot water. Backflush espresso machines if applicable.
- Monthly: Descale machines and kettles. Replace water filters if you use them.
- Always: Keep a microfiber cloth and a small brush nearby.Crumbs happen.
Water Quality Matters
If your coffee tastes flat or your machine scales up fast, filter your water. A countertop filter or bottled spring water works. IMO, it’s the easiest upgrade most people skip.
Budget, Upgrades, and When to Splurge
You don’t need a $2,000 espresso machine.
Start where you are and build as you go.
- Best budget moves: Burr grinder, scale, gooseneck kettle.
- Mid-tier treats: Thermal carafe drip maker, automatic frother, sleek storage jars.
- Splash-worthy splurges: Consistent prosumer espresso machine, precision grinder, fancy water kettle with profiling.
When To Upgrade
If you’ve maxed out your technique and still want better, it’s time. Otherwise, hone your grind, dose, and timing first. Skills beat gear—controversial, but true.
FAQ
How many mugs should I keep at my coffee station?
Keep 4–6 within easy reach, tops.
Store the rest elsewhere. The fewer you display, the less clutter you’ll battle, and the faster you’ll find your favorite.
Do I really need a burr grinder?
Short answer: yes. Burr grinders give consistent particle size, which means balanced extraction and better flavor.
Blade grinders chop unevenly—some bits over-extract, some under-extract. Your taste buds can tell.
What’s the best way to store coffee beans?
Use airtight, opaque containers at room temperature. Avoid sunlight, air, and moisture.
Buy in small amounts you’ll finish in 2–4 weeks. Resist the freezer unless you portion and seal extremely well.
How do I set up for both hot and iced coffee?
Dedicate a small section to cold: tall glasses, reusable ice molds, a jar for simple syrup. Brew hot at a slightly stronger ratio (like 1:15) and pour over ice, or keep a cold brew concentrate in the fridge for instant iced coffees.
Can I combine a tea station with my coffee setup?
Totally.
Just separate zones: one basket for tea, one for coffee. If you share a kettle, clean the spout and avoid flavored coffee oils that might ghost into your Earl Grey. Boundaries matter—even for beverages.
What’s a simple upgrade that makes a big difference?
Filter your water and use a scale.
Those two changes tighten up your brew more than almost any gadget. FYI, they also make your results consistent, which saves time and beans.
Conclusion
Your perfect coffee corner doesn’t need to be big, expensive, or complicated. It just needs to work for your routine and look good enough that you want to use it every day.
Start with the basics, add smart storage, and build a workflow that feels effortless. Then sip, smile, and enjoy the daily ritual—no barista required.