
Your kitchen cabinets should work harder than you do. If you open a door and get attacked by a stack of lids, we need a reset. You don’t need a full reno—just smarter systems that keep everything where you need it.
Ready to stop playing Tupperware Jenga?
Start with a ruthless edit
Before you organize anything, remove everything. Yes, all of it. Toss chipped mugs, warped lids, and gadgets you haven’t touched since 2017.
You’ll create space instantly and organize what you actually use.
Still on the fence about that sixth spatula? Ask: Do I use this weekly? If not, donate it or store it outside prime cabinet space. Prime real estate = eye-level and easy reach.
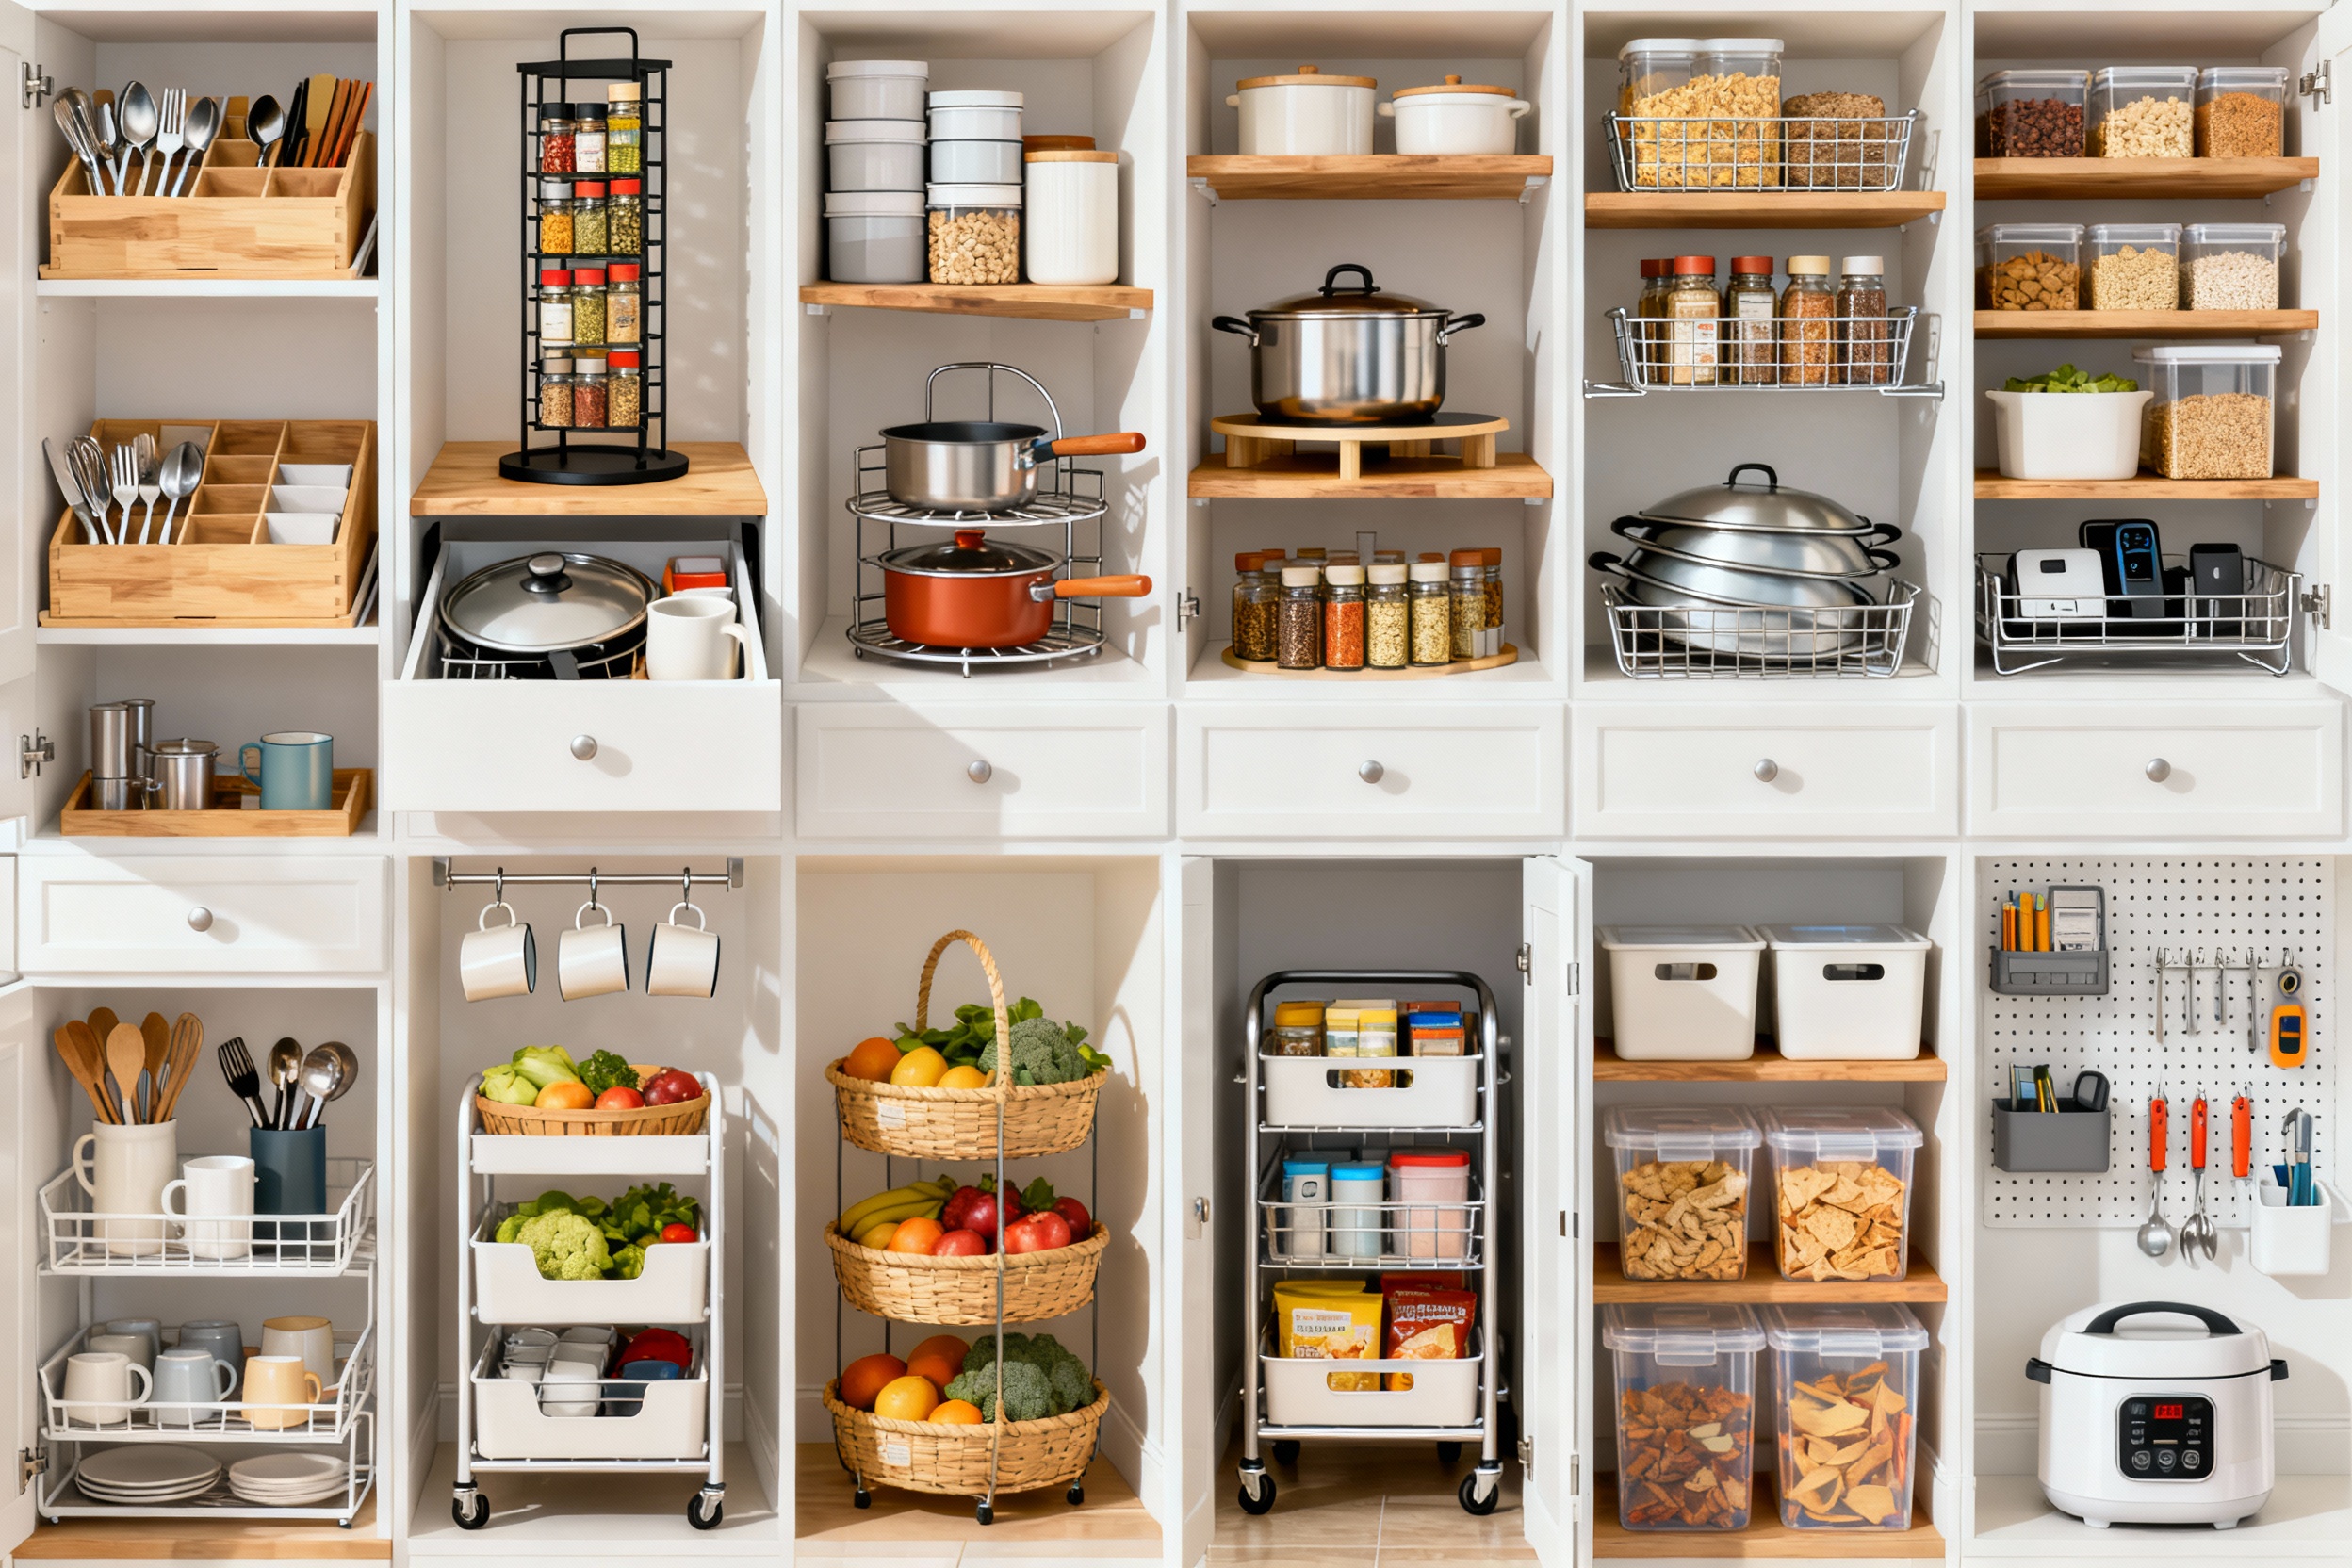
Make zones, not chaos
Group items by task so your brain goes on autopilot.
Coffee gear by the mugs, baking goods together, snacks near kid height (unless you’re hiding them—no judgment). Create a clear “home” for each category.
- Cooking zone: oils, spices, pans near the stove
- Baking zone: flours, sugars, mixing bowls together
- Beverage zone: mugs, tea, coffee filters by the kettle
- Grab-and-go zone: lunch boxes, wraps, portable snacks
Zones keep things logical so you never think “where does this go?” again. IMO, that’s the dream.
Max out vertical space
Cabinets waste vertical space by default.
Fix that with smart add-ons that multiply your shelves without a remodel. You’ll get way more storage with zero power tools.
1) Shelf risers
Use risers to stack plates, bowls, or canned goods. They prevent the dreaded tall-stack collapse and make everything visible.
2) Undershelf baskets
Clip these under a shelf to hold wraps, small plates, or napkins.
They double your storage in seconds. FYI: measure your shelf thickness first so they actually fit.
3) Stacking bins and tubs
Great for snacks or baking items. Label the front and you basically run a tiny store in your cabinet.
Tame lids, pans, and that chaotic bakeware
If anything makes us rage-quit the kitchen, it’s pan and lid management.
Good news: a few cheap organizers fix 90% of it.
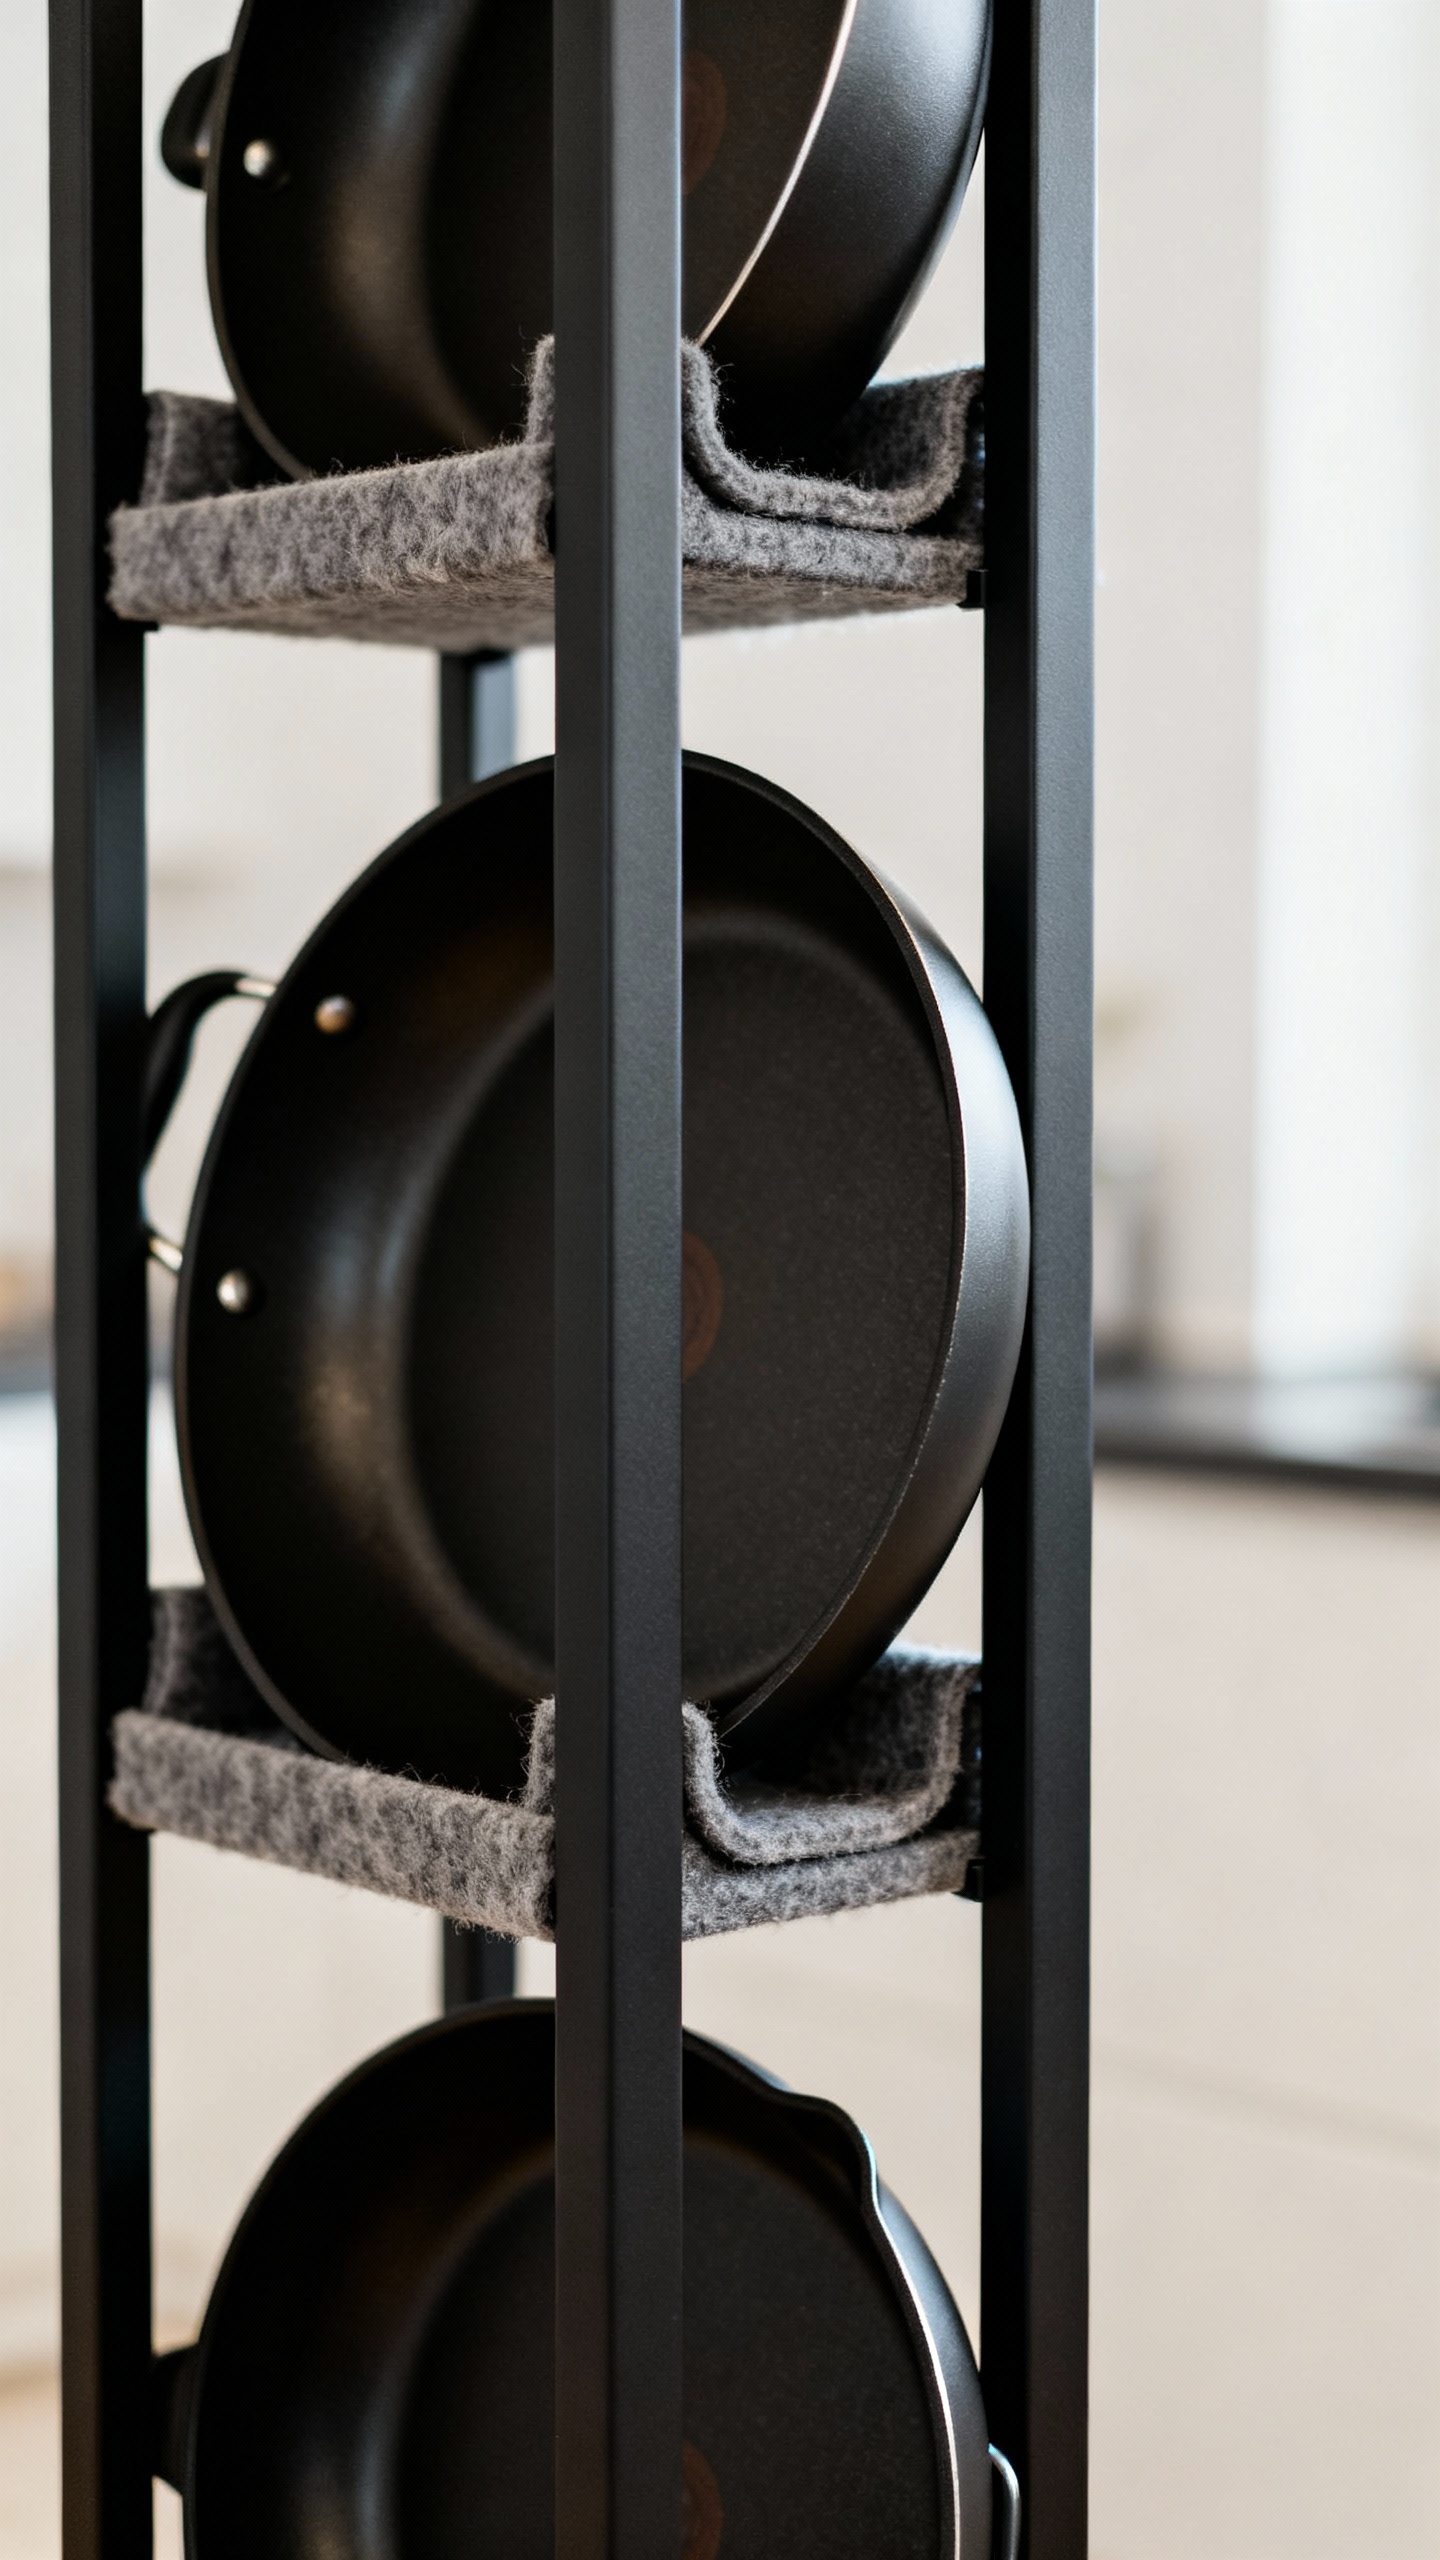
4) Vertical pan racks
Stand frying pans on their sides with a rack so you grab one without waking the whole stack. Add a protective liner if you’re precious about nonstick (same).
5) Lid organizers
Use a file sorter or a dedicated lid rack. Store lids vertically or on the cabinet door if you have clearance. Match lids to containers by size or brand to avoid chaos.
6) Bakeware dividers
Cutting boards, sheet pans, muffin tins: all love vertical storage.
Install tension dividers or use adjustable wire ones. Instant bakery vibes.
Spin, slide, and pull for access
Deep cabinets swallow stuff. Add movement so you see everything without crawling on the floor like a raccoon.
7) Lazy Susans for corners
Turntables in awkward corners make oils, sauces, and condiments easy to grab.
Use a rimmed style so nothing bails mid-spin.
8) Pull-out shelves
Retrofit lower cabinets with pull-out trays. You’ll stop losing the back row and save your knees. DIY kits exist and they’re surprisingly forgiving.
9) Sliding baskets
Wire baskets mounted on tracks work for snacks, potatoes, or plastic containers.
Choose full-extension slides for the win.
Dial in the small stuff
Tiny things cause big messes. Corral them or they’ll stage a coup. You need containers, labels, and a plan.
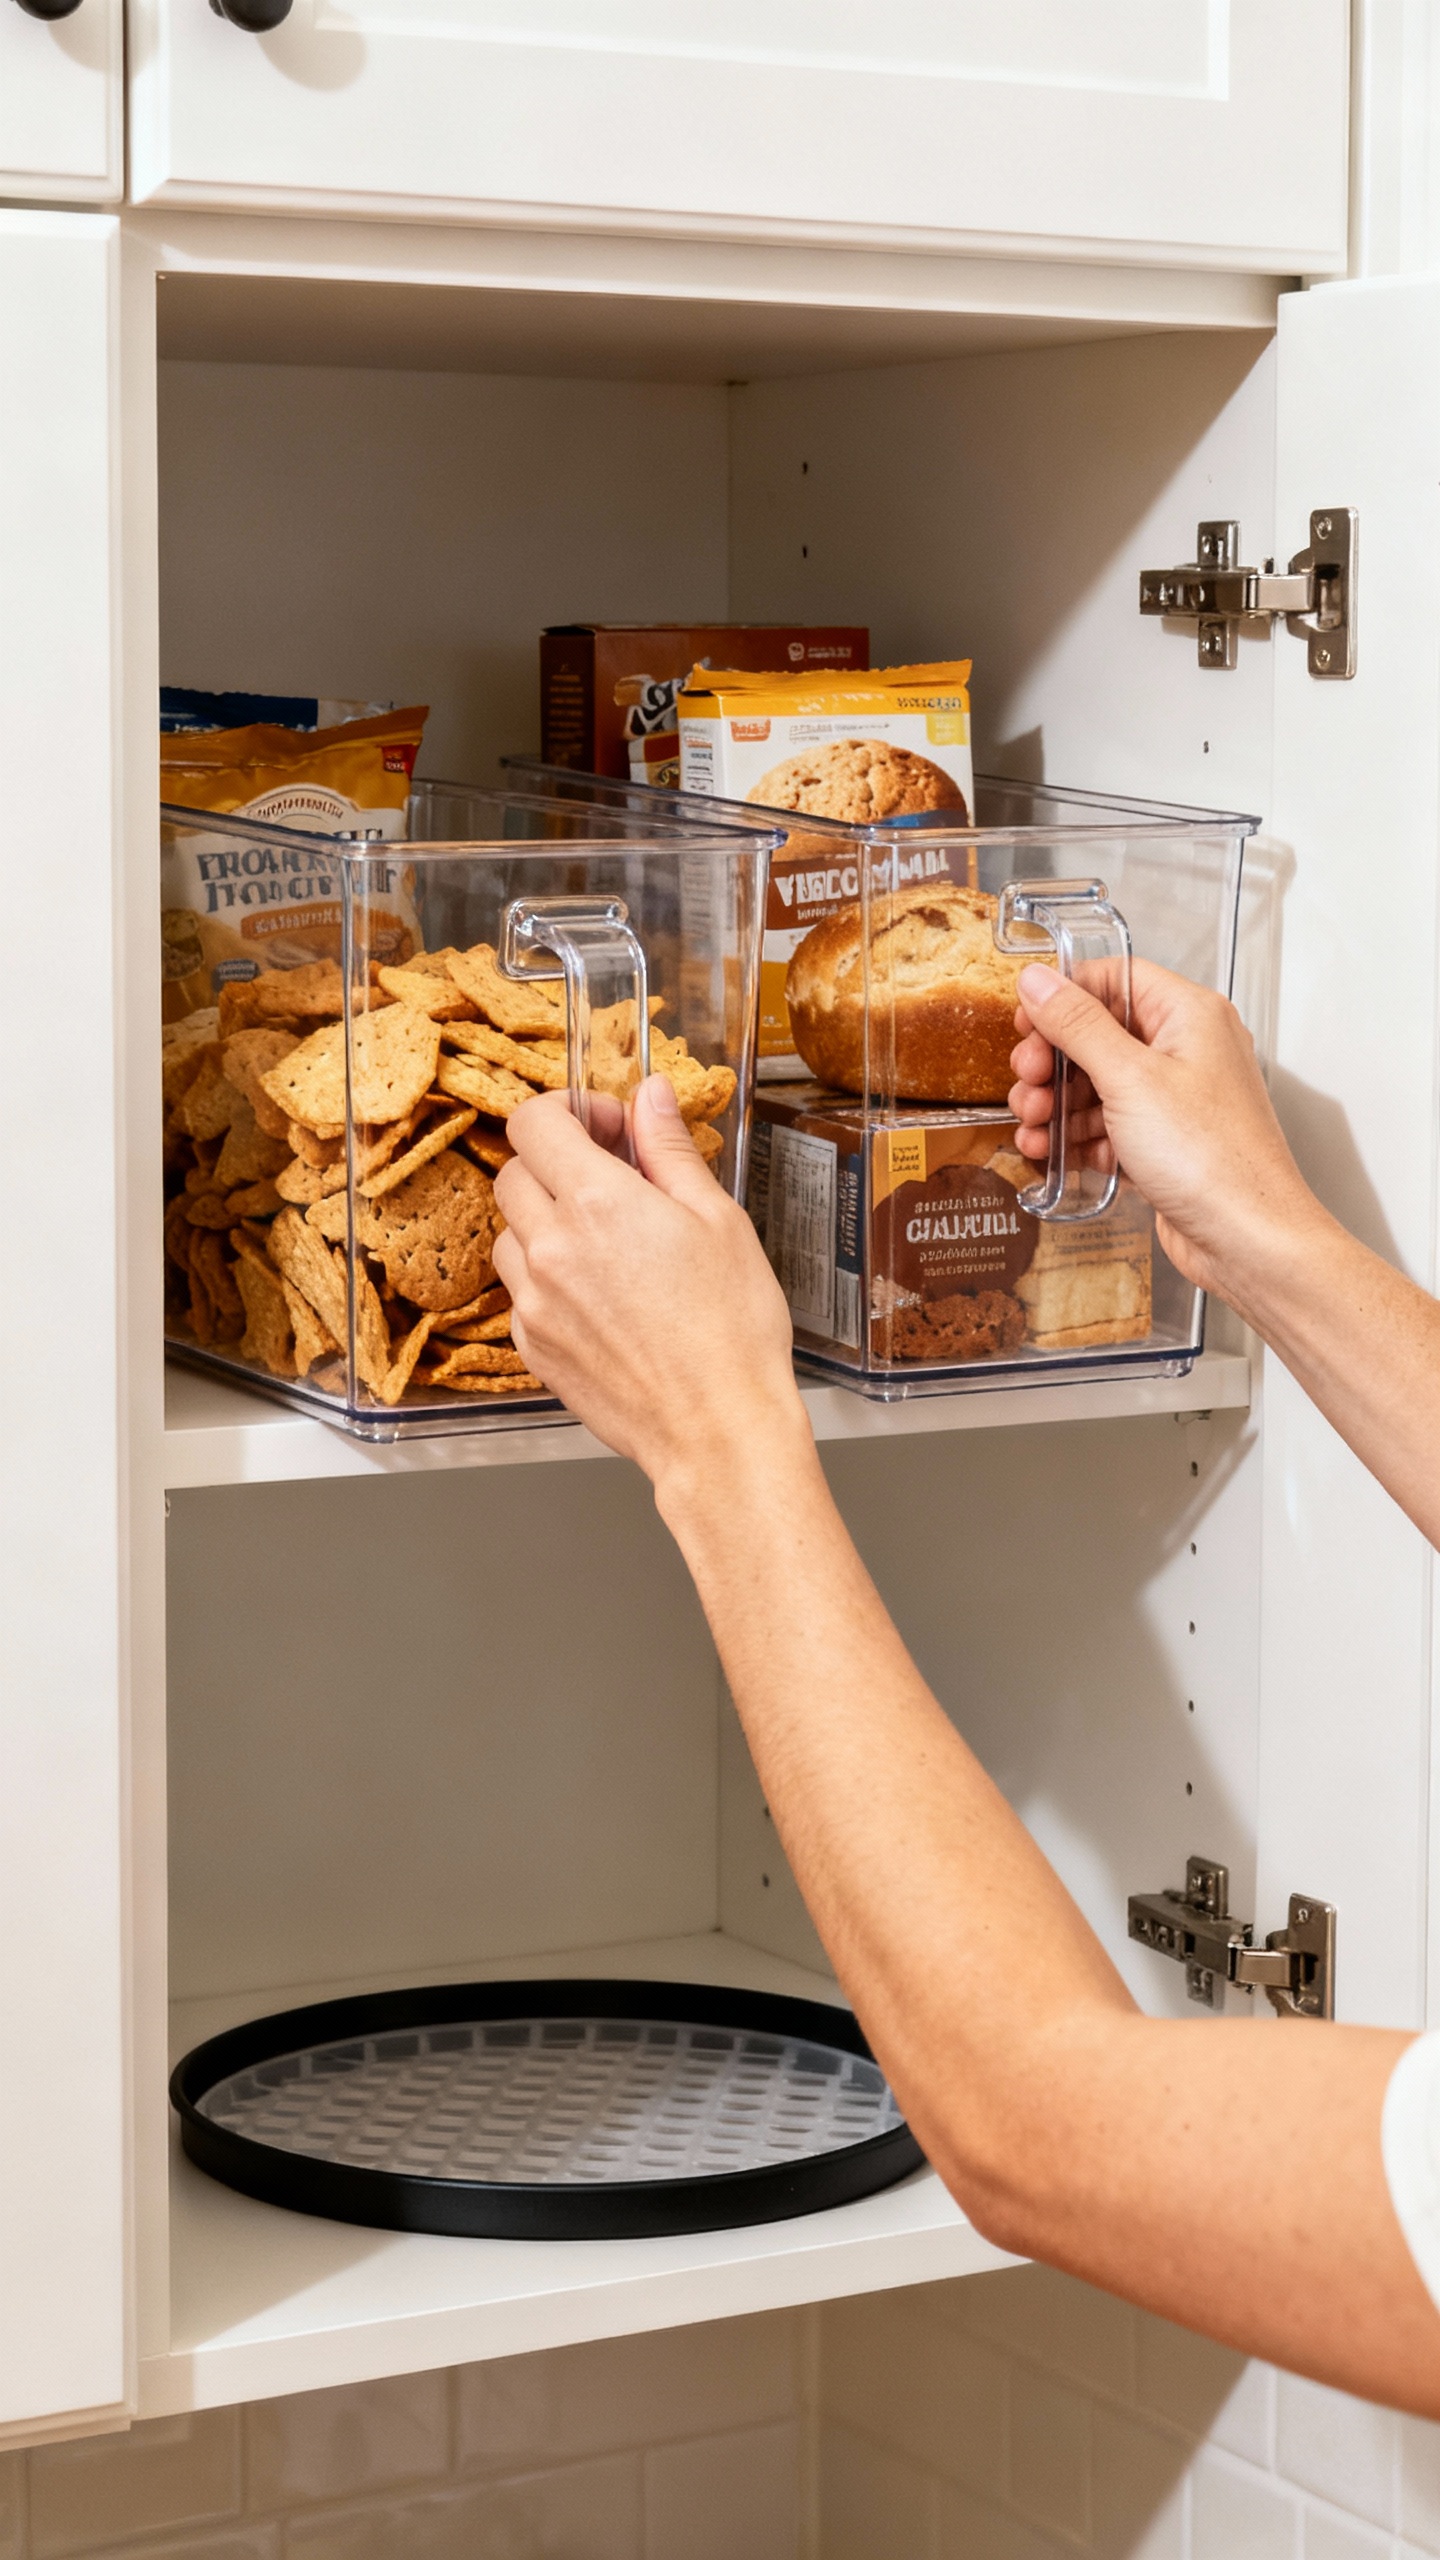
10) Clear bins for categories
Use clear, lidded bins for tea, spices, snack packs, and baking bits.
Label the front—words prevent “mystery bin” energy. Stackable if you’re tight on space.
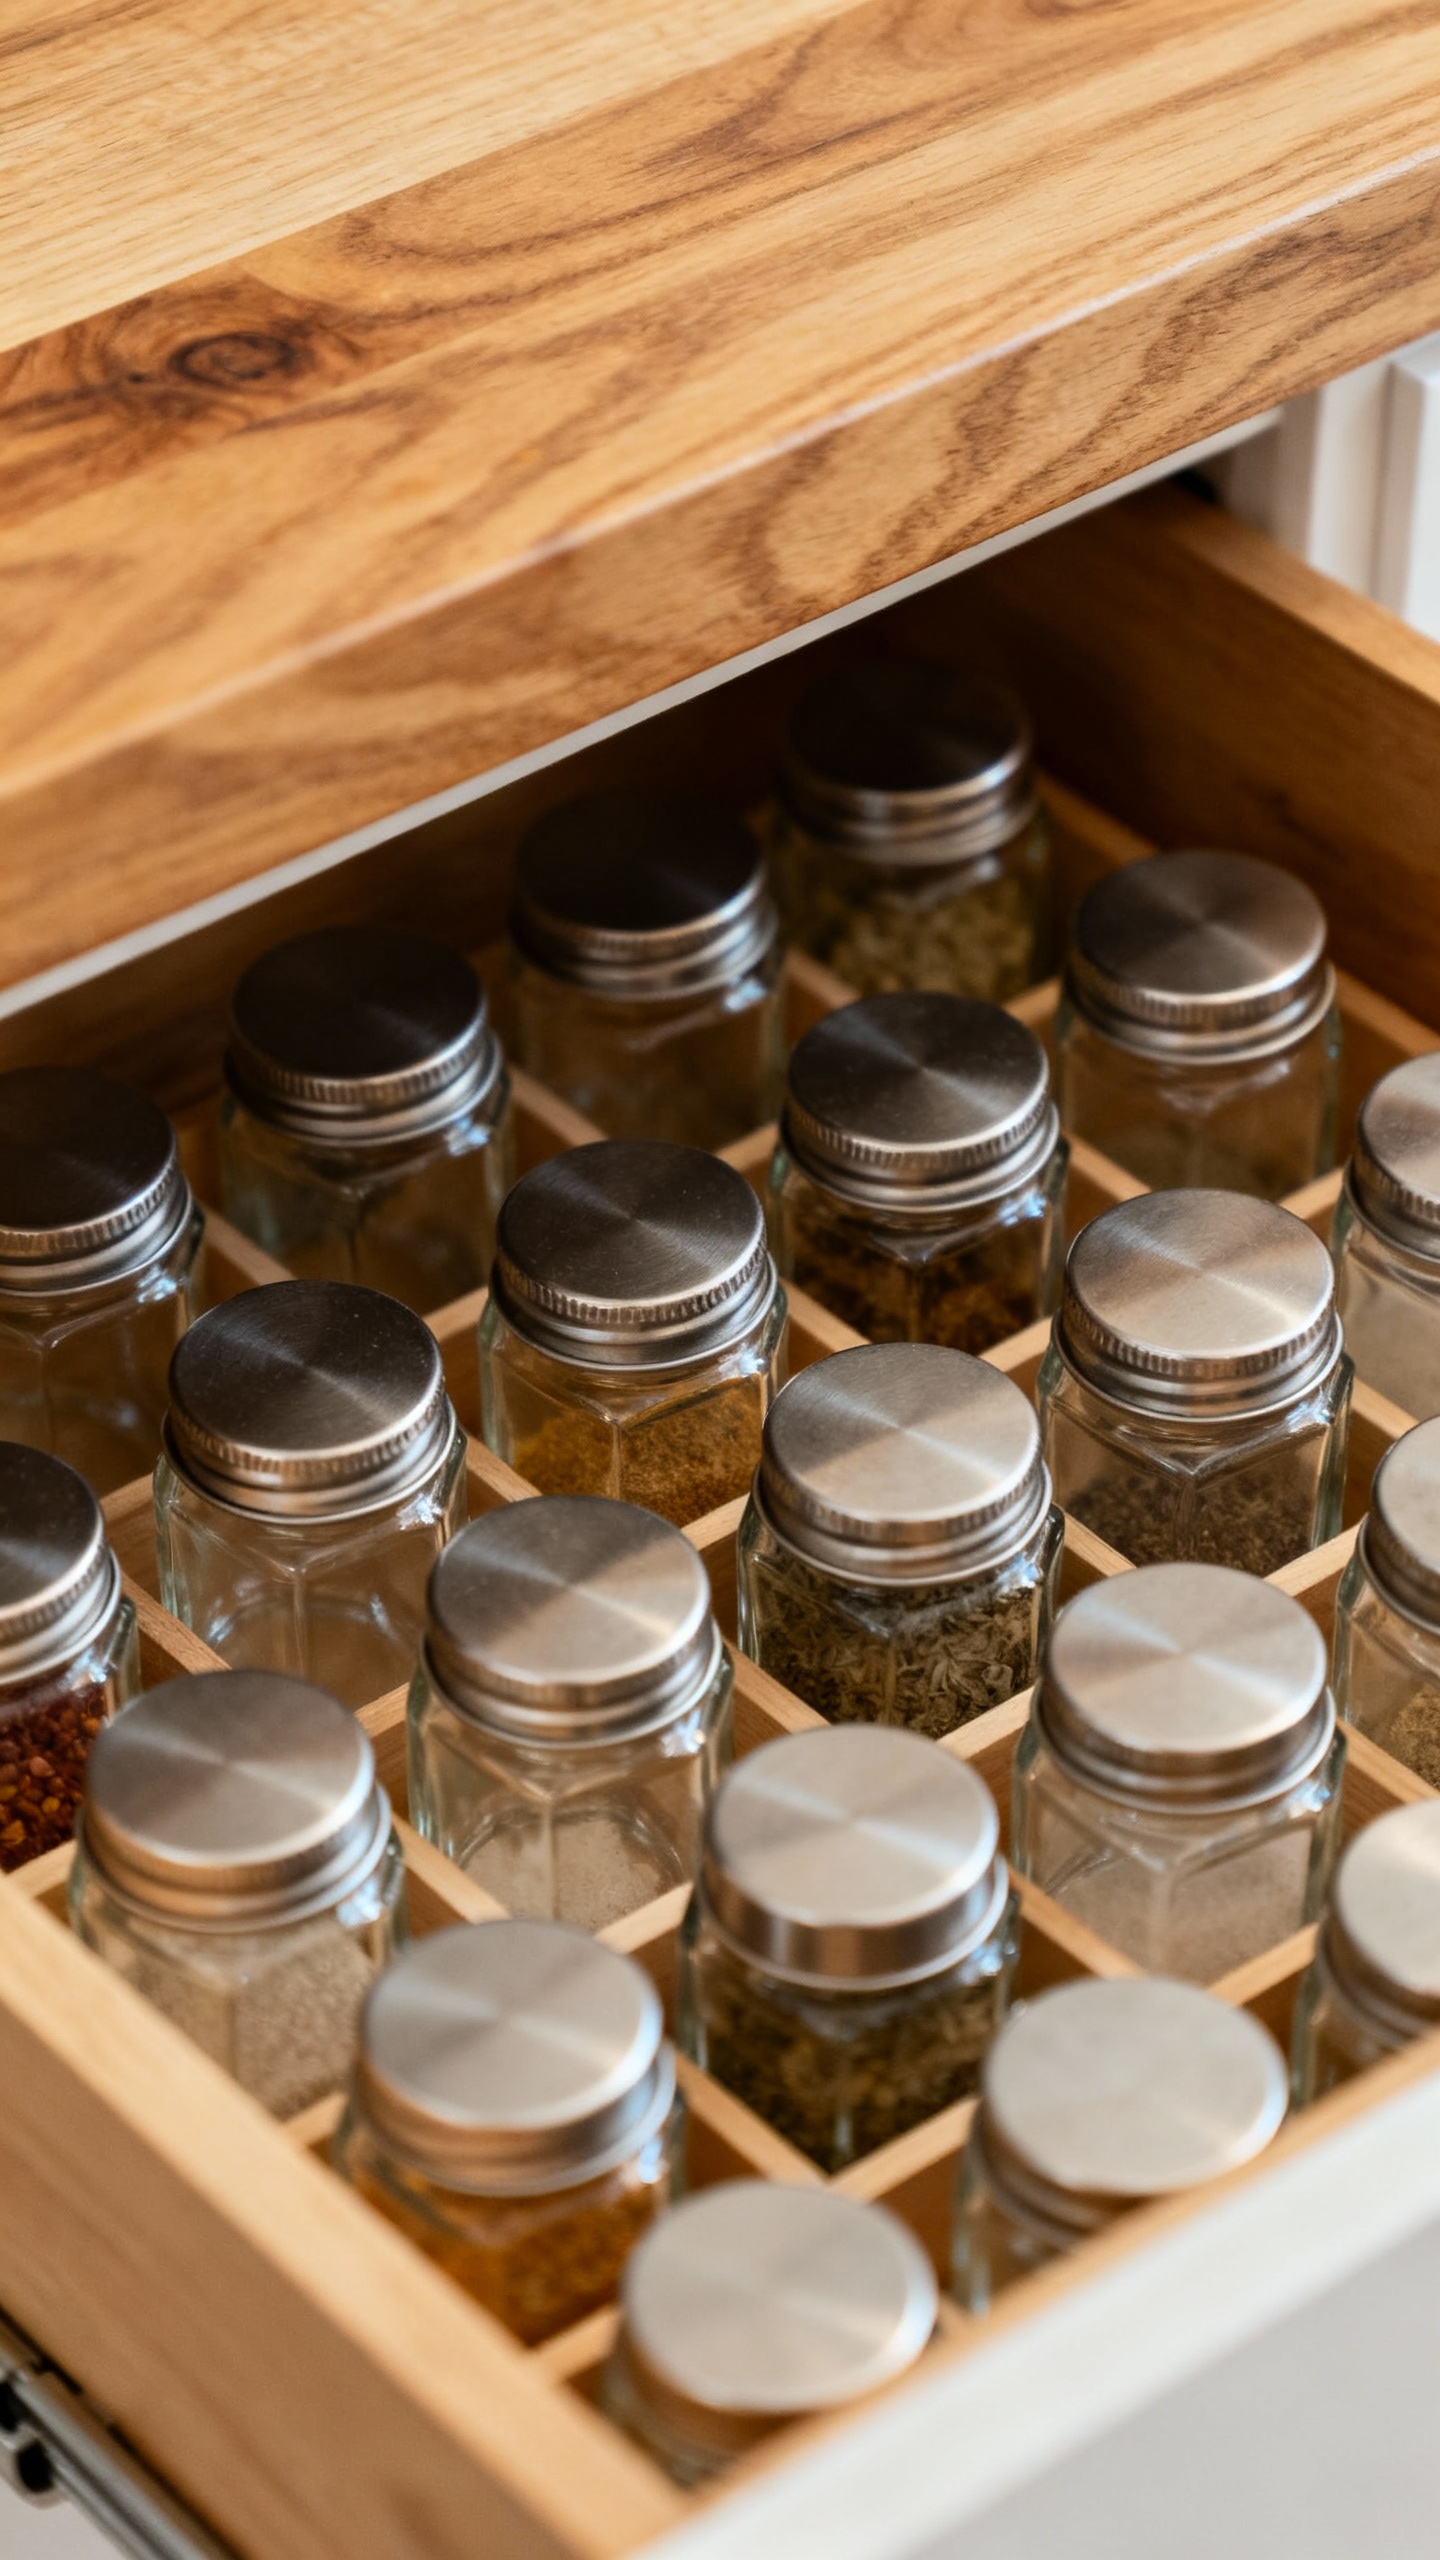
11) Tiered spice organizers
Spices hide in the back like introverts. Tiered shelves or a spice drawer insert fix that.
Keep only one of each spice—no one needs three paprikas, Susan.
12) Packet organizers
Those seasoning packets and drink mix sticks? Stand them in a small bin or file-style organizer. They stop slumping and going MIA.
13) Can risers or dispensers
Three-tier can risers make labels visible.
If you buy multiples, a can dispenser saves space and looks wildly satisfying.
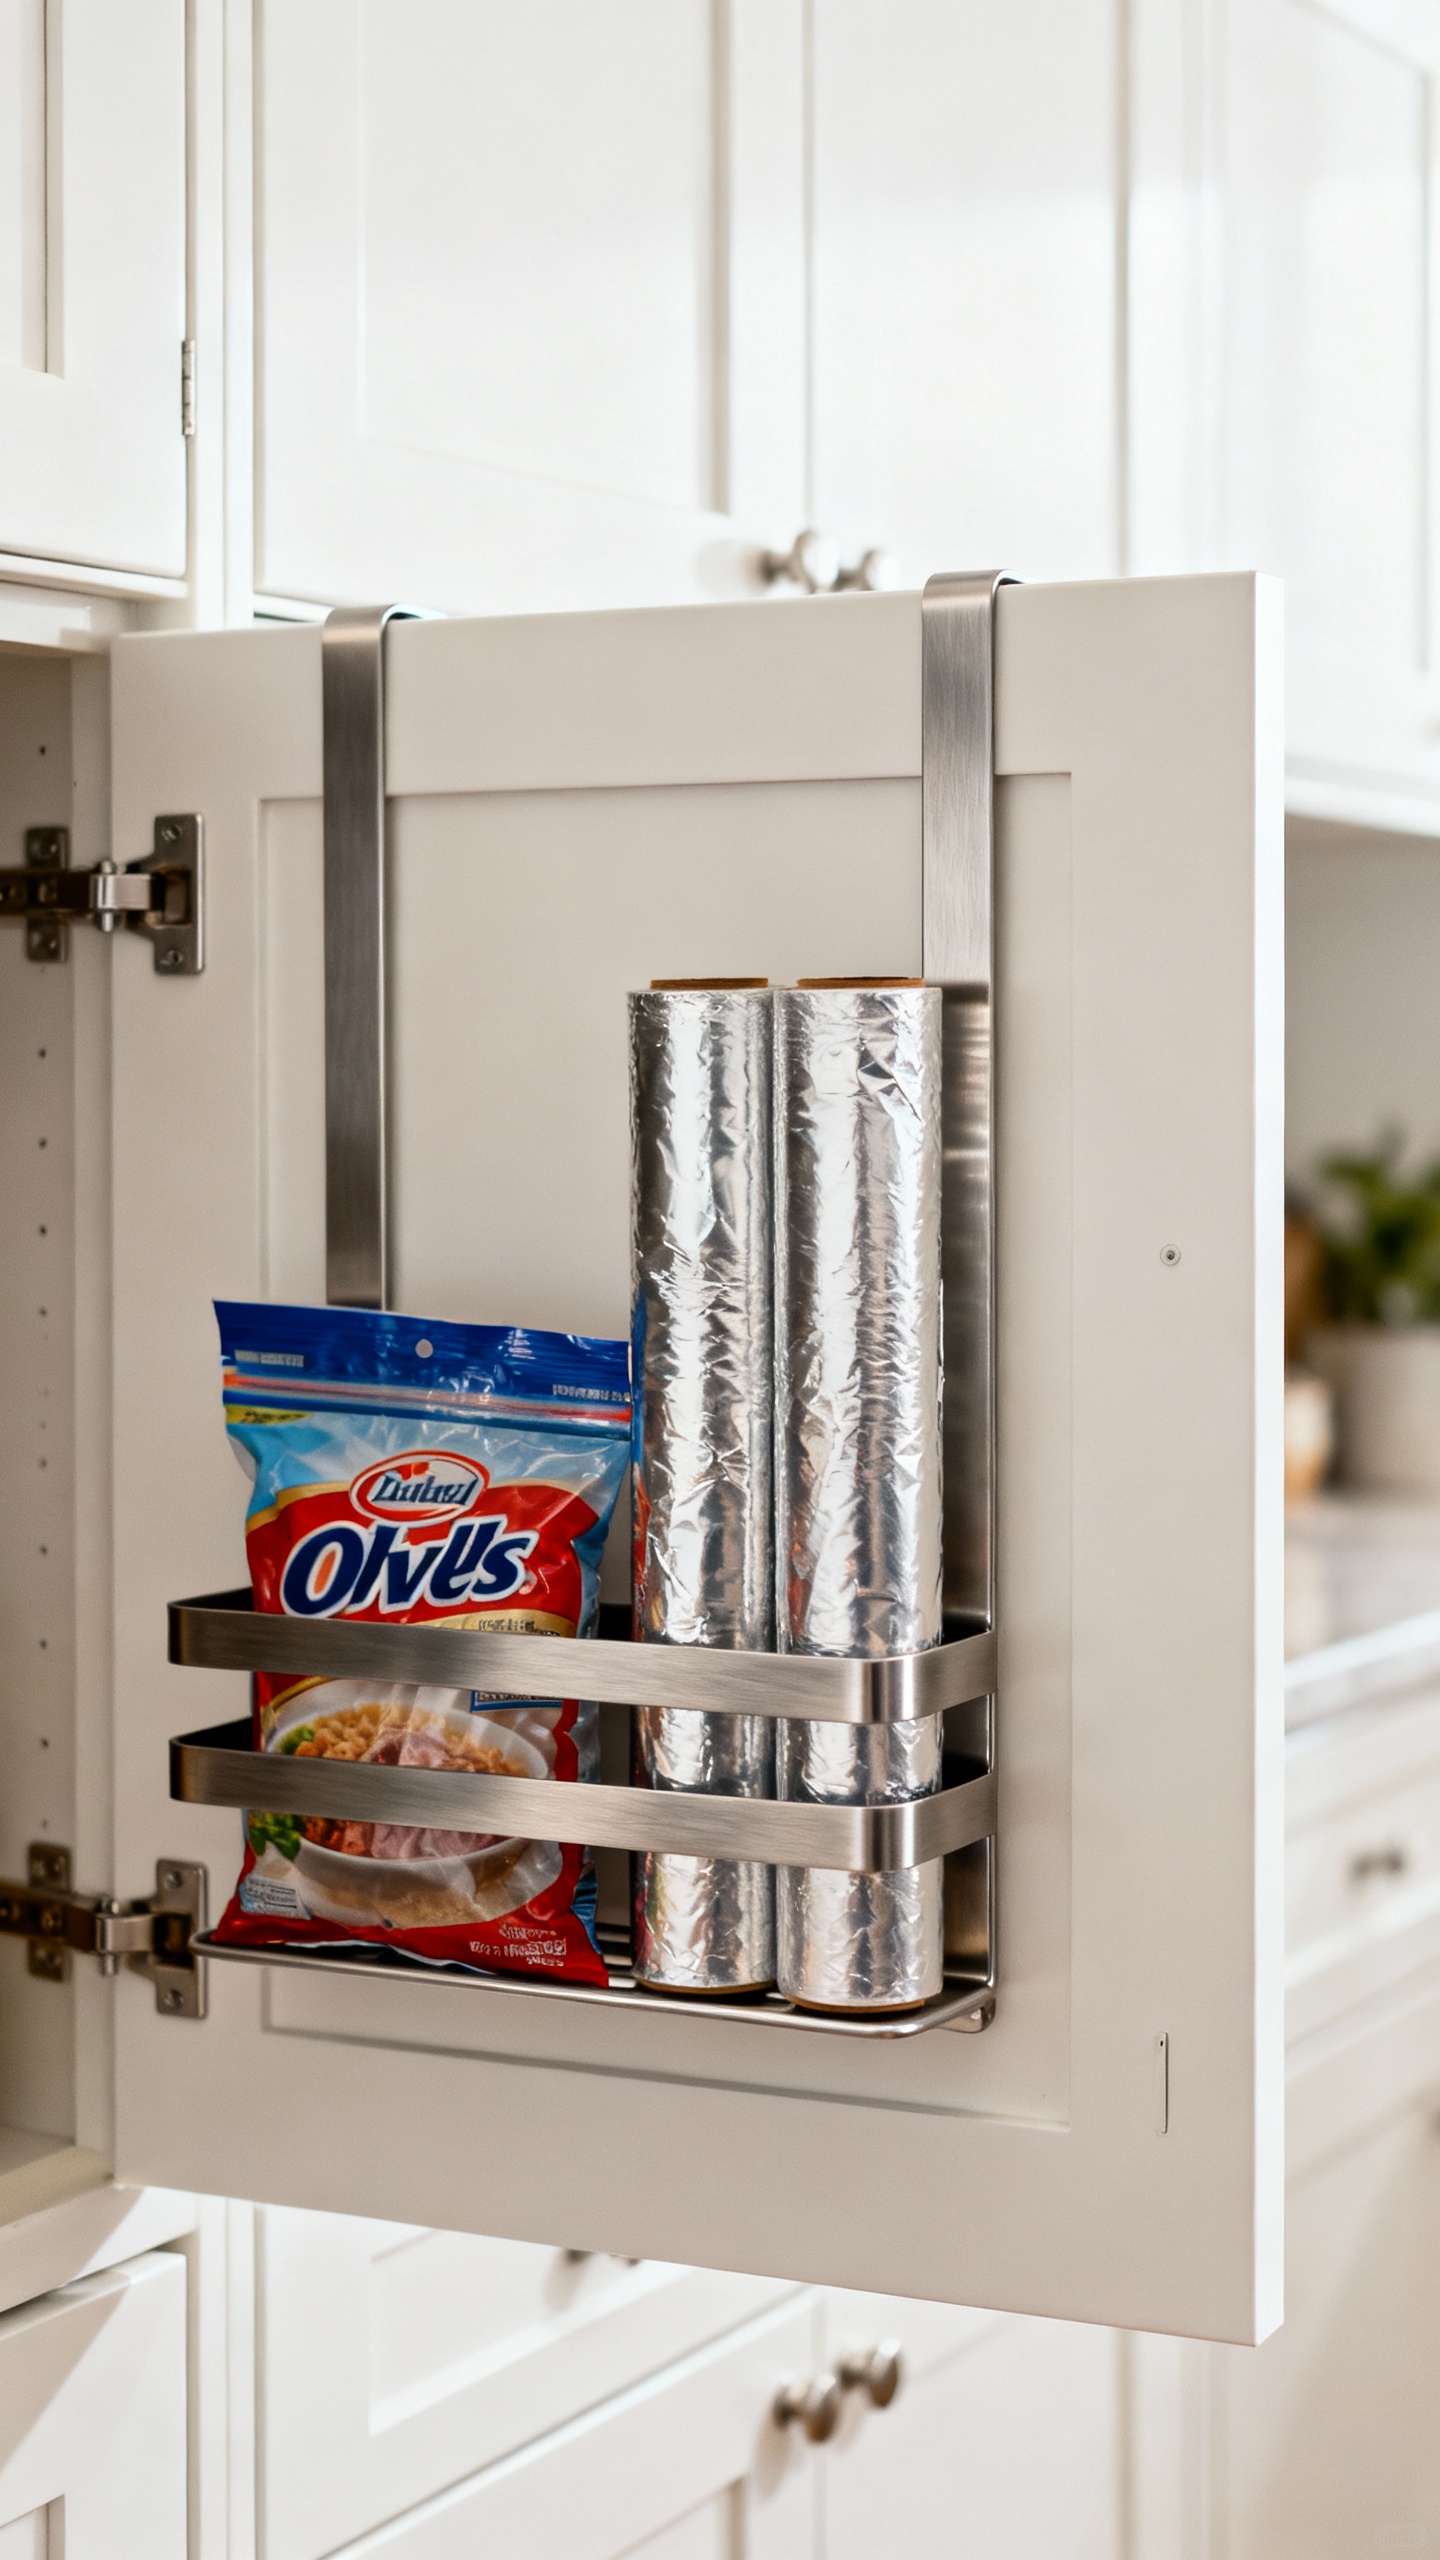
Make the doors do more
Cabinet doors deserve a job. Use them for slim storage and you’ll free up whole shelves. Just check your door clearance before you commit.
14) Over-the-door racks
Perfect for wraps, foil, zip bags, or cutting boards.
Choose low-profile racks so doors still close gracefully.
15) Adhesive hooks
Hang measuring spoons, oven mitts, or small strainers. Add a conversion chart inside the baking cabinet for a little chef’s kiss moment.
16) Magnetic strips
Mount a magnetic strip for metal lids or small tools. Just don’t go wild near delicate coatings or electronics.
Contain the container chaos
Food storage containers can spiral fast.
You need matching sets and a system to keep your sanity intact.
17) One brand, one shape
Pick one brand and stick to it so lids actually fit. Square or rectangular shapes stack tighter than rounds and waste less space.
18) Nest and separate
Nest bases by size and store lids upright in a divided bin. Never stack lids on top of containers—that’s how avalanches happen.
19) Special bin for oddballs
Keep a small bin for weird leftovers: sauce cups, tiny jars, those two random lids you’re sure match something. Reassess monthly.
Use the high and low zones strategically
Reserve your best space for your workhorses.
Rarely used items can chill up high or down low without bothering you.
- Eye-level: everyday dishes, glasses, spices, oils
- Lower shelves: heavy appliances, mixing bowls, bulk items
- Top shelves: seasonal platters, party gear, backup paper goods
And if you need a step stool, get a slim folding one and store it nearby. Future you will thank you, IMO.
Label like you mean it
Labels turn “my system” into “our system.” Everyone puts things back correctly because the cabinet literally tells them where to. Use simple, bold labels—nothing fussy.
20) Keep labels flexible
Use removable labels or chalk markers so you can tweak categories.
Life changes (hello, sourdough era), and your cabinets can adapt.
FAQs
How do I organize a tiny kitchen with almost no cabinets?
Go vertical and mobile. Add wall-mounted shelves, magnetic knife strips, and a slim rolling cart that tucks beside the fridge. Inside cabinets, use shelf risers, undershelf baskets, and stackable bins.
Store party-only items outside the kitchen if you can.
What should I keep on the counter versus inside cabinets?
Keep only daily-use items on the counter: coffee maker, knife block, maybe a utensil crock. Everything else earns a spot inside cabinets to keep visual clutter low. If an appliance lives out, give it a dedicated zone nearby.
How do I maintain organization long-term?
Set a monthly five-minute tidy.
Return strays to their zones, wipe shelves, and purge duplicates. Keep a small “donate” box in the pantry so edits feel easy. Systems beat willpower every time.
Are clear containers worth it?
For visibility and stackability, yes.
Clear bins show you what’s low and what’s lurking. If you decant pantry items, label with the item and the expiration date. If that sounds like too much, just use clear bins for categories—still a huge upgrade.
What’s the best way to organize spices?
Choose one method and stick with it: alphabetize on tiered shelves, arrange by cuisine, or go by frequency of use.
Drawer inserts keep labels facing up, which I love. Whatever you choose, keep duplicates out and refresh yearly.
How do I store pots and pans without scratching them?
Use vertical racks with felt or silicone pan protectors between delicate surfaces. Hang lids or store them separately in a divider.
Avoid stacking nonstick directly on cast iron—those two don’t play nice.
Wrap-up: make your cabinets work for you
You don’t need a bigger kitchen—you need smarter cabinets. Edit ruthlessly, zone everything, and add hardware that makes stuff visible and reachable. Label it, tweak it, and enjoy cabinets that actually behave.
FYI: once you stop fighting your storage, cooking gets way more fun.