
Your pantry doesn’t need to look like a reality show to work like one. You just need a layout that tells your food where to live and your brain where to find it. That’s exactly what this 100% foolproof pantry layout does.
Bonus: you’ll get a free printable template so you can set it up in under an hour and stop buying your fourth jar of cumin “just in case.”
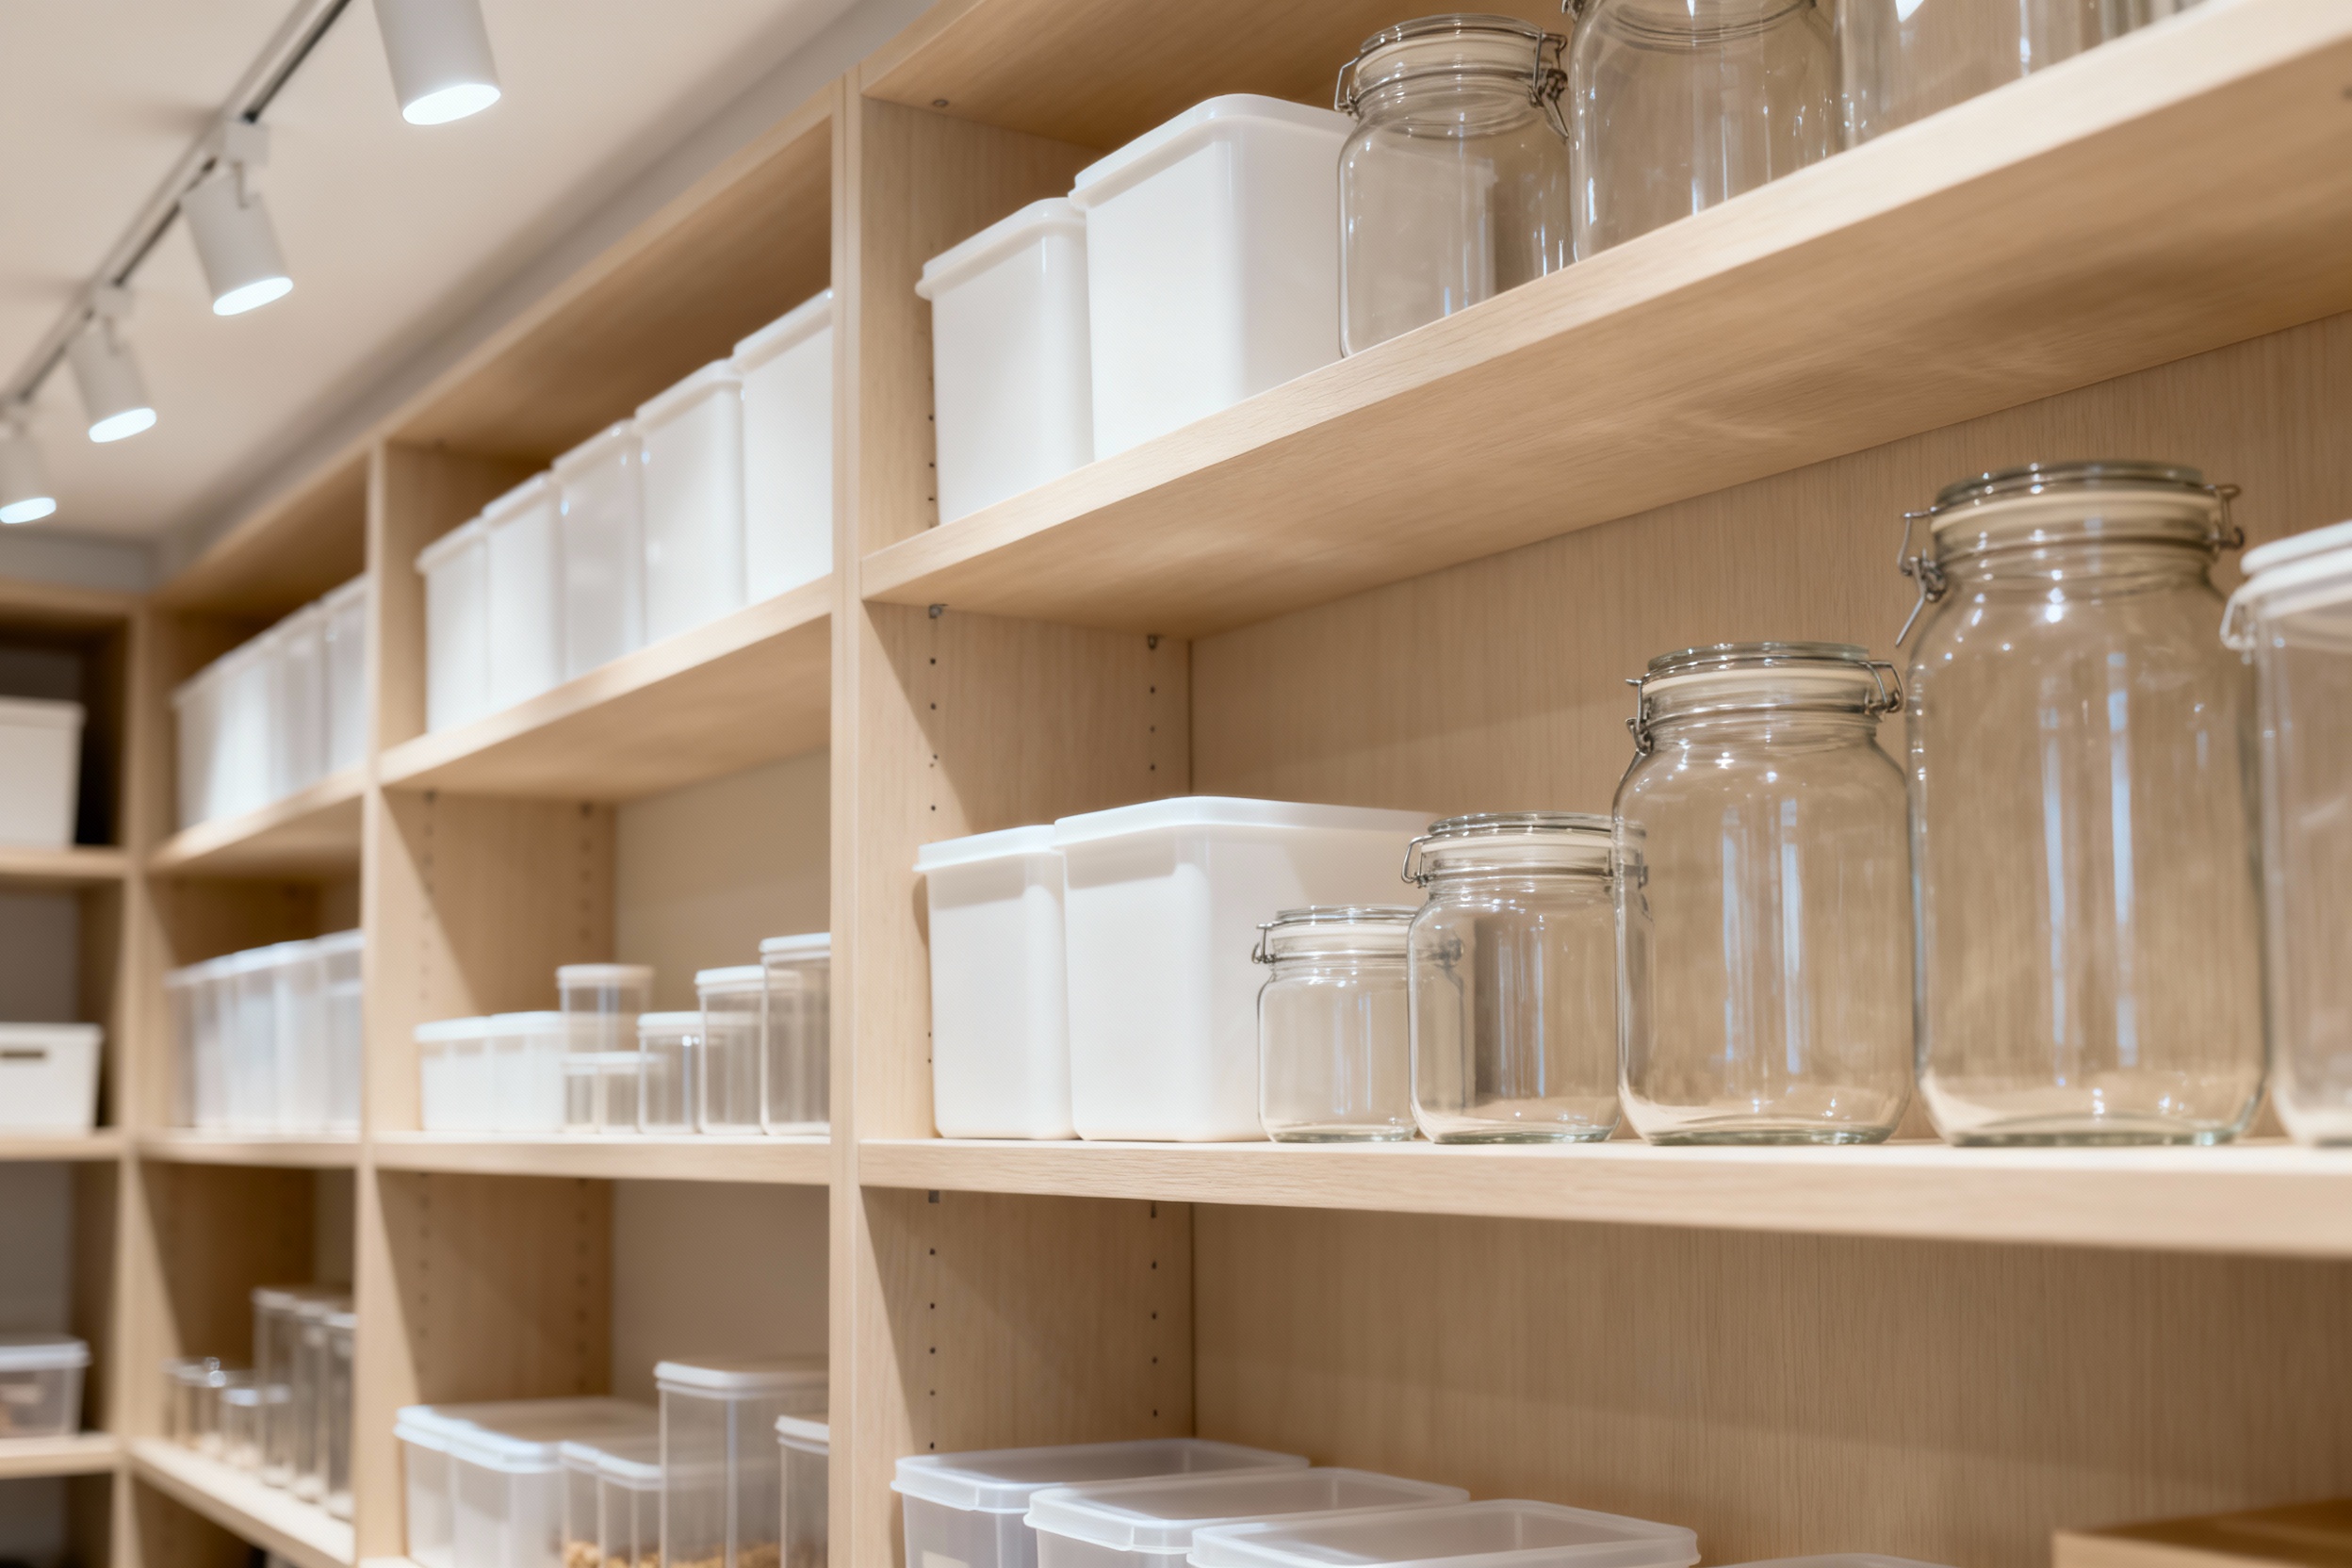
The Pantry Layout That Never Fails
You don’t need 27 matching canisters. You need zones. Zones turn chaos into cruise control, whether you have a walk-in pantry or a single cabinet. Core zones to set up:
- Daily Grab Zone: Breakfast, snacks, coffee/tea, bread, nut butter.
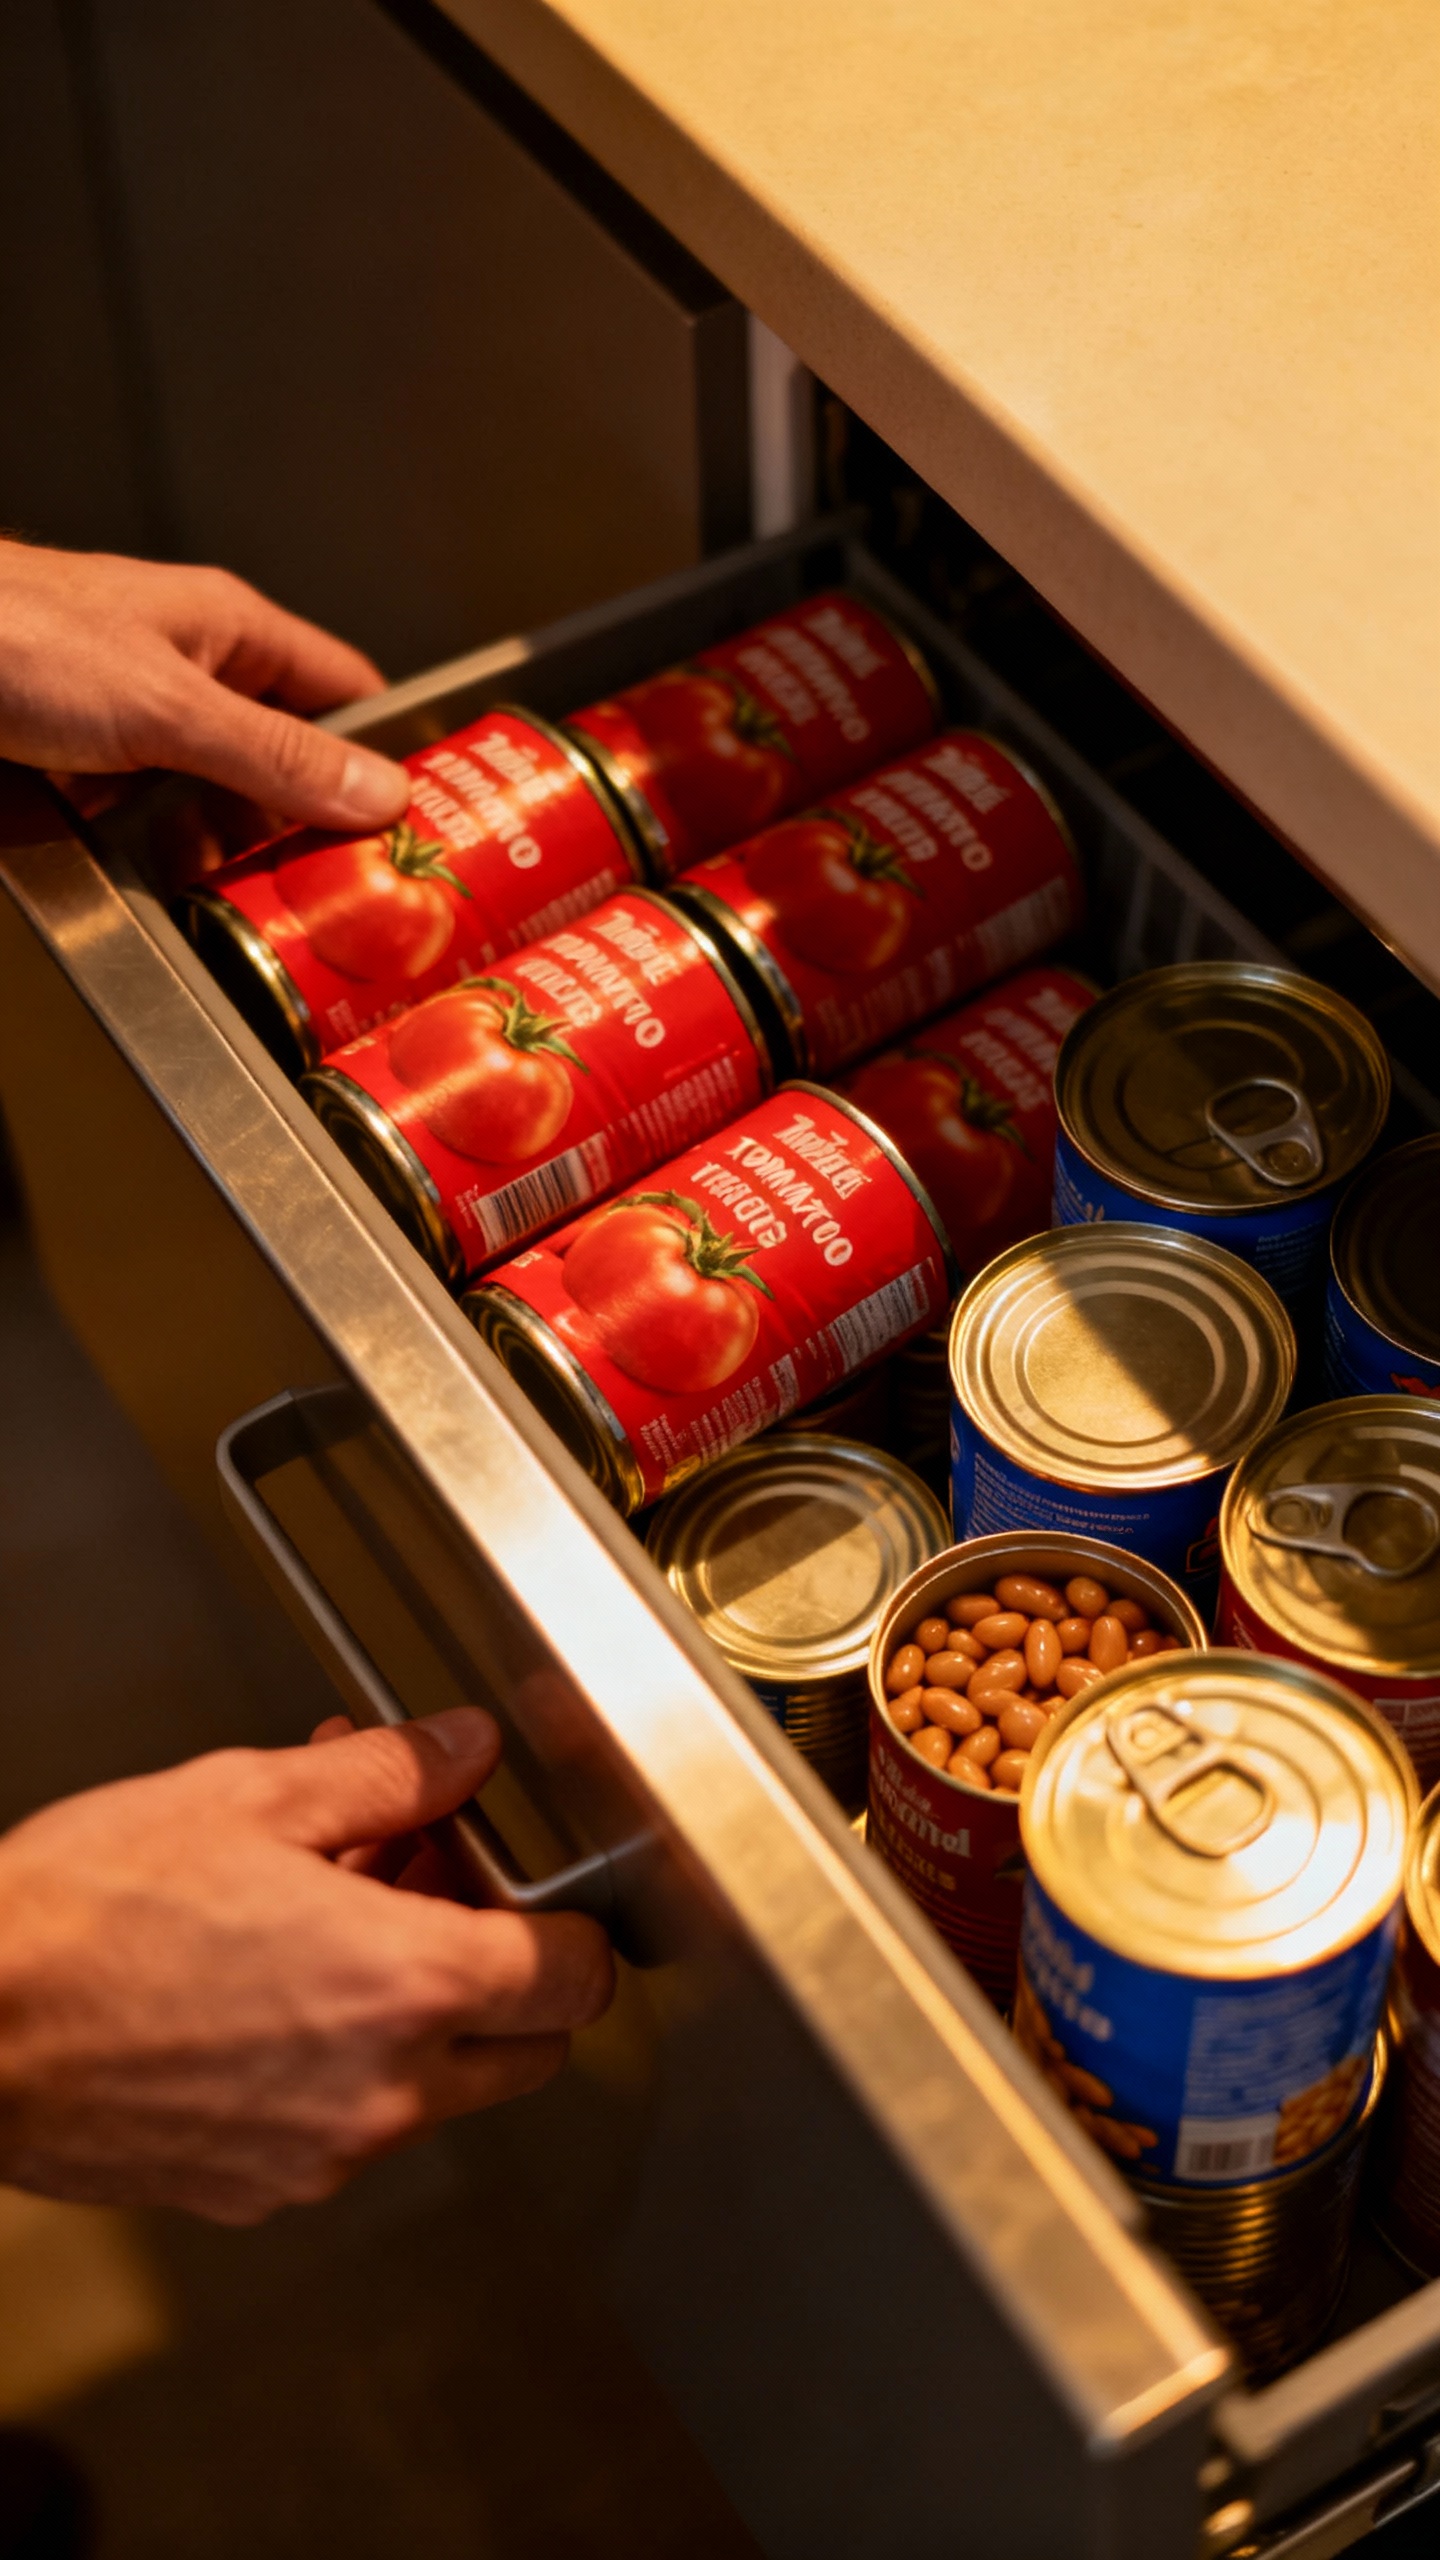
- Meal Building Zone: Pasta, rice, grains, beans, canned tomatoes, broth.
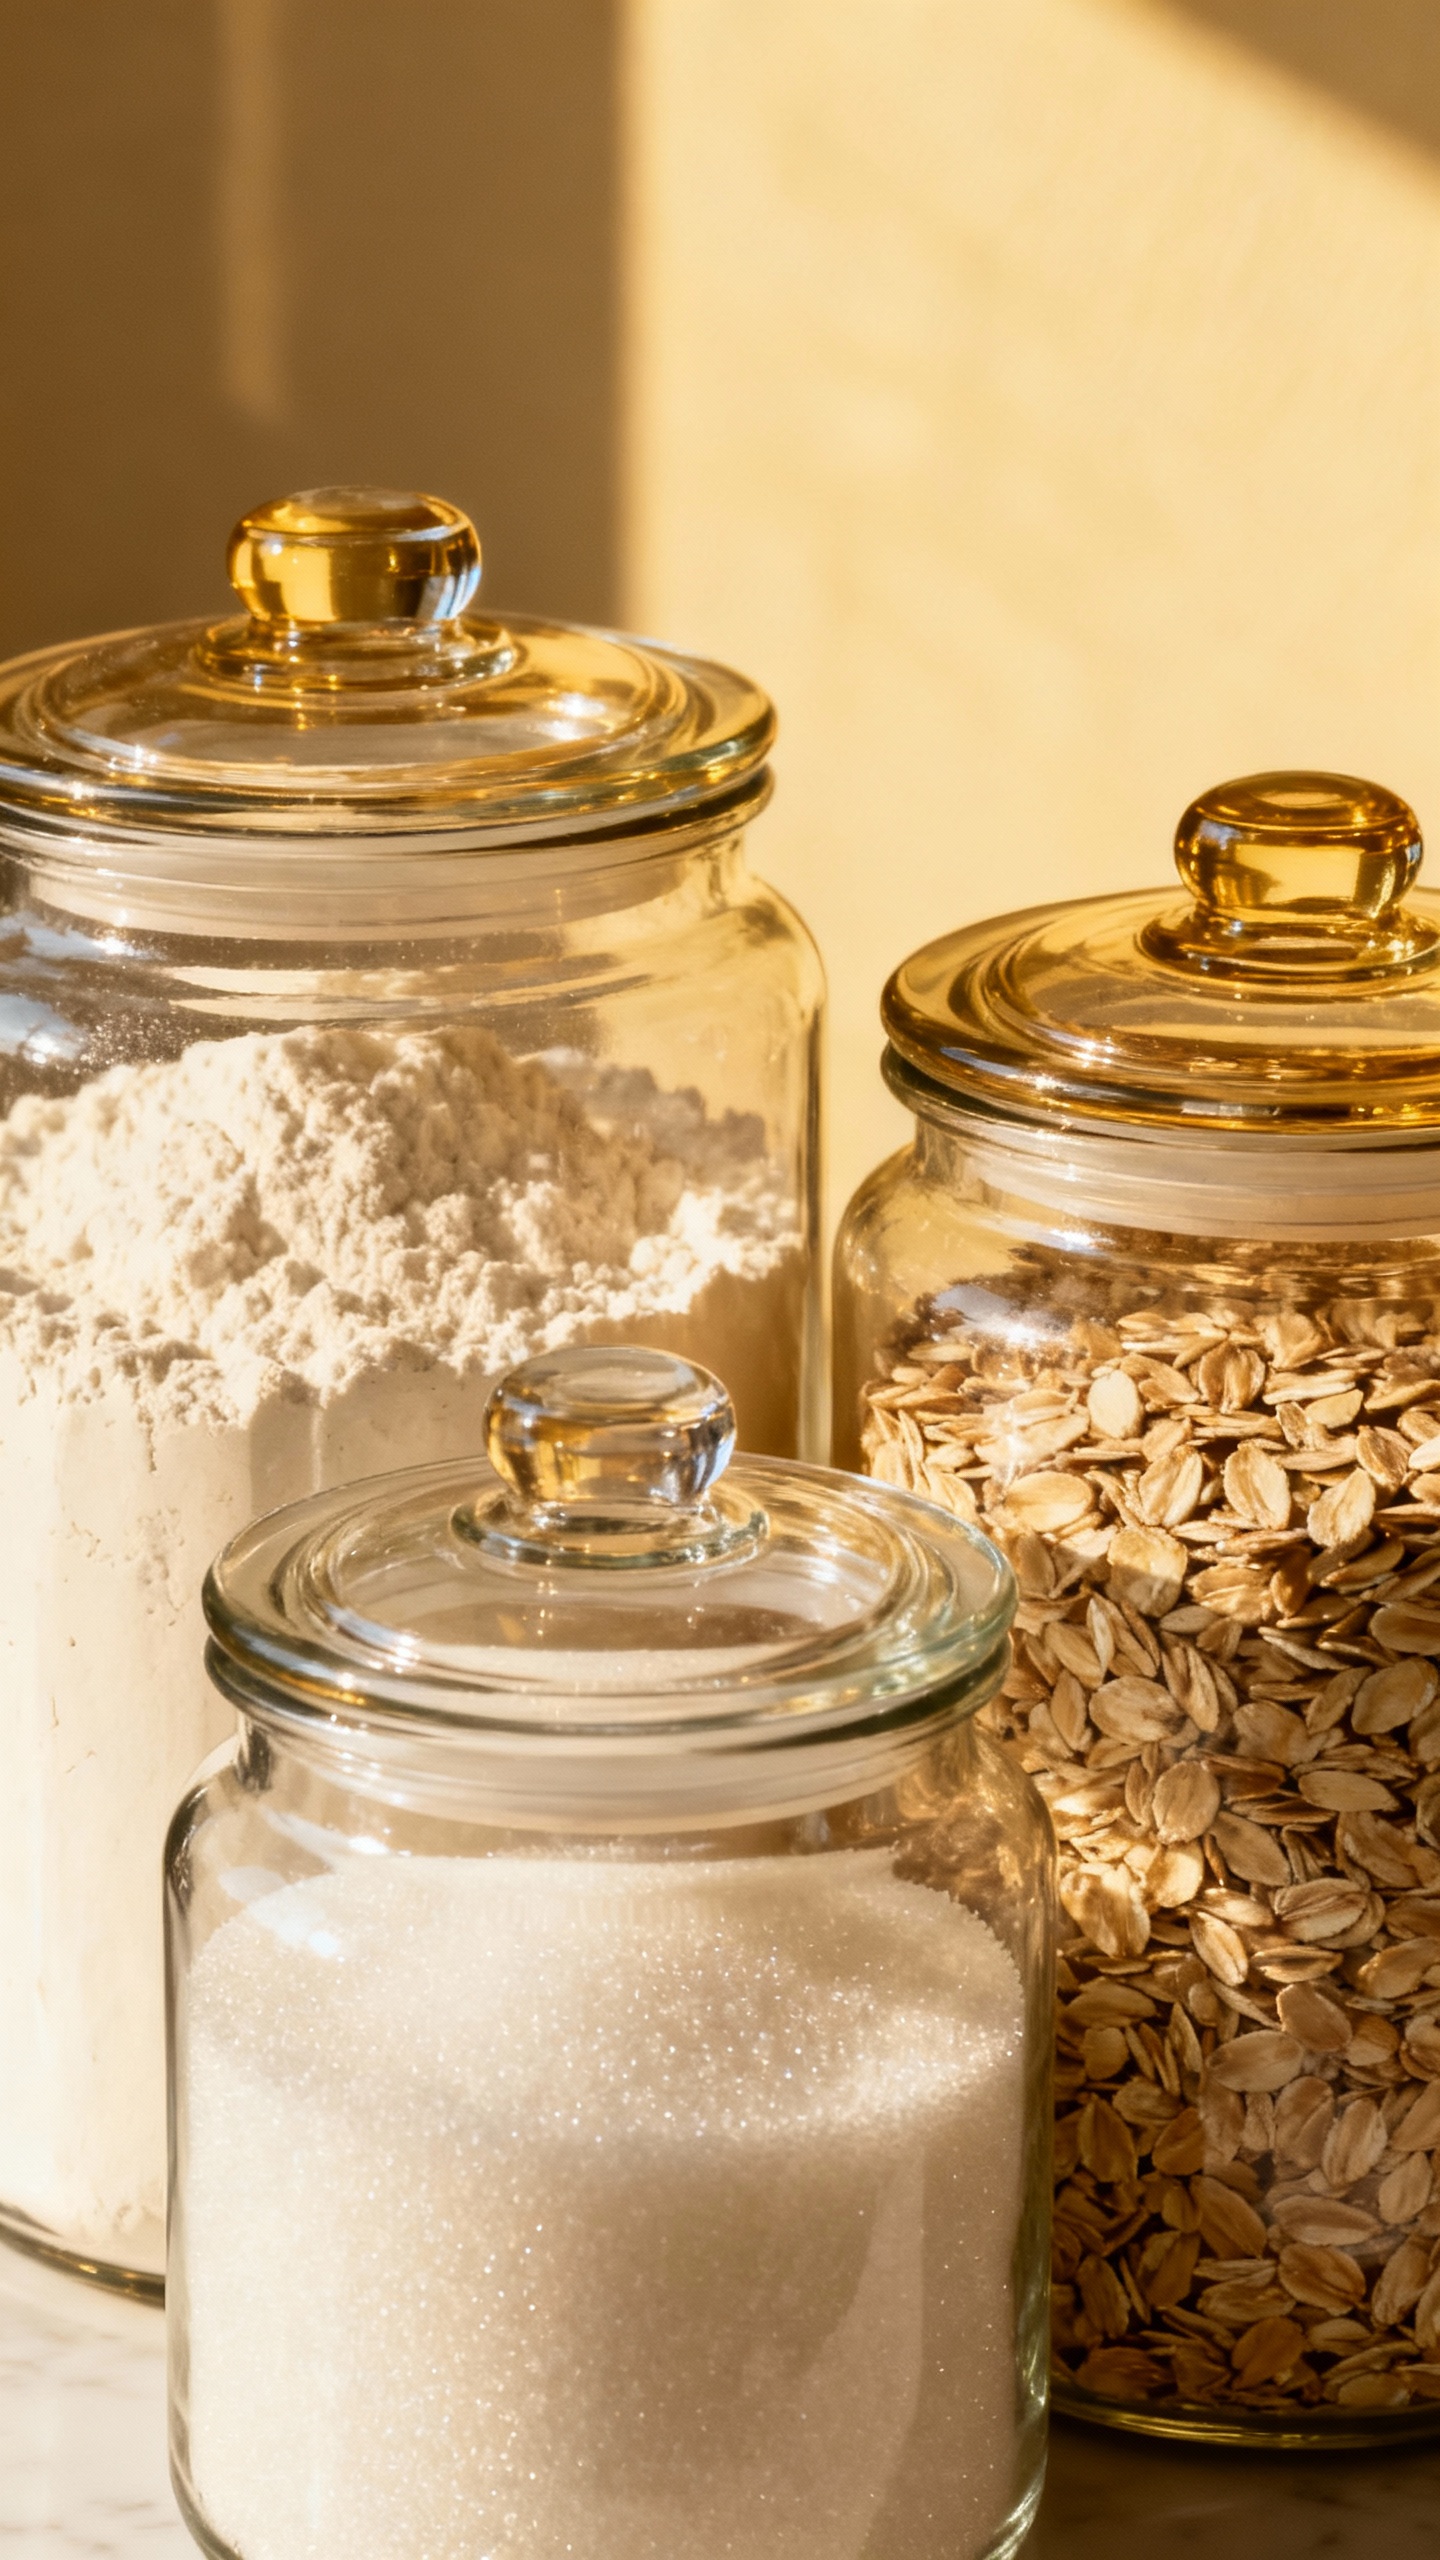
- Baking Zone: Flour, sugar, cocoa, baking powder/soda, vanilla, chocolate chips.
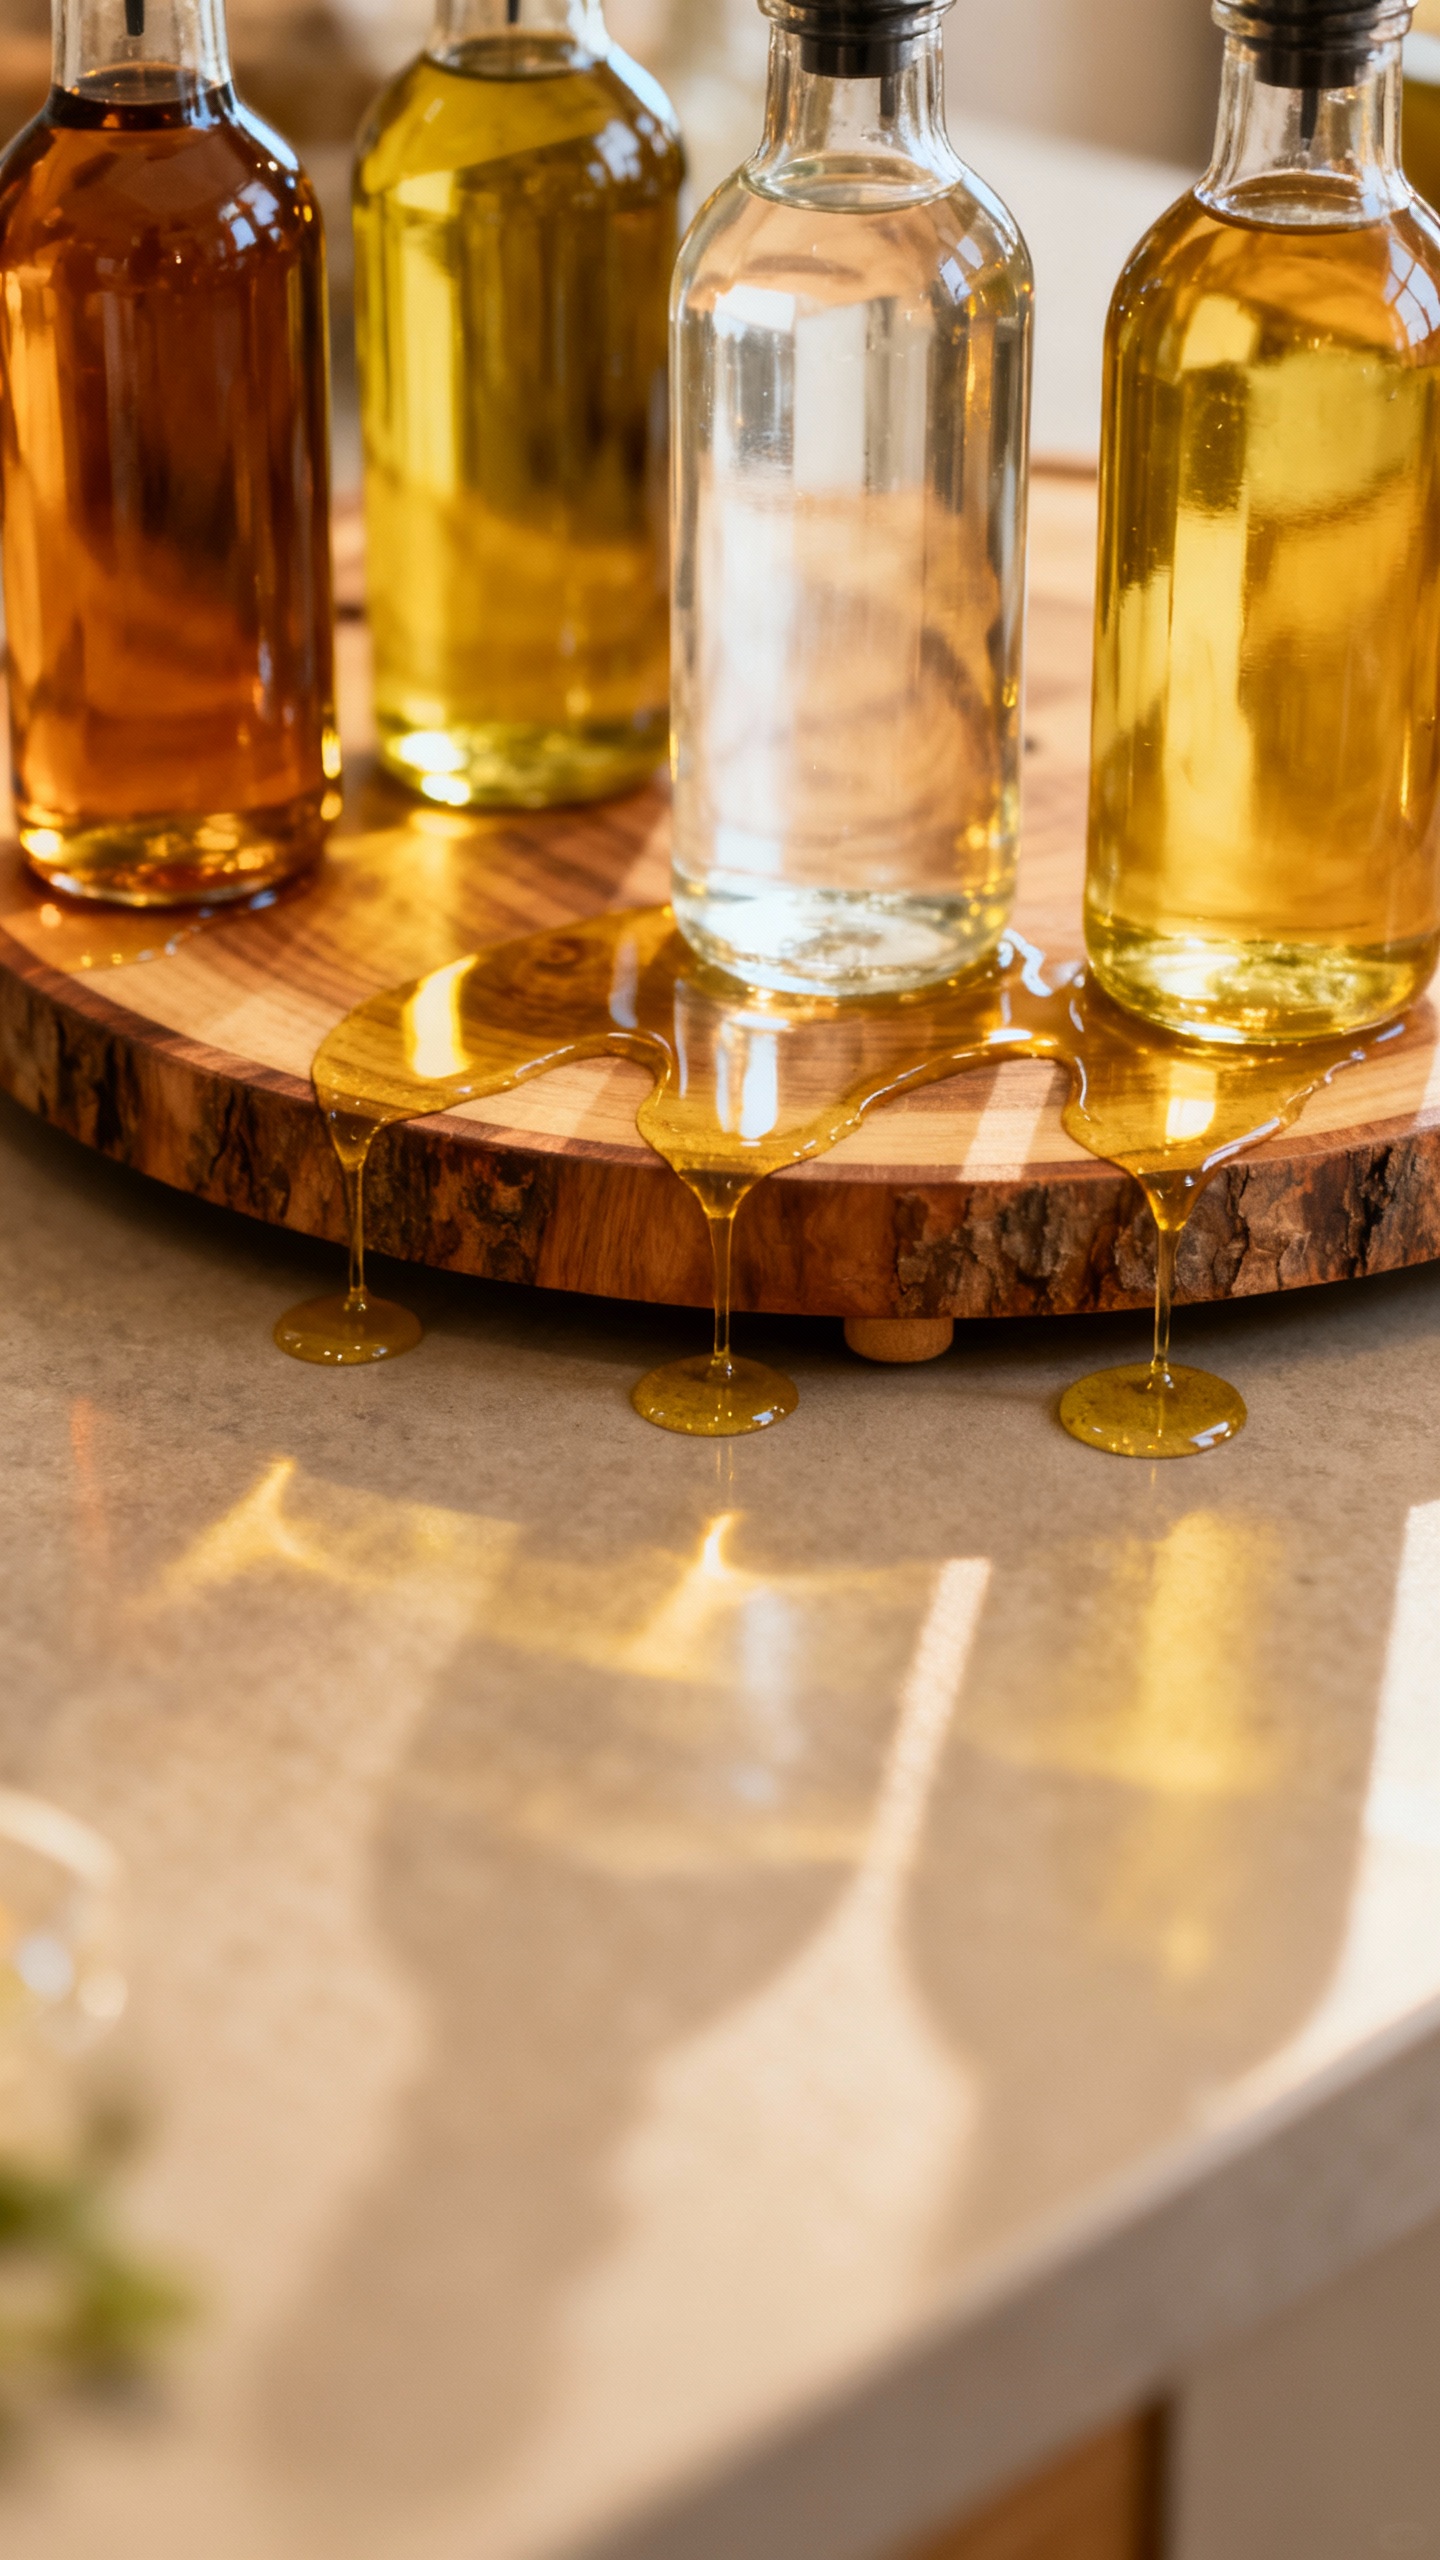
- Flavor Station: Oils, vinegar, sauces, condiments, spices.
- Backstock Zone: Extras and duplicates.Out of the way, clearly labeled.
- Occasional Zone: Holiday stuff, specialty flours, fondue dreams you revisit annually.
Place them in this order from eye level down (and up): Daily Grab at eye level, then Meal Building, then Baking below. Put Flavor Station near eye/hand level if you cook often. Move Backstock up high and Occasional down low.
Why? Because accessibility = success.
Download the Free Template
This article pairs with a printable one-page layout map + labels. It includes:
- A shelf-by-shelf diagram with zone placement
- Pre-made labels (editable) for bins and shelves
- A quick inventory sheet for restocking
FYI: Print it, tape it inside the pantry door, and let it boss you around.
It works.
How to Set It Up in Under an Hour
You don’t need to dump your entire pantry on the floor (unless you enjoy chaos). Follow this quick sprint:
- Clear one shelf at a time. Don’t overcommit; we’re not auditioning for a makeover show.
- Assign the shelf a zone. Eye level = Daily Grab. Below that = Meal Building.Lowest = Baking or bulky items.
- Use bins or baskets you already own. Shoe boxes work. IMO, function beats aesthetics every time.
- Label as you go. Shelf labels > container labels. You’ll re-use containers, but shelves stay consistent.
- Start a Backstock bin. Anything you have multiples of goes there.Only restock the active zone from this bin.
Shelf Height Cheat Sheet
- Top shelves: Light or rarely used items (paper towels, party snacks, cake stands).
- Eye level: Daily Grab + core flavors (salt, oil, vinegar).
- Mid shelves: Meal Building and canned goods.
- Lower shelves: Bulky baking goods, appliances, heavy jars.
- Floor: Big bins: potatoes, onions, pet food (in sealed containers), bulk rice.
Label Like You Mean It
Labels keep your system alive when you’re tired and hungry. And when other people “help” (bless them). What to label:
- Shelves: The zone name: “Snacks,” “Baking,” “Cans & Beans.”
- Bins: Subcategories: “Granola Bars,” “Crackers,” “Pasta,” “Rice & Grains.”
- Containers: Only if you decant. Include item name + purchase date.
Smart Subcategories That Actually Help
- Snacks: Sweet, savory, kids’ snacks
- Cans: Tomatoes, beans, proteins (tuna/chicken), soups
- Pasta & Sauce: Short pasta, long pasta, sauces
- Breakfast: Cereal/oats, toppings (chia, nuts), spreads
- Baking: Flours, sugars, mix-ins
Pro tip: Face labels outward and keep them consistent.
Your future self will write you a thank-you note.
Use the Right Containers (But Don’t Buy the Internet)
You don’t need a matching set to win here. Choose containers that match the food, not the aesthetic. Best choices by category:
- Cans: Tiered shelf risers or deep bins so labels face up.
- Pasta & Rice: Airtight clear containers only if you buy in bulk. Otherwise, keep bags in a bin labeled “Pasta” or “Grains.”
- Snacks: Open bins.Lids breed laziness.
- Spices: Drawer insert or a shallow riser. Keep duplicates in Backstock.
- Oils & Vinegars: A tray or lazy Susan to catch drips and keep them corralled.
When to Decant (and When to Chill)
- Decant: Flour, sugar, oats, and anything moth-prone. You’ll see levels and avoid stowaway critters.
- Don’t bother: Random snack bags and one-off specialty items.They can live in labeled bins.
Inventory Without Becoming a Spreadsheet Person
No fancy app required. Use the printable template’s one-page inventory, or stick a notepad inside the door. Keep it simple:
- Track only the essentials: Pasta shapes, rice, beans, tomatoes, broth, oils, flour, sugar.
- Write it when you use it: If you open the last broth, jot it down. Takes 3 seconds.Saves a meltdown.
- Schedule a 5-minute reset weekly: Sunday evening. Toss stale chips, wipe crumbs, refill containers.
Meal Planning Shortcut
Look at your Meal Building Zone, pick two grains and two proteins, and build the week around them. If you see couscous, chickpeas, and tomatoes, boom: toss with roasted veg and call it dinner.
This zone makes decisions easier, not harder.
Kid- and Guest-Proofing Your Pantry
You want a system that survives other humans. Radical, I know. Make it obvious:
- Put snacks low and labeled. Kids grab from “Sweet” or “Savory” bins and stop raiding baking chocolate. Usually.
- Put spices near the stove. Or at eye level.You’ll actually use them.
- Make a “Lunch Box” bin. Toss in shelf-stable sides. Pack lunch in 90 seconds.
- Use color-coded bins if you share space with roommates or have dietary needs.
Allergy-Friendly Tips
- Dedicated shelf or bin: Label it clearly (Gluten-Free, Nut-Free).
- Sealed containers: Prevent cross-contamination crumbs.
- Separate prep items: Keep GF breadcrumbs away from the regular pasta zone. Obvious, but crucial.
Troubleshooting: Why Pantries Fall Apart (and How to Fix Them)
Let’s call out the usual suspects and shut them down.
- Problem: Stuff drifts everywhere. Fix: Re-label shelves with zones.Shelf labels boss people around.
- Problem: You lose duplicates and overbuy. Fix: Backstock bin. Restock from it only. Keep it on the top shelf.
- Problem: Deep shelves eat snacks. Fix: Use deep bins as drawers.Pull out, see all, push back.
- Problem: Too many categories. Fix: Combine. “Cans & Beans” beats six micro-bins.
- Problem: Random appliances crowd shelves. Fix: Bottom shelf or out of pantry. Prioritize food in a pantry. Wild idea, I know.
FAQ
Do I need matching containers for this to work?
Nope.
Function first. Use what you have, then upgrade slowly if you want. Uniformity looks nice, but consistent labeling and clear zones do the heavy lifting.
What if I have a tiny cabinet instead of a pantry?
Same blueprint, just vertical.
Put Daily Grab at eye level, Meal Building below, Backstock up high or in another cabinet. Use narrow bins as pull-out drawers. Lazy Susans help with oils and sauces in tight spaces.
How do I handle bulk buys from warehouse stores?
Split it: keep a reasonable amount in the active zone and toss the rest in the Backstock bin, labeled with purchase dates.
If it won’t fit there, store it elsewhere (garage shelf, utility closet) and note it on your inventory. IMO, bulk is only helpful if you can see it.
Should spices live in the pantry or near the stove?
Keep them near where you cook, not buried in the pantry behind the maple syrup. Use a shallow drawer insert or a short riser, and group by cuisine or frequency.
Keep refills in Backstock.
How often should I reset the pantry?
Do a weekly 5-minute tidy and a quarterly 20-minute edit. Toss stale items, wipe shelves, and re-home strays. This tiny maintenance keeps the system foolproof.
Is decanting really worth it?
For baking staples and grains, yes.
You see levels, you block pests, and you avoid torn bags. For everything else, bins beat decanting. Save your energy for cookies.
Wrap-Up: Your Pantry, Upgraded
When you commit to zones, labels, and one Backstock bin, your pantry practically organizes itself.
You’ll cook faster, waste less, and stop playing hide-and-seek with the coconut milk. Grab the free printable template, assign your shelves, and give every item an address. Then enjoy the rarest kitchen luxury: opening the pantry and actually smiling.