
You don’t need a bigger kitchen. You need a smarter layout. The right setup makes cooking faster, cleanup easier, and your counters less… chaotic.
Let’s design a kitchen that works with you, not against you—without ripping out every cabinet or living at The Container Store.
Start With the Flow: Zones, Not Chaos
Think of your kitchen as “mini offices” that support different jobs. You move between them like a well-choreographed dance—minus the jazz hands. Create clear zones and you’ll reduce backtracking and random cabinet rummaging.
- Prep Zone: Cutting board, knives, mixing bowls, measuring tools, oils, salt/pepper.Place it near the sink and trash.
- Cooking Zone: Pots, pans, spatulas, spices, oven mitts. Keep it by the stove.
- Cleaning Zone: Sink, dishwasher, drying racks, trash, compost, cleaning supplies.
- Coffee/Breakfast Zone: Mugs, beans/tea, kettle/espresso, sweeteners, cereals. Keep it out of the cooking triangle to avoid traffic.
- Storage Zone: Pantry items, bulk goods, snacks, backups, rarely used appliances.
Pro tip: Draw a Map
Sketch your kitchen and label zones.
Then move items accordingly. If you chop onions at the counter by the window, your knives and cutting boards belong there, not across the room with your cake pans.
Master the Work Triangle (and When to Ignore It)
The classic work triangle connects the sink, stove, and fridge. Fewer steps between them equals faster cooking.
It still works, but open-plan kitchens and islands changed the game.
- Ideal spacing: Each leg of the triangle should be roughly 4–9 feet. No leg should cross your main prep surface.
- Traffic control: Keep the fridge accessible from outside the triangle so snackers don’t wander into your workspace.
- Island reality: If you have a big island, make it your prep HQ with a sink nearby. That beats jogging between corners like cardio you didn’t sign up for.
When to ditch the triangle
If your kitchen is galley or one-wall, focus on a work line.
Place fridge, sink, prep, and stove in a logical sequence with uninterrupted counter space between sink and stove. That counter becomes your command center.
Counter Space: The Real Luxury
You don’t need marble waterfalls. You need uninterrupted, usable work surface.
Clear counters beat pretty clutter every time.
- Keep one clear runway: Aim for at least 24–36 inches of open counter between sink and stove.
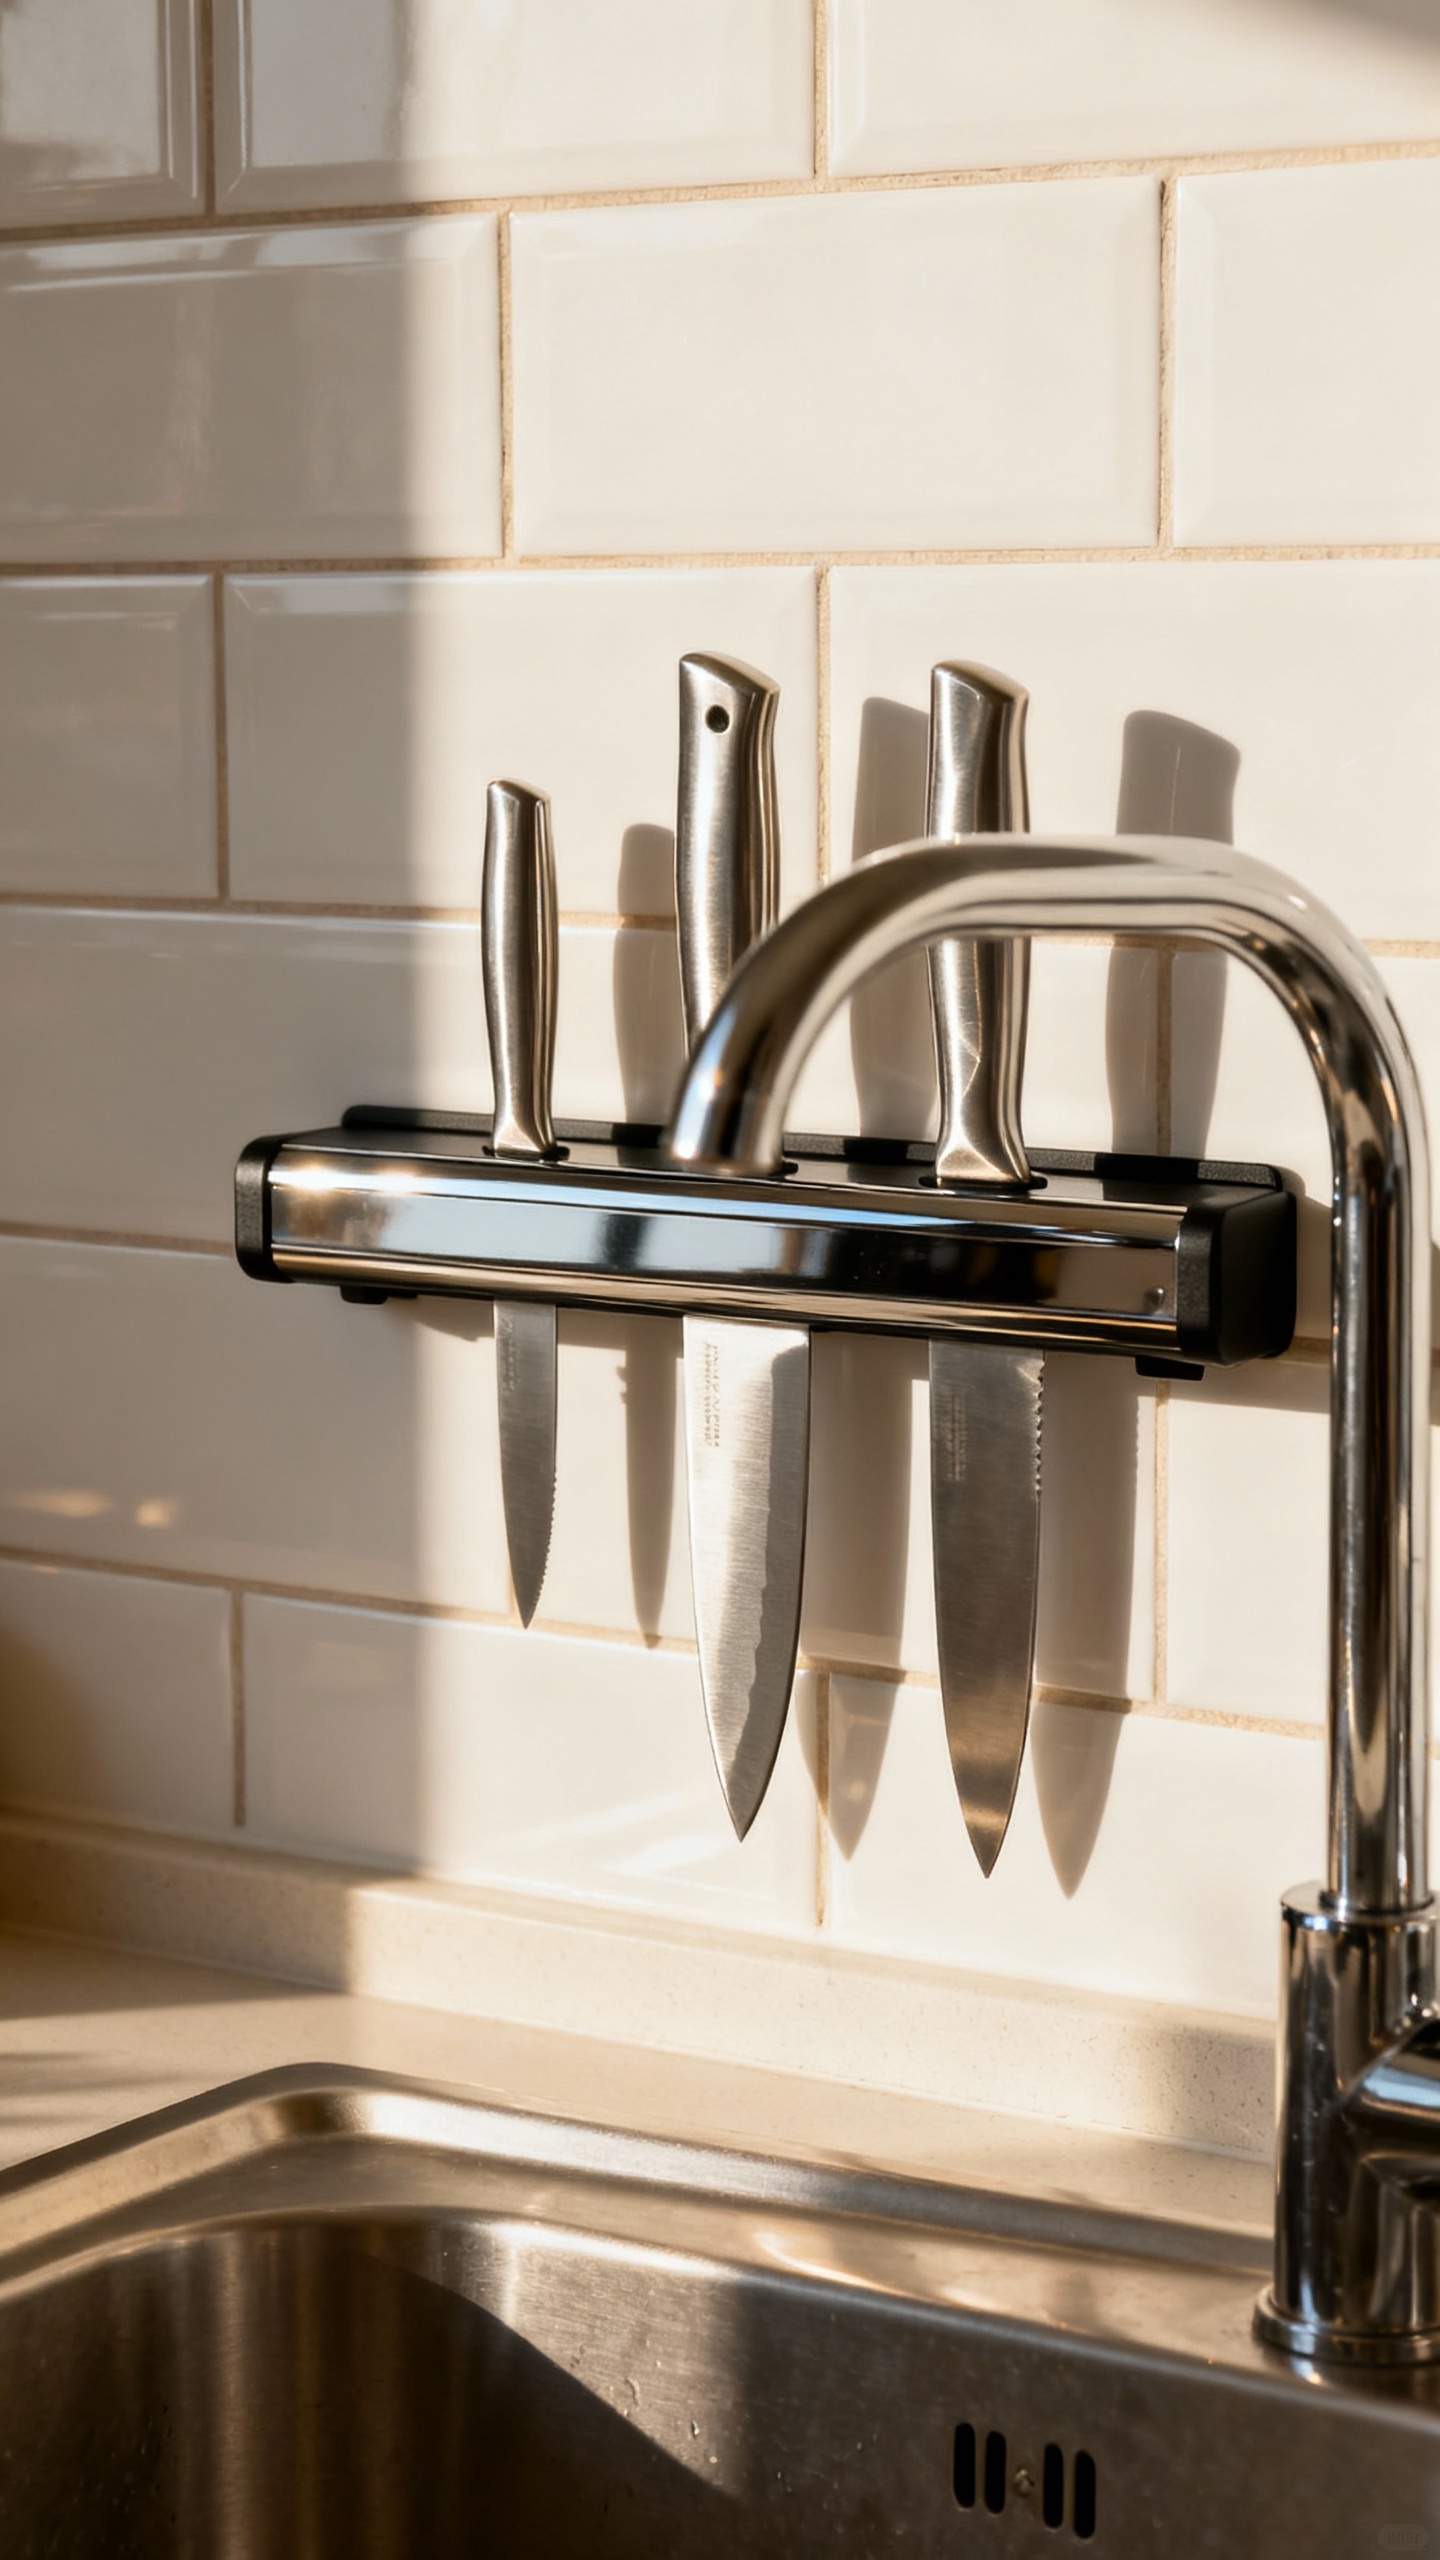
- Mount or tuck appliances: Wall-mount paper towels and knife strips. Use appliance garages for toasters and blenders.
- Use vertical space: Rail systems or magnetic strips free counters and keep tools visible.
Countertop hierarchy
Keep out only what you use daily. Daily = Counter. Weekly = Accessible cabinet.
Monthly = High shelf or deep drawer. Once you adopt this rule, your kitchen breathes again. IMO, it’s the fastest upgrade you can make without spending a dime.
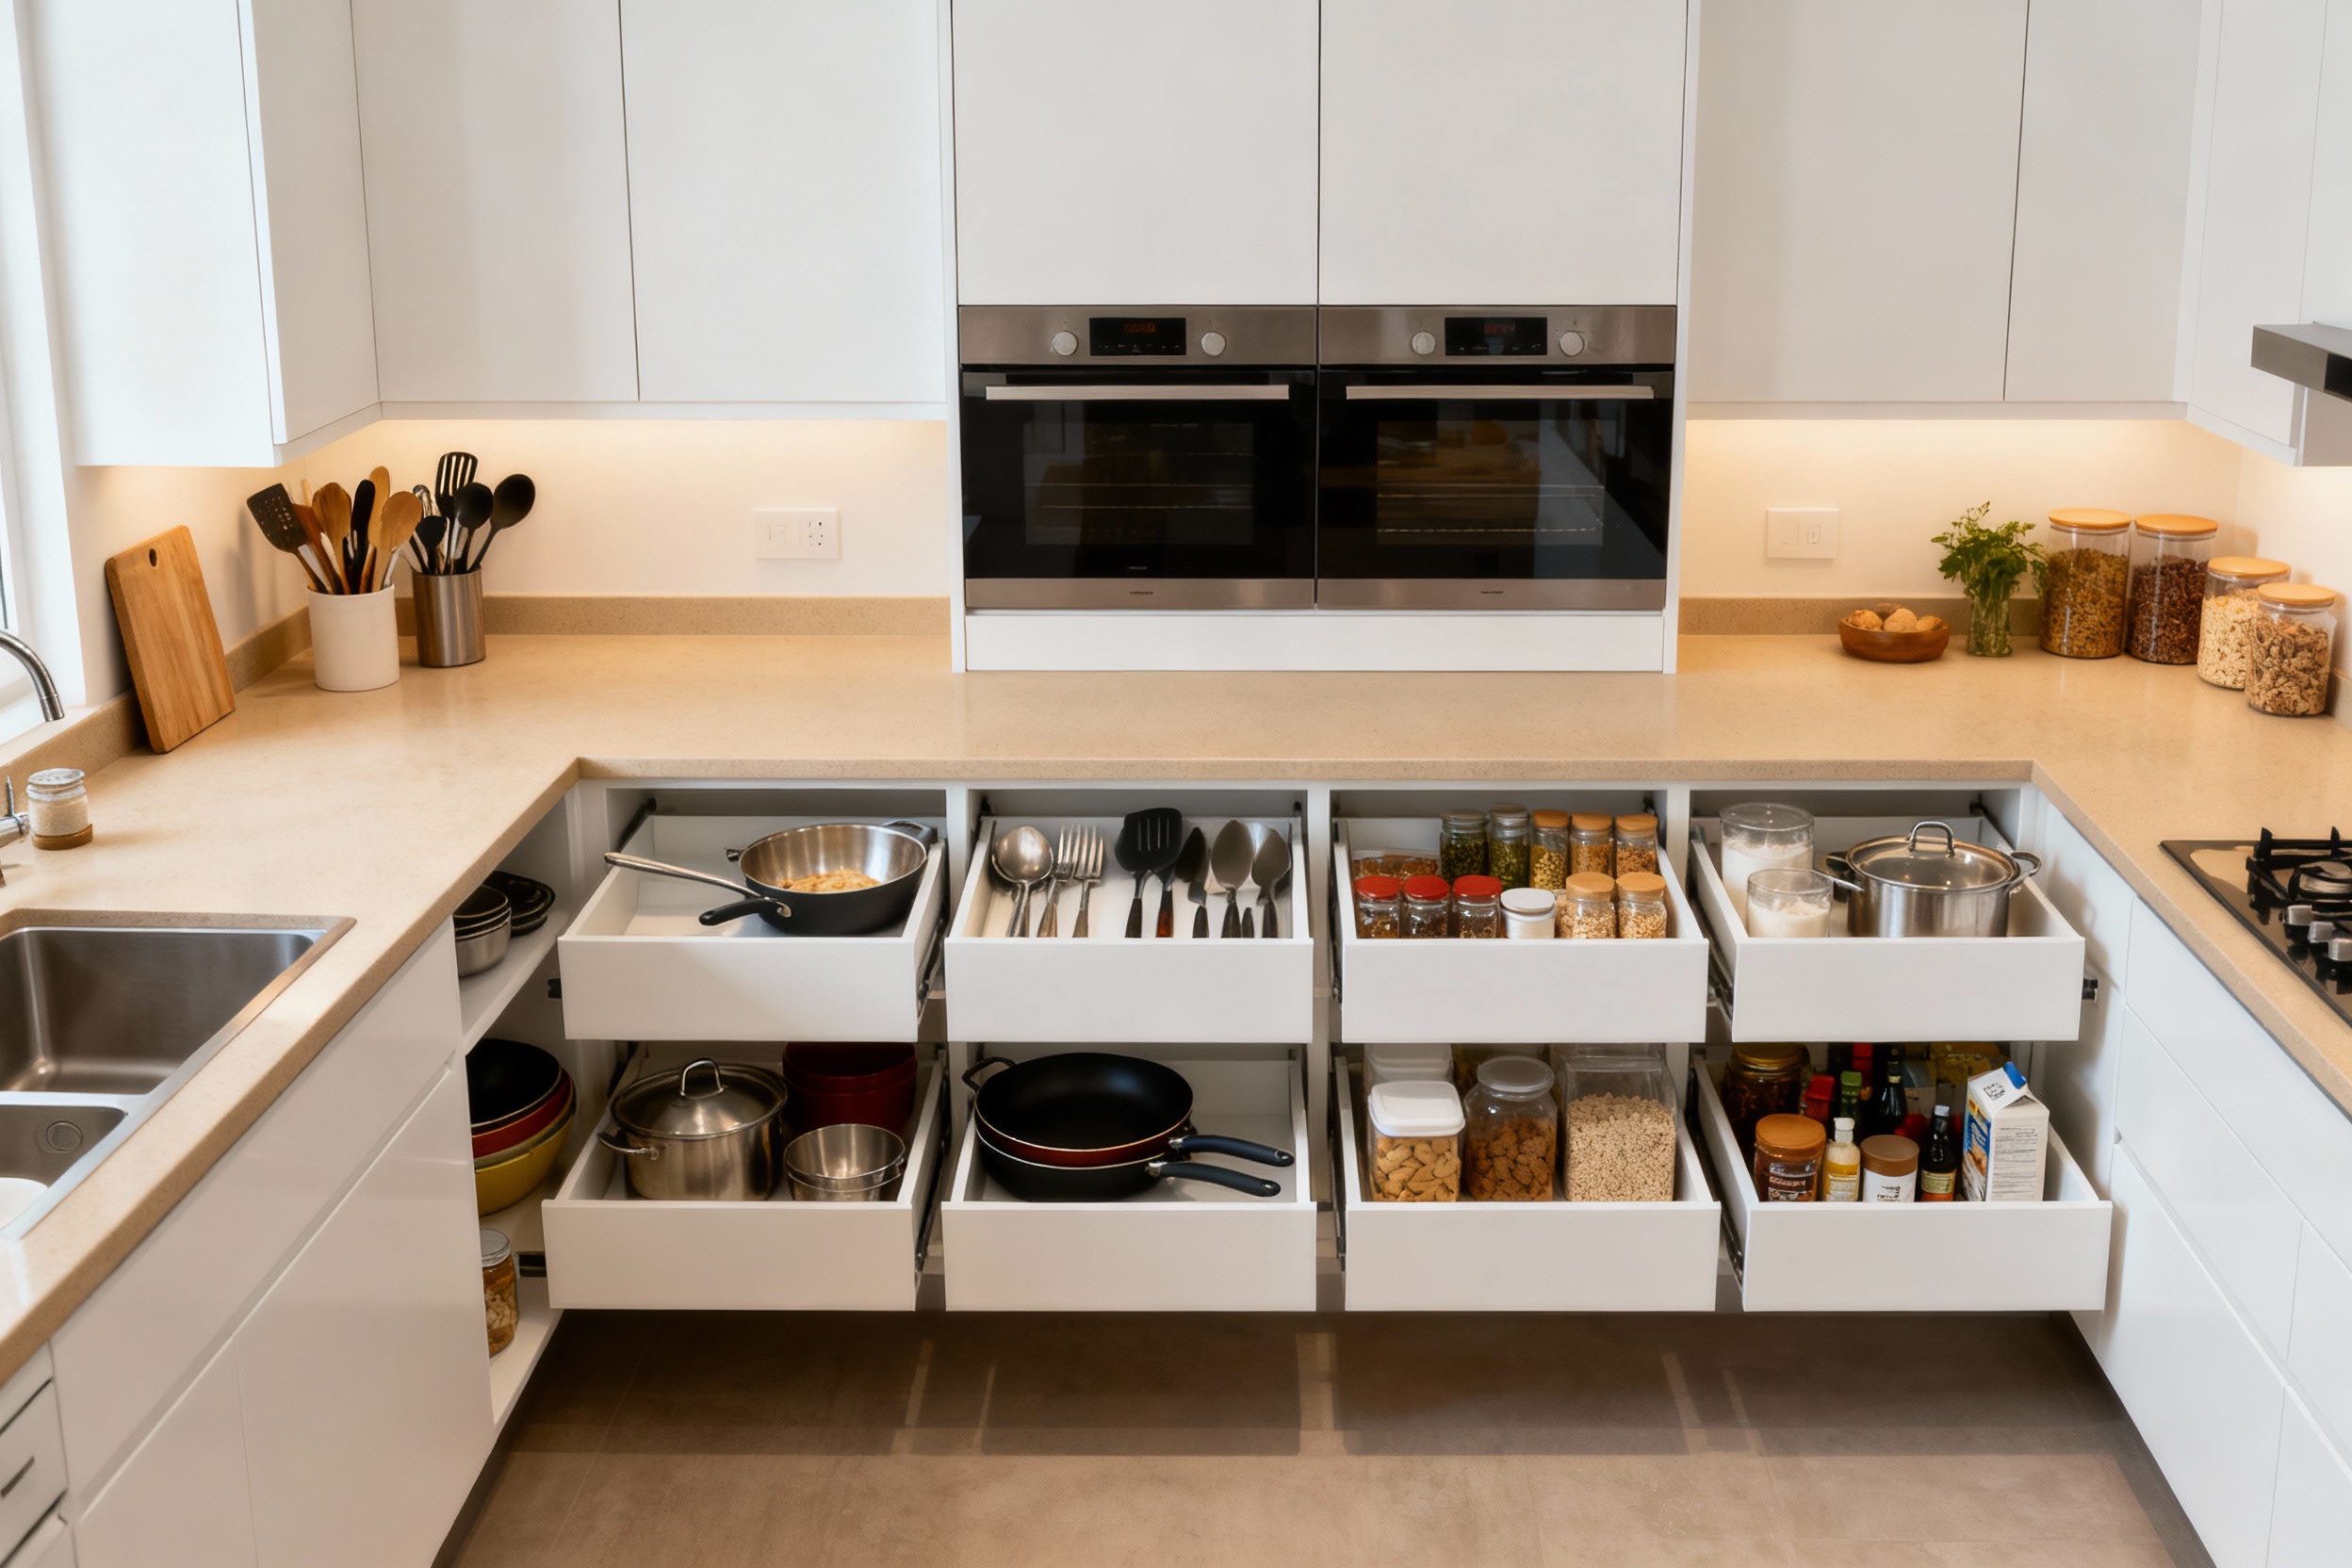
Smart Storage That Doesn’t Fight You
If you open a cabinet and something falls out, that’s not storage—that’s a booby trap. Make your cabinets and drawers do the heavy lifting.
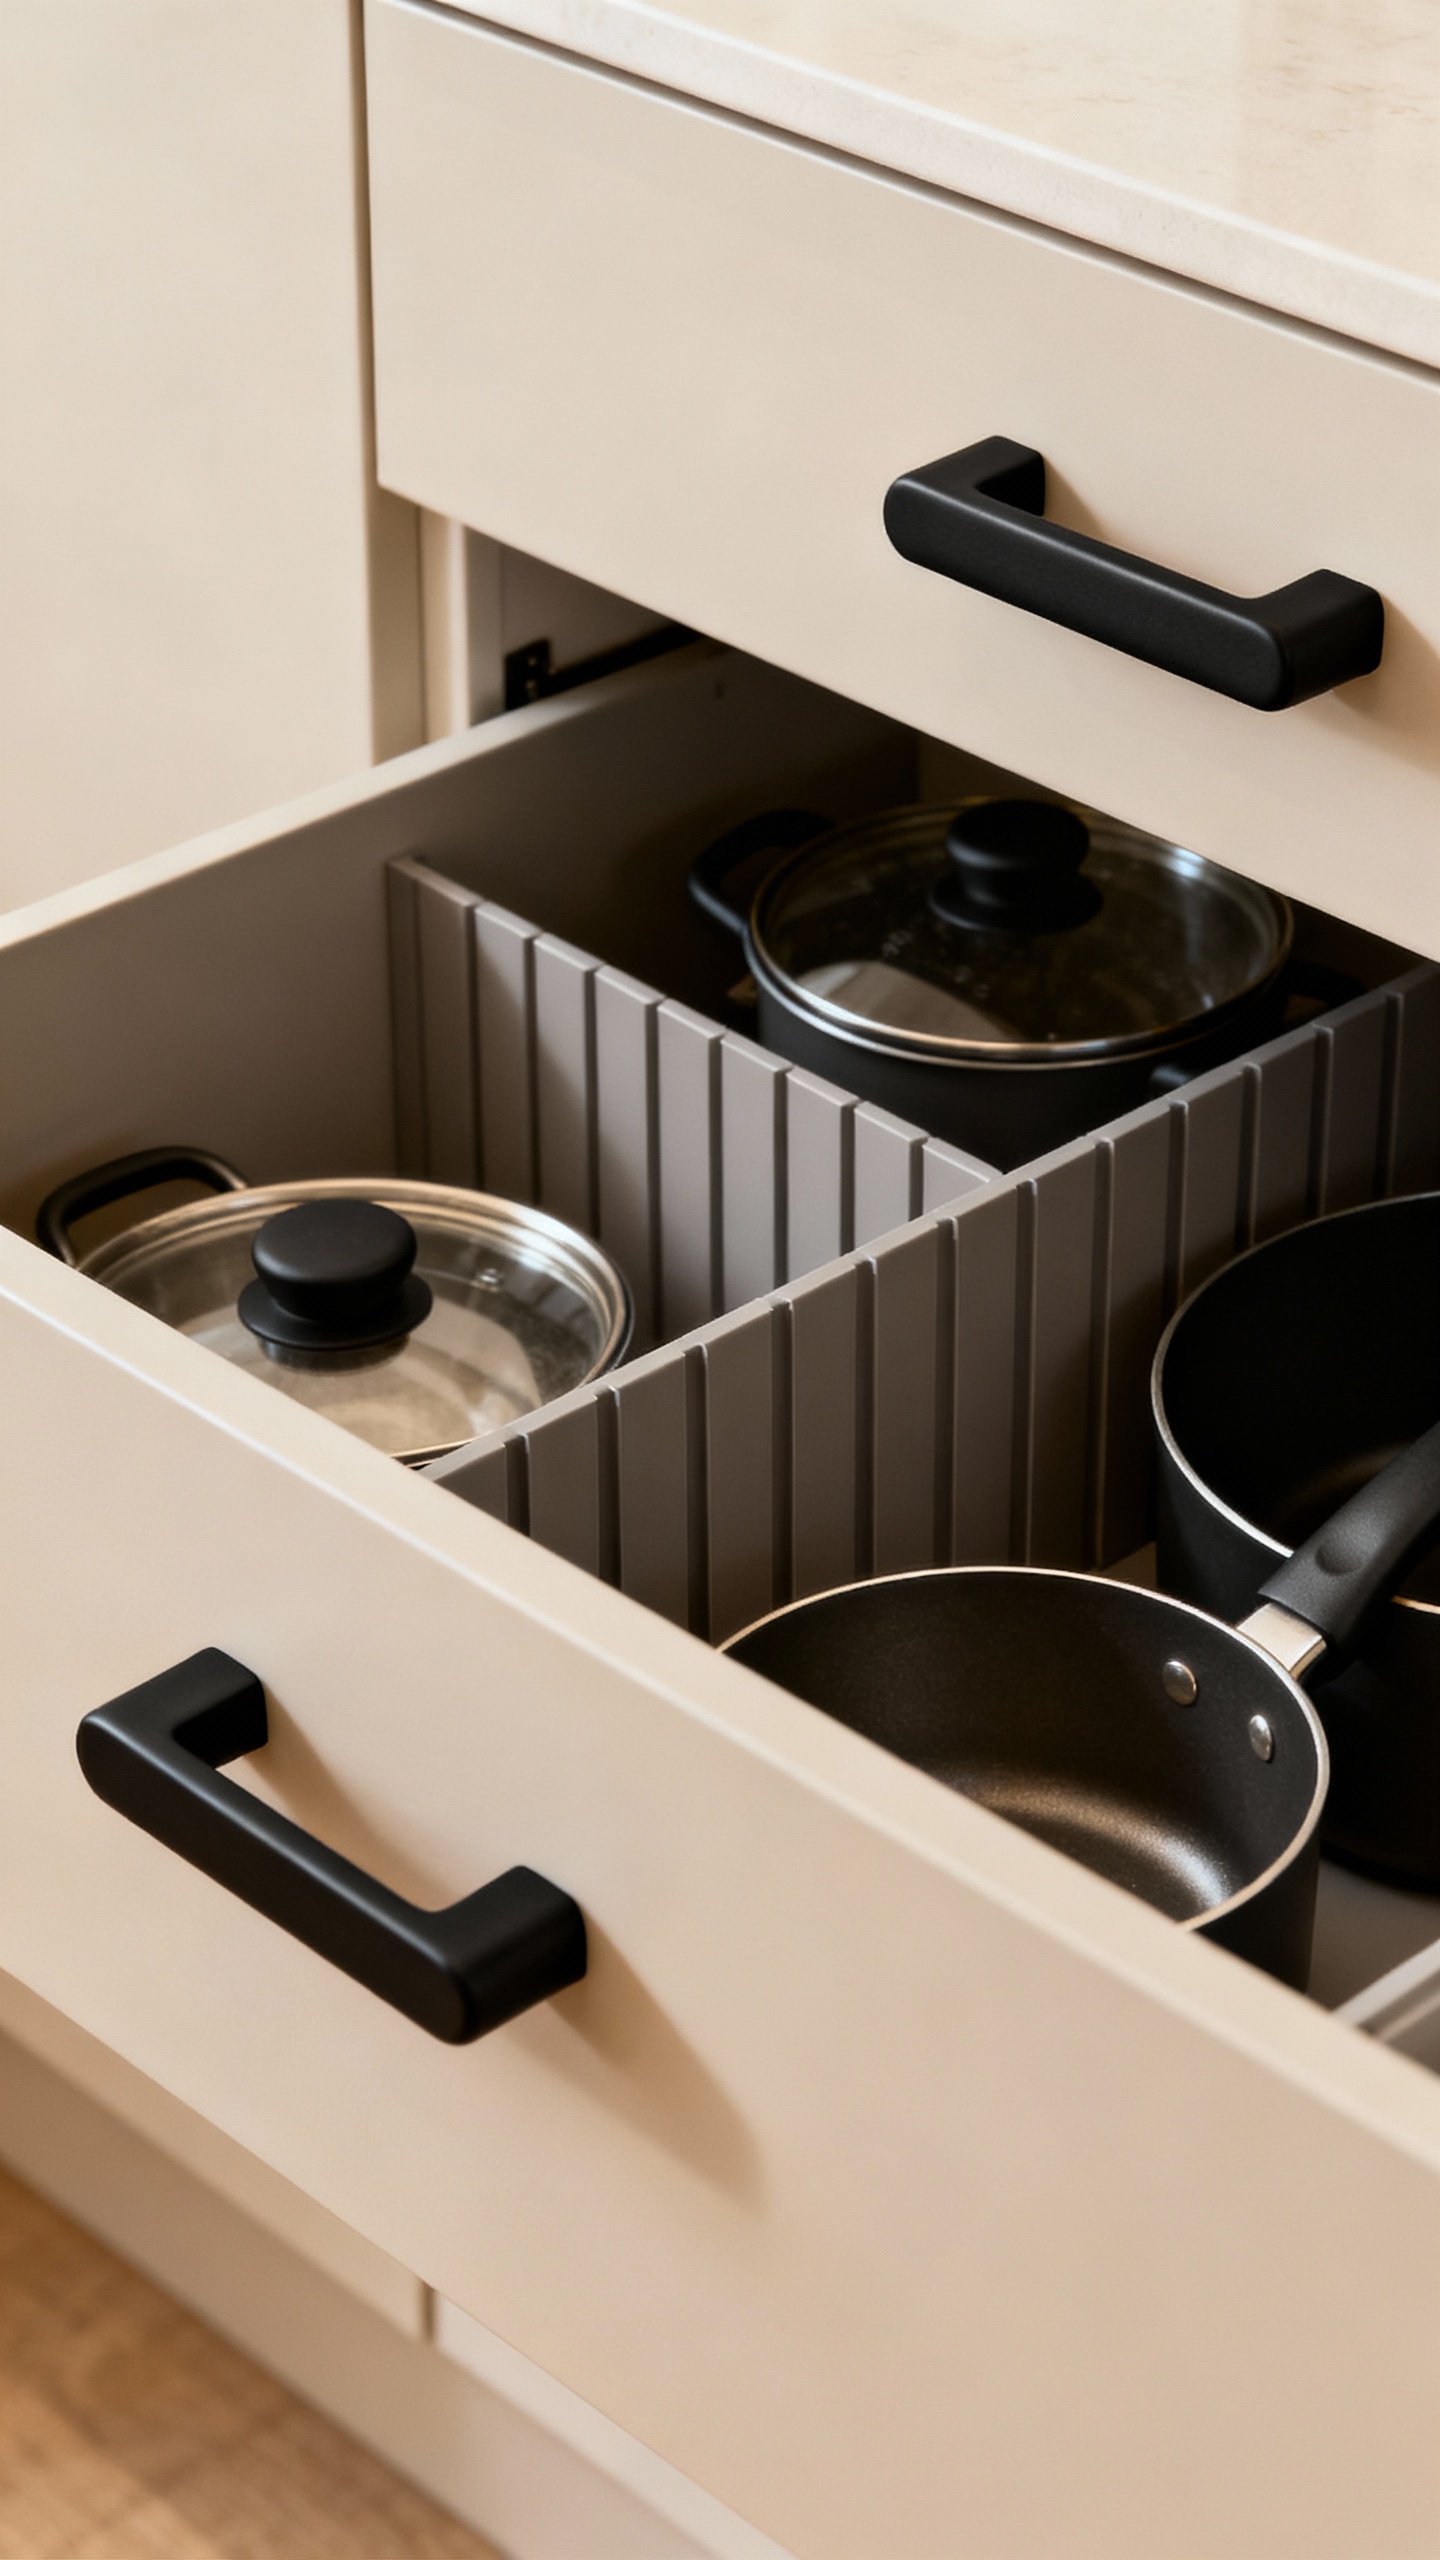
- Drawers beat doors: Deep drawers with organizers hold pots, pans, bowls, and even plates.No bending, no digging.
- Pull-outs everywhere: Add pull-out shelves to lower cabinets for small appliances and pantry items.
- File, don’t stack: Store baking sheets, cutting boards, and lids vertically with dividers.
- Zone your pantry: Group by use, not category. Pasta + sauce + parmesan live together. Baking zone gets flours, sugars, leaveners, vanilla.
- Label lightly: Clear bins with simple labels help everyone put things back where they belong.Including future-you.
The lid problem (solved)
Use a narrow rack or file organizer for pot lids. Store them in a drawer near the stove. Or mount a rack on the inside of a cabinet door.
Never let a lid go feral again.
Prep Zone: Your Command Center
You’ll spend most time prepping. Make it cushy and efficient, not cramped and sticky.
- Keep essentials within arm’s reach: Knife block or magnetic strip, board, bowls, measuring tools, oils, salt, pepper, trash access.
- Trash + compost nearby: You won’t trek for peels and scraps. Slide, swipe, done.
- Lighting matters: Under-cabinet lights help you see what you’re chopping so you don’t mince fingertips.FYI, that’s a vibe killer.
The golden drawer
Designate one top drawer for go-to tools: peeler, can opener, tongs, spatulas, whisks, meat thermometer. Use dividers so nothing nests. Put it directly under your main prep area.
Cooking Zone: Heat, Speed, and Safety
Keep everything you need to cook within a pivot of the stove.
Think fewer steps, more sizzle.
- Tools by the heat: Tongs, spoons, spatulas, ladle. Use a crock or a narrow drawer with dividers.
- Pots and pans below: Heavy pans in a bottom drawer, lids upright in a divider.
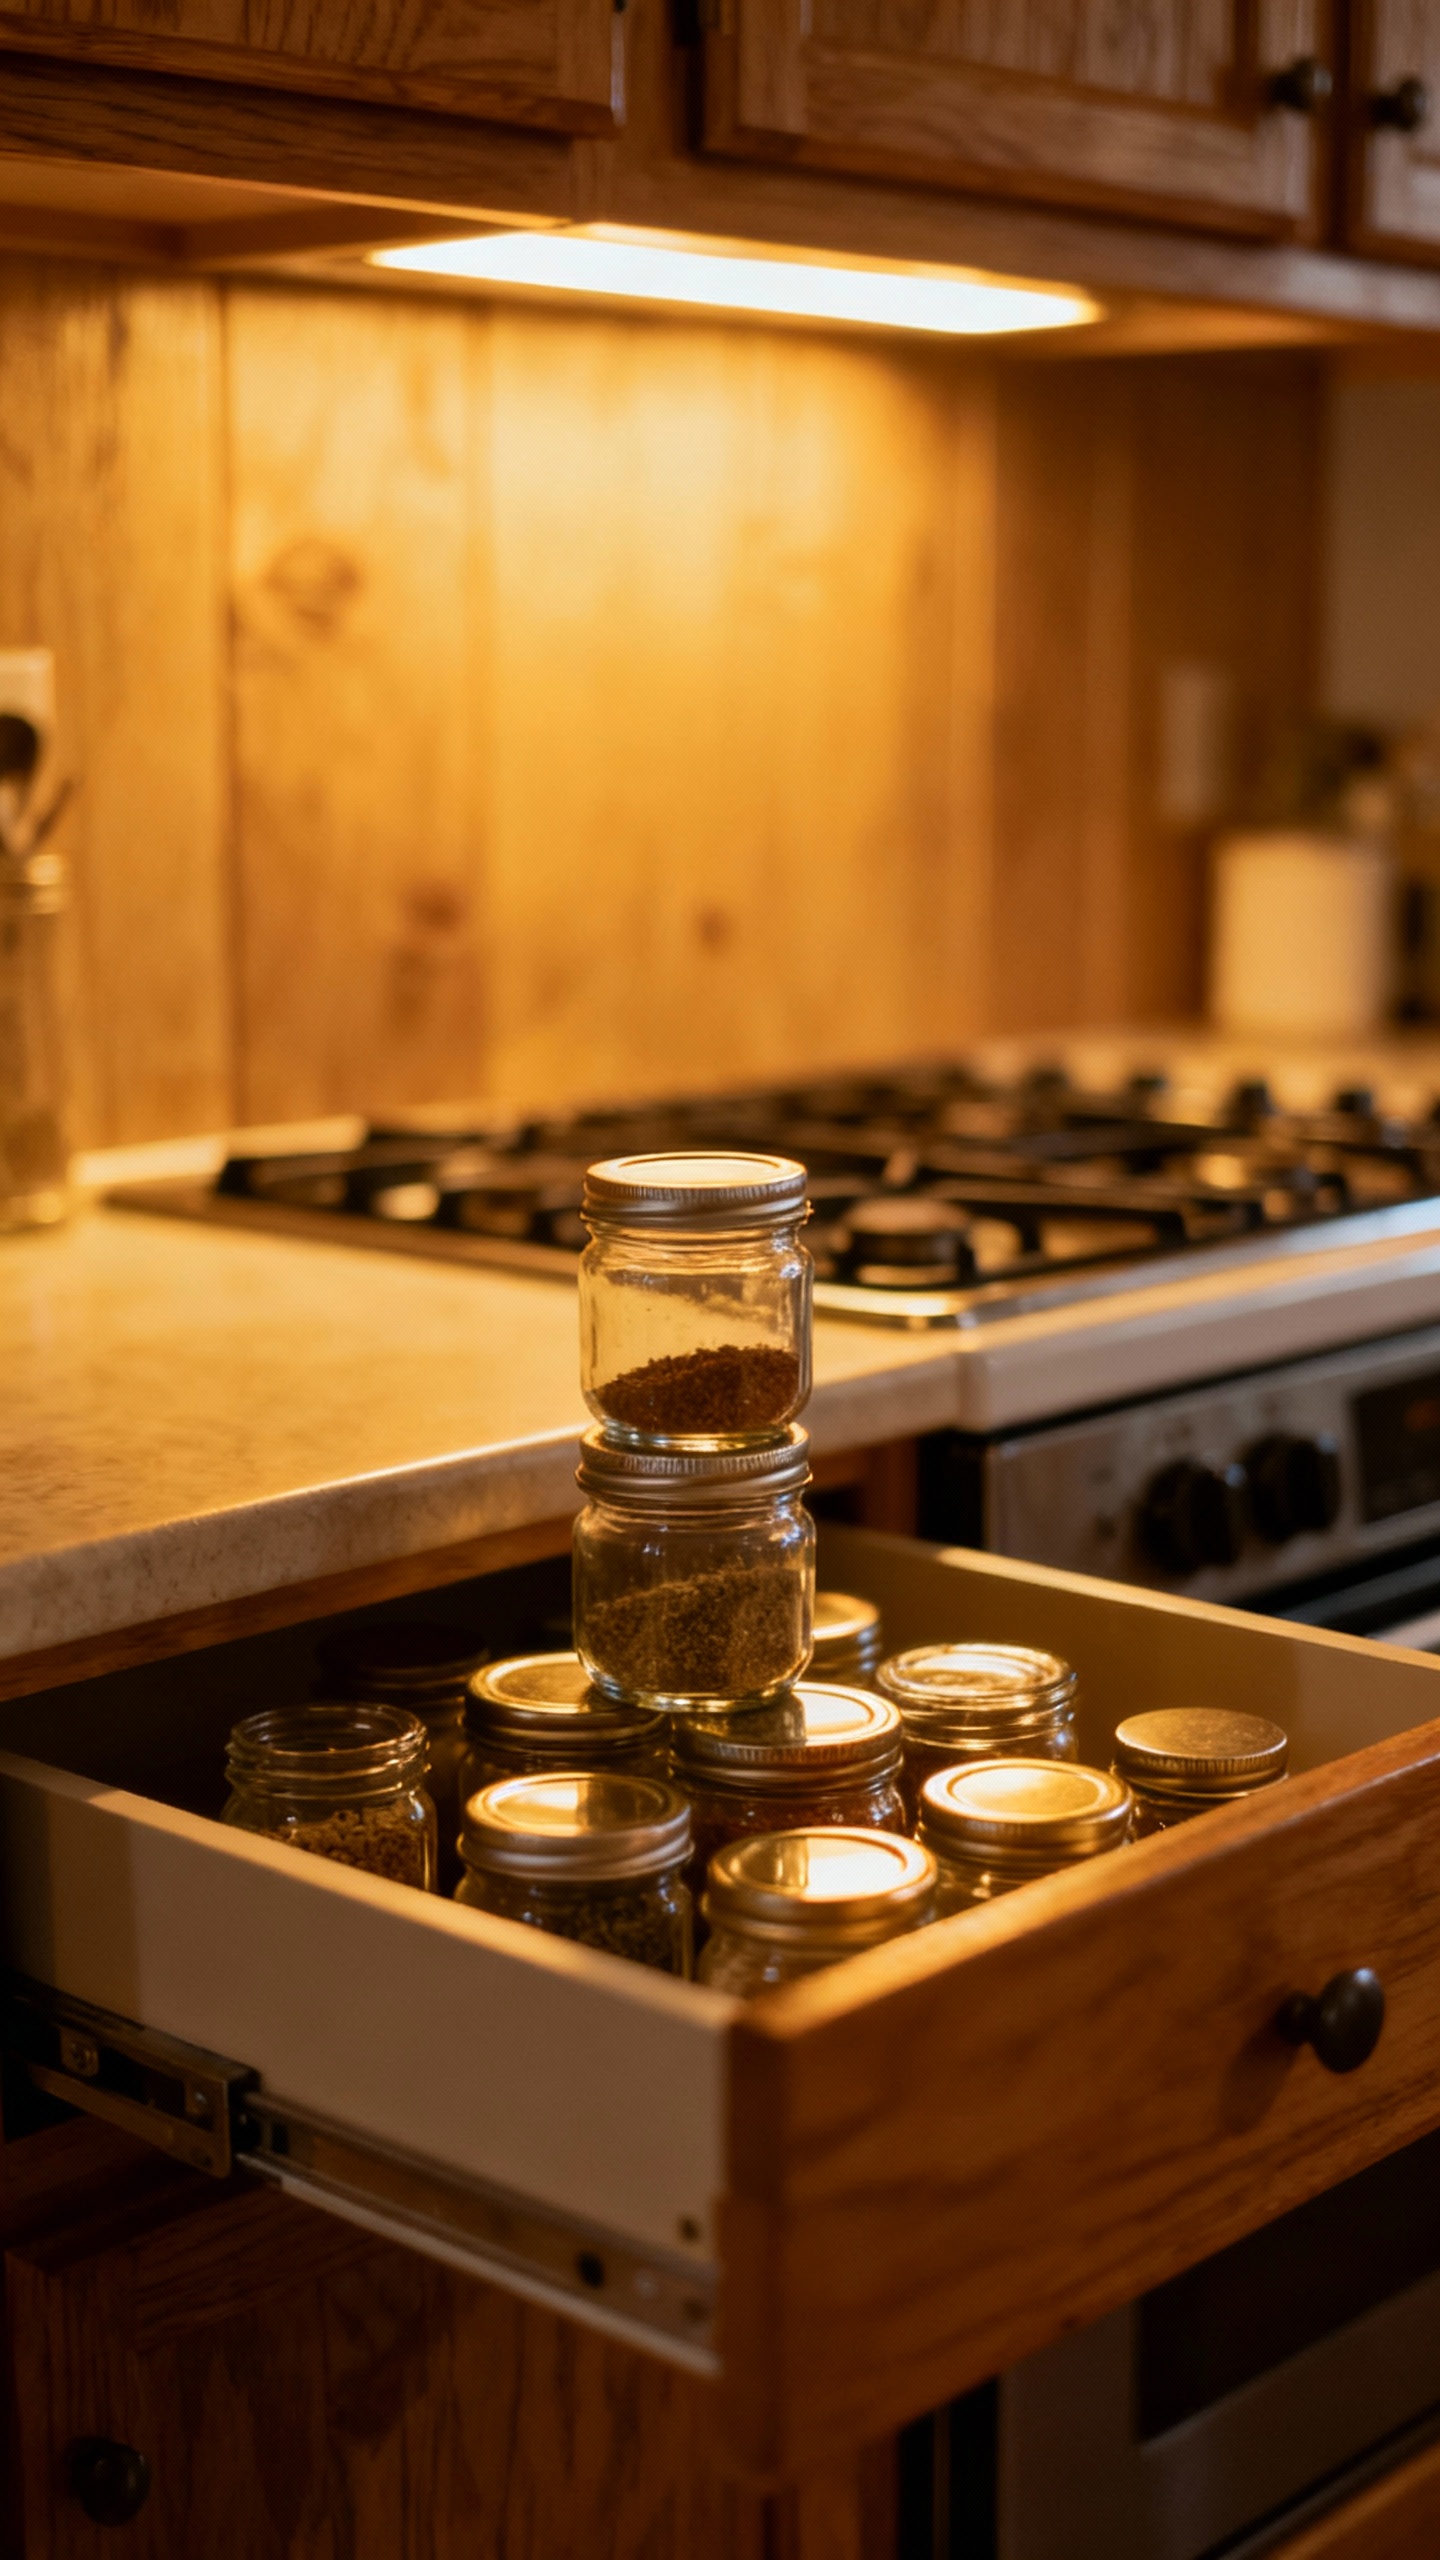
- Spice strategy: Most-used spices near the stove, but not directly above it (heat kills flavor). Use a shallow drawer or tiered rack.
- Safety gear: Oven mitts and a fire extinguisher within reach.Grease fires don’t care about your backsplash.
Staging space
Leave a landing area on both sides of the stove if possible. Hot pans need somewhere safe to land that isn’t your glass cutting board from 2009.
Cleaning Zone: Make Clean-Up Painless
If cleaning feels harder than cooking, your layout betrays you. Streamline it.
- Dishwasher adjacency: Place dishes and glasses in cabinets near the dishwasher.One step to unload, not a full pilgrimage.
- Sponge sanity: Keep soaps, brushes, and towels under the sink in pull-out caddies. Replace sponges regularly—don’t be that person.
- Trash where mess happens: Put trash/recycling near the prep zone, not across the kitchen.
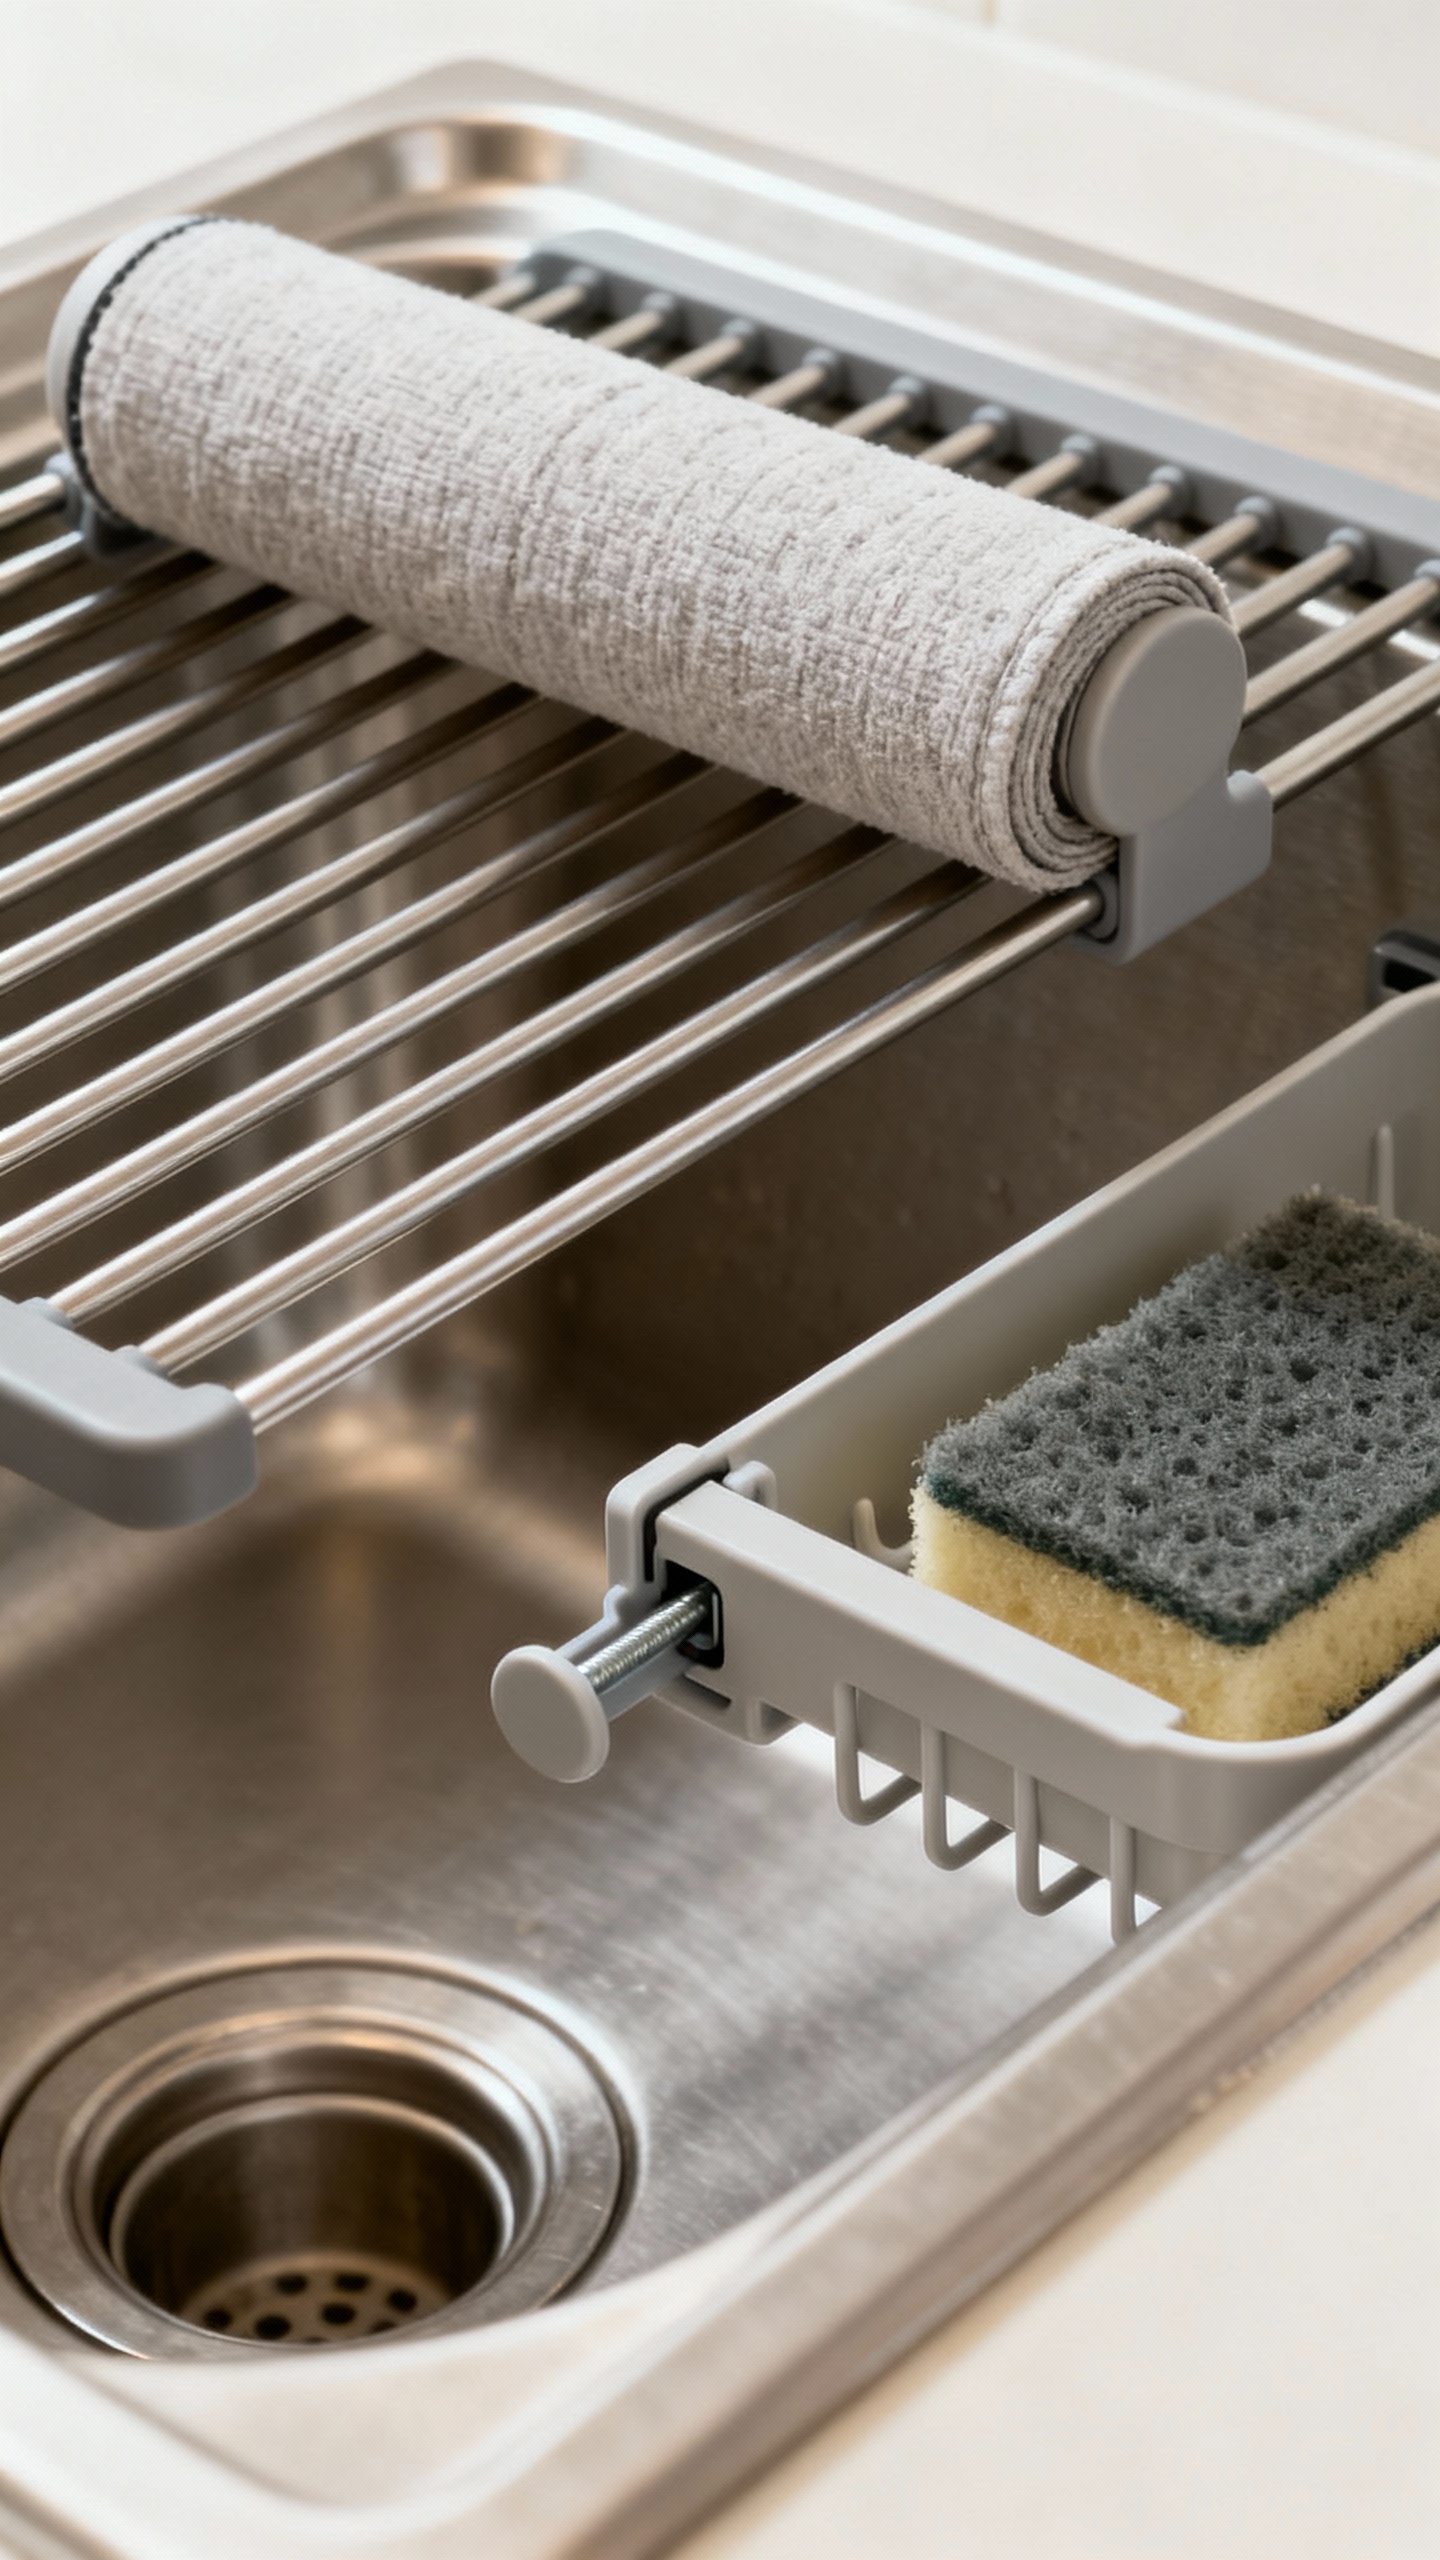
Drying logic
If you handwash, use a roll-up drying rack over the sink or a pop-up mat. Store it vertically when not in use to keep counters clear.
Small change, big impact.
Small Kitchen? Still Works.
Tiny kitchen doesn’t mean tiny ambitions. You just need tighter systems.
- Go vertical: Use wall rails, hooks, and shelves for mugs, pans, and utensils.
- Nest and fold: Collapsible colanders and nesting bowls save serious space.
- Mobile island or cart: Adds prep surface and storage, then rolls away.
- One-in-one-out rule: If you buy a new gadget, something else retires.Harsh, but fair.
Minimalist pantry magic
Keep a tight roster of staples you actually use. Core carbs + proteins + canned tomatoes + aromatics + sauces will handle 80% of meals. The rest? Optional flair.
Aesthetics That Boost Function
Looks matter—mainly because pretty systems stay maintained.
- Match containers by zone: Uniform bins or jars reduce visual noise.Clear beats opaque for pantry items.
- Label cleanly: Simple labels save time and arguments. “Snacks” might be the most powerful label in your home.
- Color-code lightly: Towels, bins, or lids by zone or use. Don’t overdo it. This isn’t preschool, unless it helps you, then go wild.
Lighting and vibe
Layer overhead, task, and ambient lighting.
Under-cabinet LEDs are cheap and transformative. Music helps, too. Cooking to silence?
Couldn’t be me.
FAQ
How do I start reorganizing without wasting a weekend?
Pick one zone, ideally the prep zone. Empty it, wipe it, then put only essentials back. Move everything else to a “holding bin” and only return items you use within two weeks.
That slow filter keeps your layout honest without a full-day overhaul.
What’s the best way to store bulk items?
Transfer bulk goods into airtight containers and label with name and date. Keep refills in a secondary storage area if your everyday zones feel crowded. Big sacks of flour don’t need prime real estate next to your olive oil.
Where should I keep knives—block, drawer, or magnetic strip?
IMO, a magnetic strip near the prep zone wins for access and blade care.
If you have kids or curious pets, a locked drawer with knife trays works great. Skip tossing knives loose in a drawer unless you enjoy sharpening weekly.
Do I need a separate coffee station?
If multiple people grab drinks while someone cooks, yes. A small beverage zone prevents collisions and keeps your cooking rhythm intact.
Include mugs, beans/tea, sweeteners, and a small trash for pods or filters.
How often should I reorganize?
Seasonally, or anytime something starts to annoy you. Annoyance indicates friction. Fix the friction, not your self-esteem.
Kitchens evolve as your habits change—let the layout follow.
What’s the biggest mistake people make?
They store items where the cabinet space exists, not where the task happens. Put tools where you use them. The cabinet above the fridge makes a great graveyard for rarely used stuff—not your daily plates.
Conclusion
The perfect kitchen layout doesn’t require a renovation; it requires intention.
Build zones around how you actually cook, protect your prep space like it’s sacred, and make storage serve you. Tweak, test, and adjust until the flow feels natural. FYI, once your kitchen works with you, you’ll cook more, stress less, and maybe even enjoy doing the dishes.
Maybe.